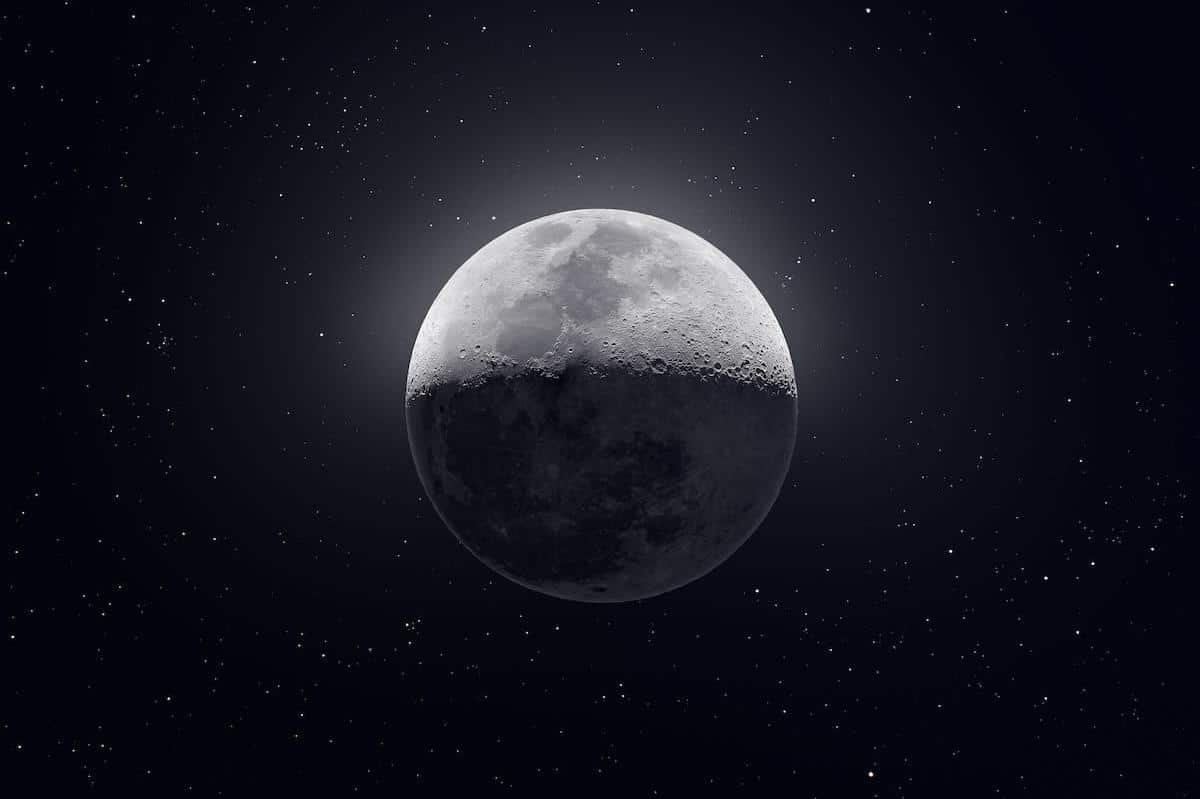
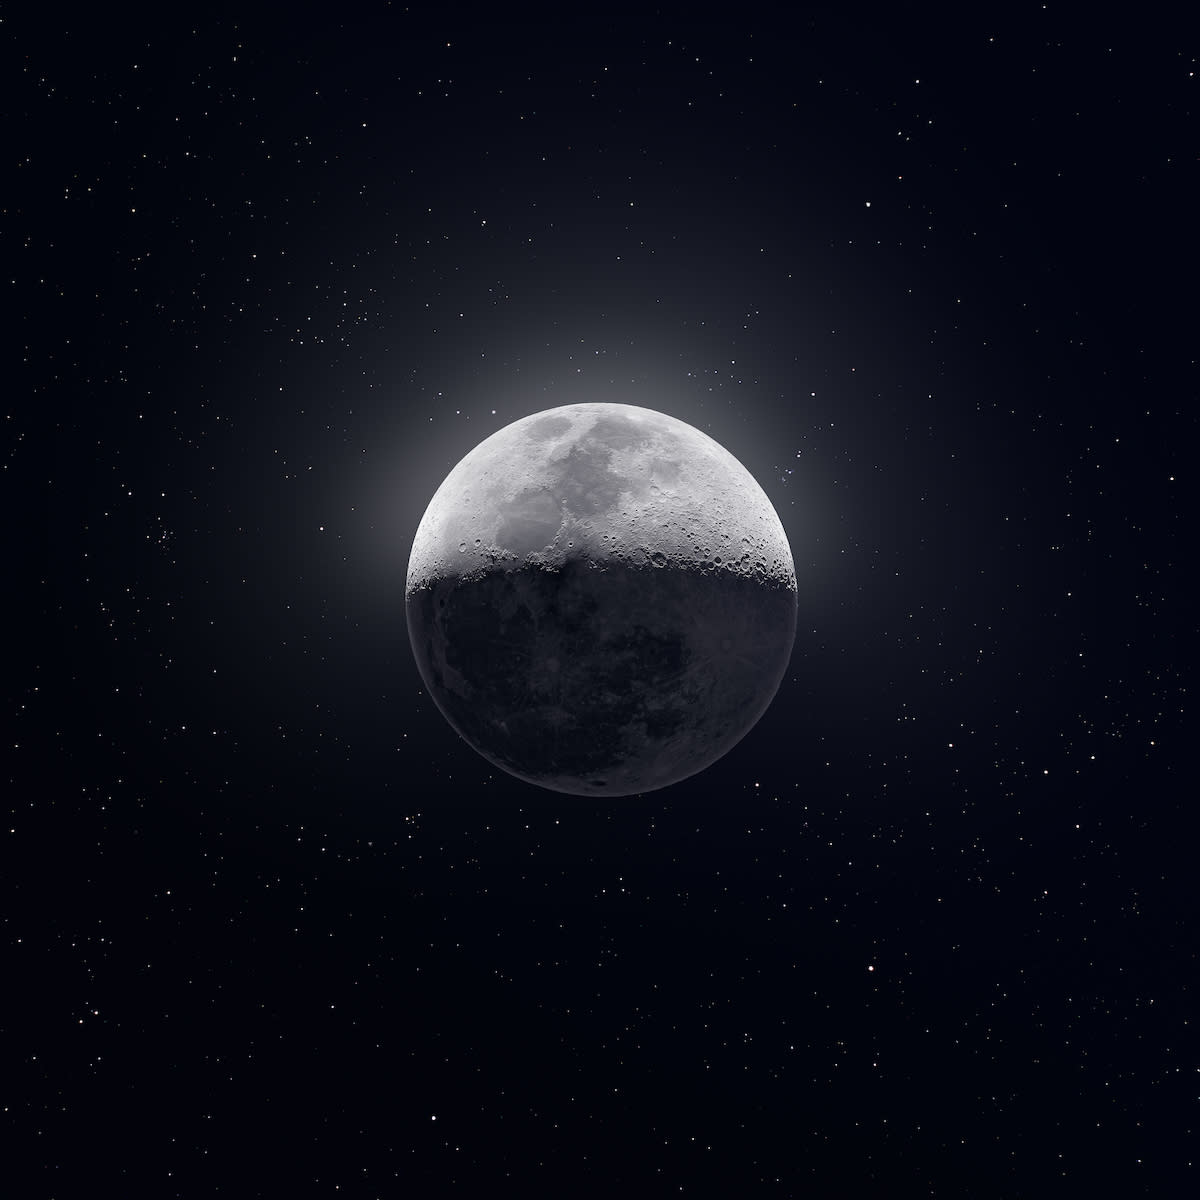
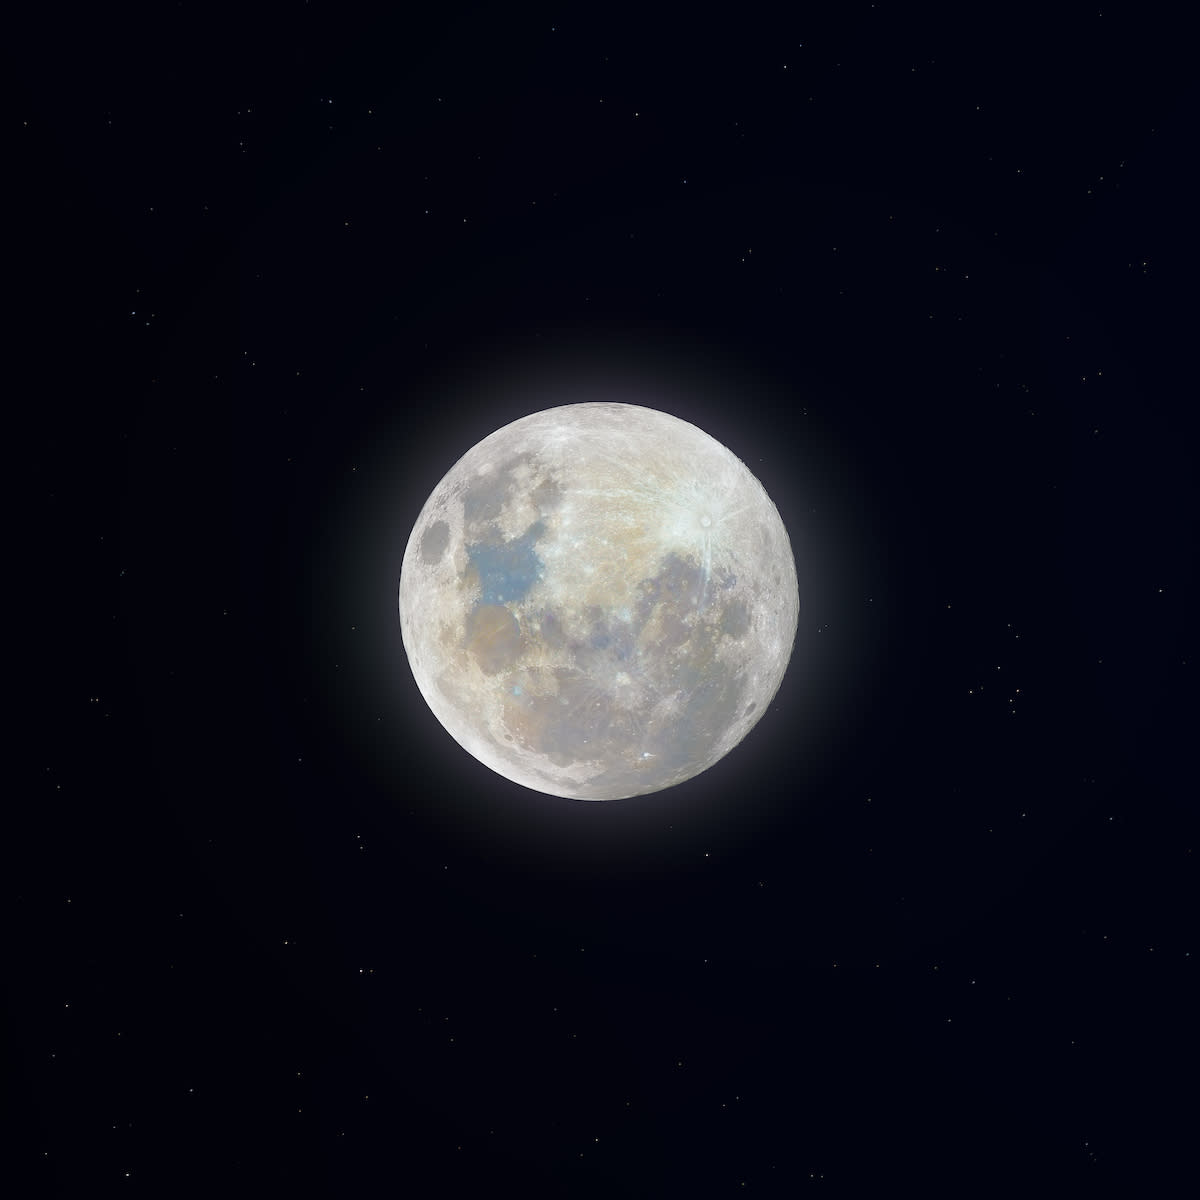
Andrew McCarthy is the photographer behind the incredibly detailed 81-megapixel HDR image of the moon that recently went viral. McCarthy says it’s actually a composite of almost 50,000 photos.
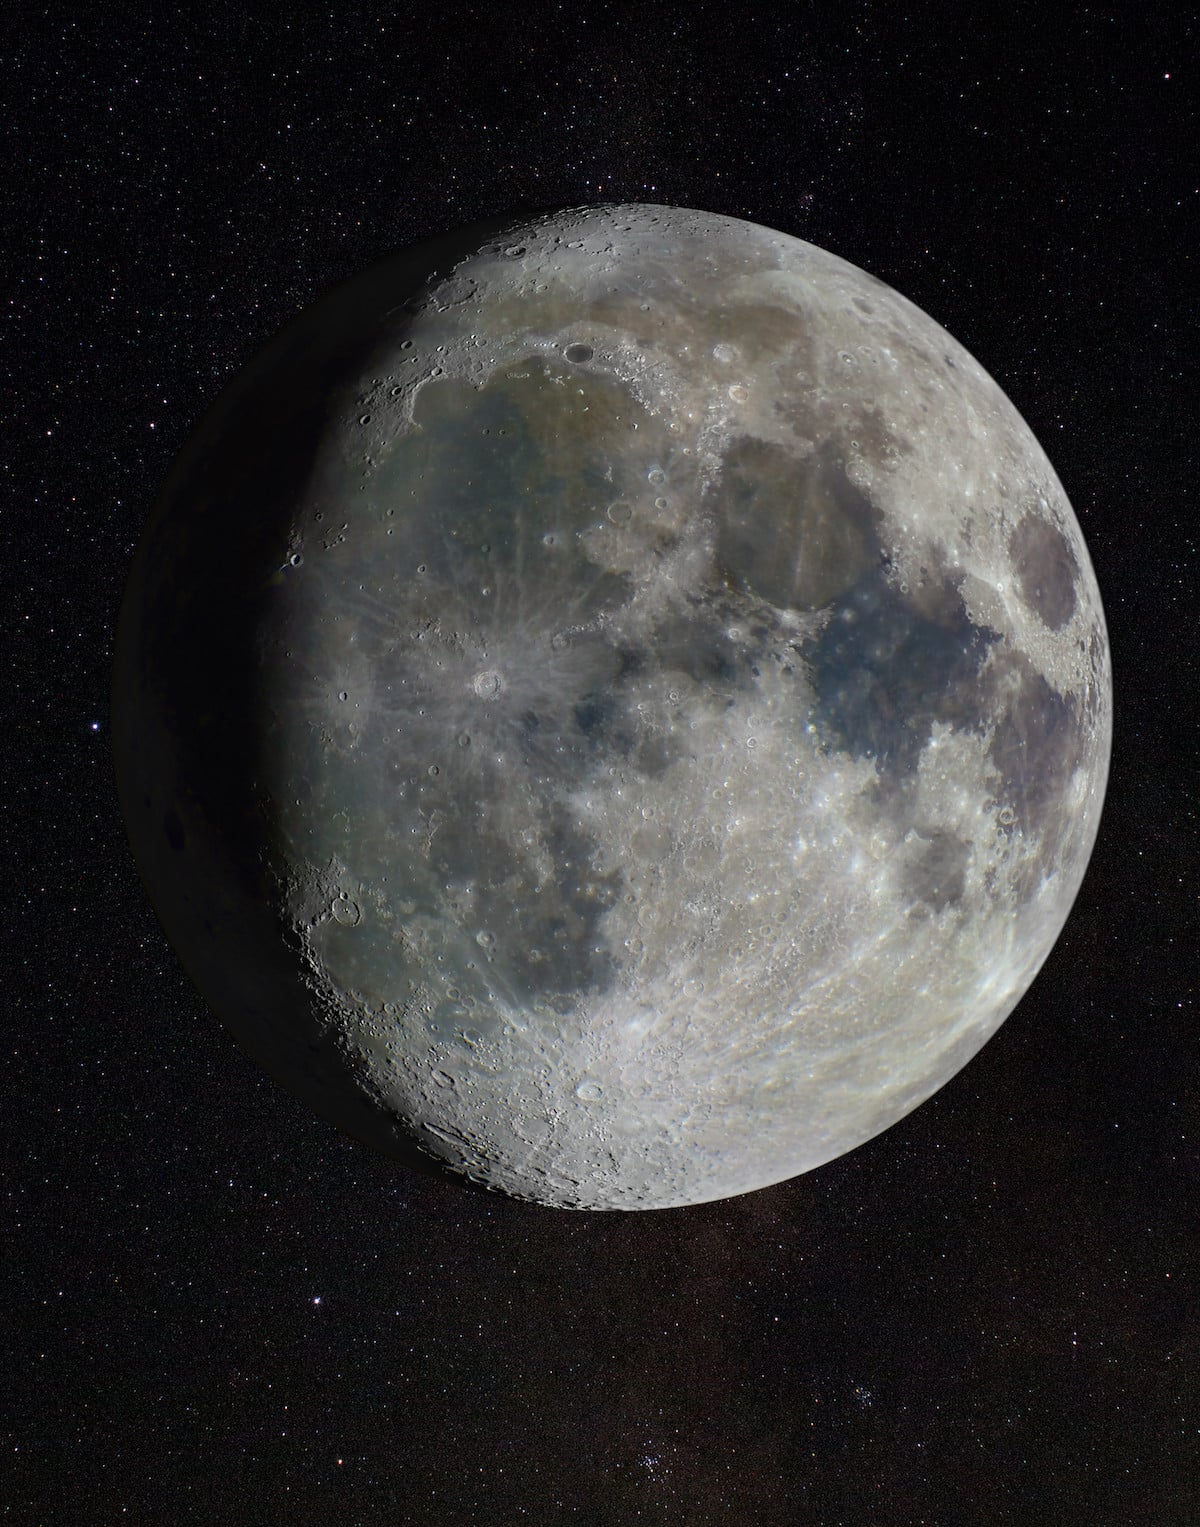
It’s rich in texture and contrast as it shows the moon in half shadow and makes the viewer feel as if they could reach out and feel the craters. It looks like something that NASA would proudly feature in its image library.
But McCarthy isn’t a professional photographer; he works in sales development and business operations for a software company. His astrophotography is a labor of love that he persues from his backyard in Sacramento, California. And he’s only been doing it for less than two years.
McCarthy sells prints of his astrophotography through his online store, but a section of his website notes he doesn’t treat it as a way to make a living.
“I keep the prices low to make sure anyone interested in my images has a way to hang them on their wall.” He also says any money he makes from his images goes straight to upgrading his photography gear.
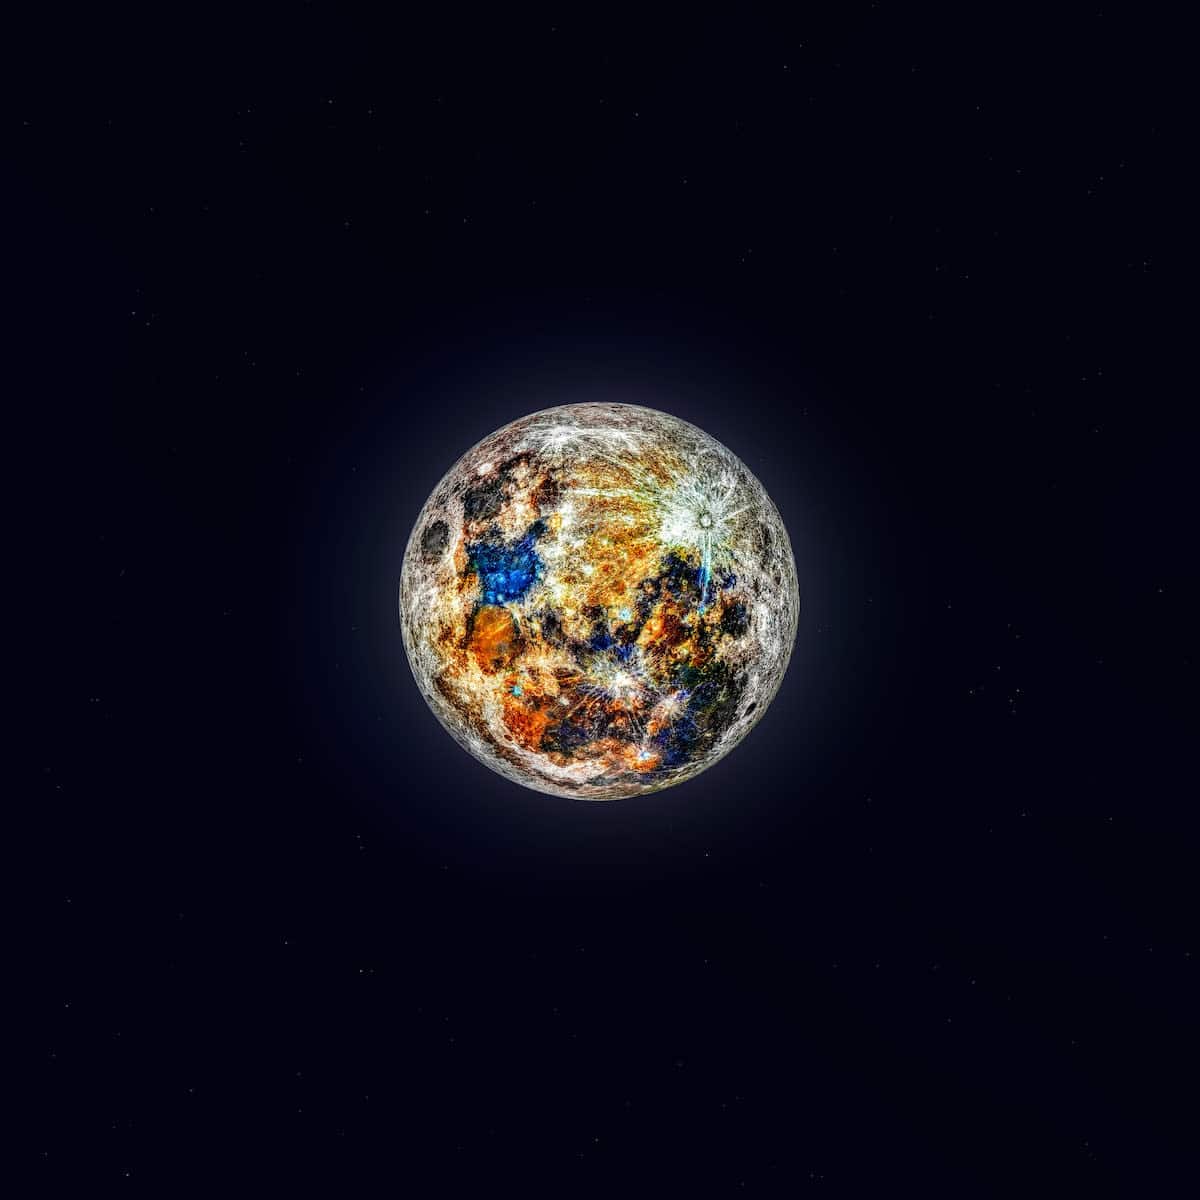
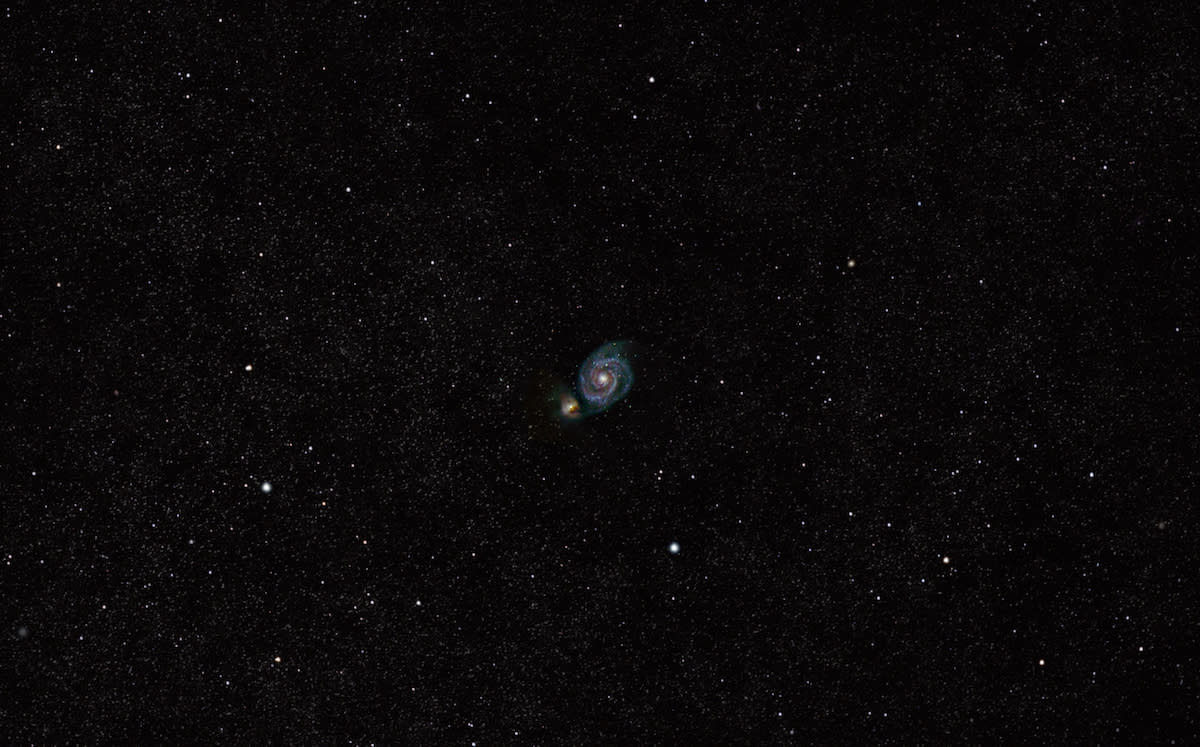
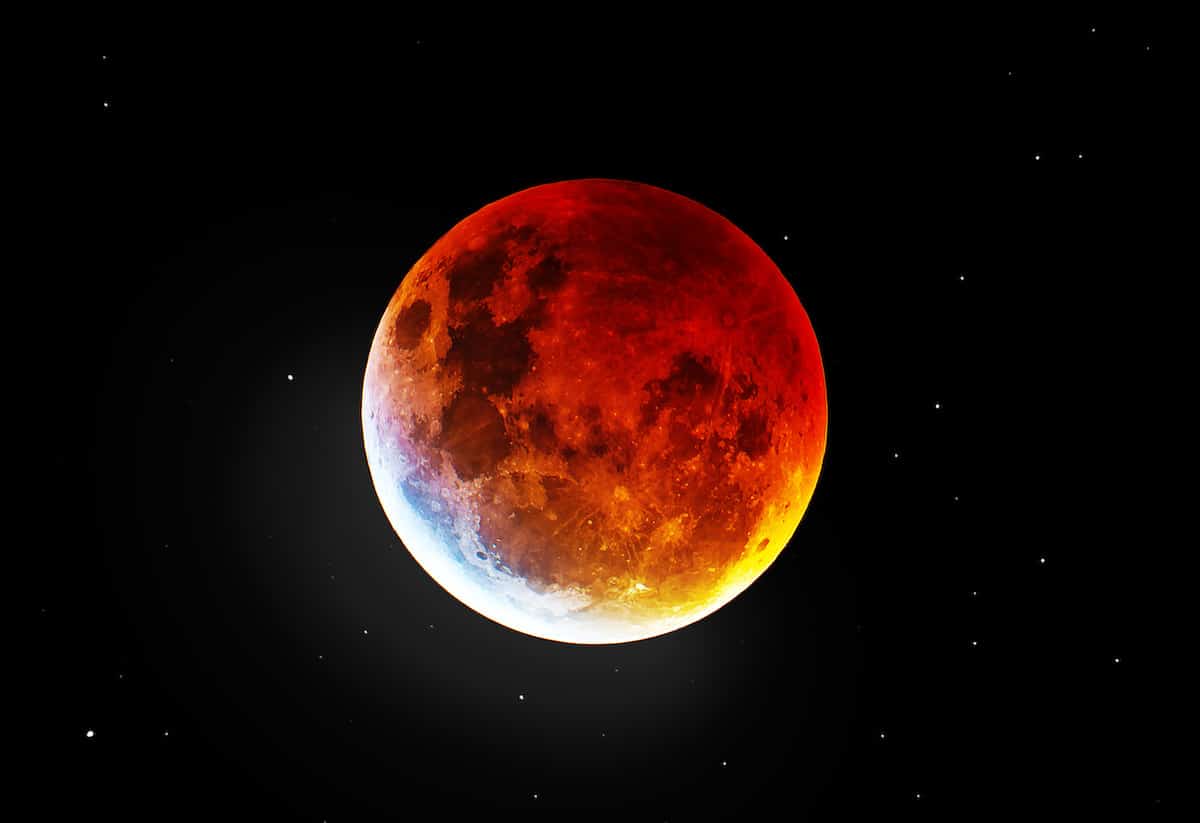
McCarthy has captured images of a variety of heavenly bodies, from comets to distant galaxies. And he’s had other photos go viral in the past. But this captivating shot of the moon is his most popular post on Reddit, attracting over 160,000 upvotes.
In the Reddit post, McCarthy included an explanation of how he created the image. He also posts tips and tutorials on his Instagram account, @cosmic_background.
To capture his moon image, McCarthy alternated between two cameras, a ZWO ASI 224MC (CCD camera), and a Sony a7ii for capturing lowlight details. He connected the cameras to an Orion XT10 (Dobsonian telescope) with a Skywatcher EQ6-R Pro tracking mount.
He then started photographing the moon in about 50 sections or “tiles.” Each tile in the final image was made up of 1,000 photos stacked. (McCarthy captured 2,000 images for each tile, but then only used the best 50 percent of those.) He said the large number of photos allowed him to create a very sharp and clear image.
The process was only partially automated. McCarthy used SharpCap software to capture batches of 2,000 images with one click, and then he would manually reposition the camera to start capturing another tile. All the while, the tracking mount compensated for the Earth’s spin and the lunar orbit.
Once he had all the images, he was ready to compile them in editing. “I’d stack each tile separately to average out the noise from the sensor, sharpen it to get rid of the blurring caused by the atmosphere, and then combine them in Photoshop to create the final image.”
We spoke with McCarthy via email to learn more about his astrophotography and why he does it.
You’ve posted lots of incredible images in the past, but this one was your most popular post on Reddit. What do you think is special about this image?
Andrew McCarthy: One of the challenges faced by astrophotographers today is getting their images seen outside the niche astrophotography community. And when they do get seen, then the challenge is getting someone with zero concept of it to appreciate the work that goes into creating those images. For that reason, I called out how I captured the image in the title with a layman explanation.
It was a bit clickbaity, but it got the point across and was enough to get people to take note. I also gave away an unwatermarked high-resolution version of the image, something most photographers aren’t willing to do.
Plus, it’s just a cool image. We have a pretty neat moon.
Did you run into any challenges with this image?
The trickiest part about this was figuring out how to get crisp stars without the glare of the moon being blown out in the photo. It involved a lot of trial and error and now I have an easy process I can apply to future images.
Basically, I copy the layer with the stars (and the blown-out moon glare) and stack them, and make the second layer a difference layer. Then I apply a ‘dust and scratches’ filter to it, and BOOM—stars appear. From there it was just a lot of time ‘cleaning them up’ since they were a bit sloppy and had a fair amount of noise.
How long did each step of the process take?
Capturing one tile with 2,000 images only took about 15 seconds. There is a bit of time to reposition the scope between shots, but not much. Overall, including setup and takedown, I was outside less than an hour to capture this shot.
I spent perhaps 2-3 hours manually editing the image… but that doesn’t include the automated processing (combining the stacks of each tile) which probably took 3-4 hours for my computer to process.
How did you first get into astrophotography?
My interest in space/photography started when I was a kid looking through my dad’s telescope, but I never got into it as an adult until recently. I bought my first scope in early 2017, and started learning the sky. Not long after that, I was learning how to take basic images and following astronomy forums to learn more from experts.
My first images weren’t very good. After a couple years spending a couple nights a week outside, I started to really learn the craft well. Overall, I’ve been at it for less than 2 years.
What do you like about it?
We see the Earth every day and take it for granted. My goal is to never take the beauty of our sky for granted, and teach others to appreciate it as well by showing it to them in a new way! It really drives me, and the impact it has on people is extremely gratifying.
See how other photographers work:
Meet Format Picks Winner Kai Gradert
Award Winner Filip Gierlinski On Why A Great Photo Can Take Years
Meet the Photographer Using Portraiture to Explore Parent-Child Relationships