It’s true when chefs say that we eat with our eyes first. The colors, textures and shapes are a crucial part of your culinary experience. Can you blame people for snapping a quick photo before they dive in?
Whether you’re working for a client or posting on Instagram, there are a few simple rules to follow to get that perfect mouth-watering shot. The last thing you want is a grainy, dark photo of the masterpiece in front of you.
Paying attention to light, composition, style and your camera’s settings will make your food photography portfolio worthy of a Michelin star.
Dylan + Jeni Portfolio
1. Natural light
A few rays of sunlight will transform your food photograph better than any Photoshop filter, but not all natural light is created equal.
Don’t be lured towards a bright patch of unshaded sunlight. The harsh direct lighting can give your food dark shadows. If you’re dealing with a snack that’s naturally light in color, like oatmeal or mashed potatoes, exposing it to direct sunlight might cause its texture to look shapeless, and render the entire image overexposed.
The sweet spot for natural lighting is an area of shade on a sunny day. Finding a shaded window sill, tree covering, or even propping an umbrella up over your food is going to give you that evenly lit, textured, and defined aesthetic that separates one food photograph from the next.
Hélène Dujardin Portfolio
2. Flash
Unless it’s a stylistic choice, flash should never be used in food photography. The use of flash can create glare, giving an otherwise perfectly seared filet mignon an oily sheen, or a slice of birthday cake an animated, shiny look.
Flash can also create the confusing illusion of “floating food.” This happens when flash bounces off a white plate, making the plate look indistinguishable from the table, and causing your food to look like its floating in mid-air.
As a rule, you want your food photography to make the viewer want to pick the item off the plate and take a bite. This isn’t going to happen if flash is making your food look too greasy or space-bound.
David Loftus Portfolio
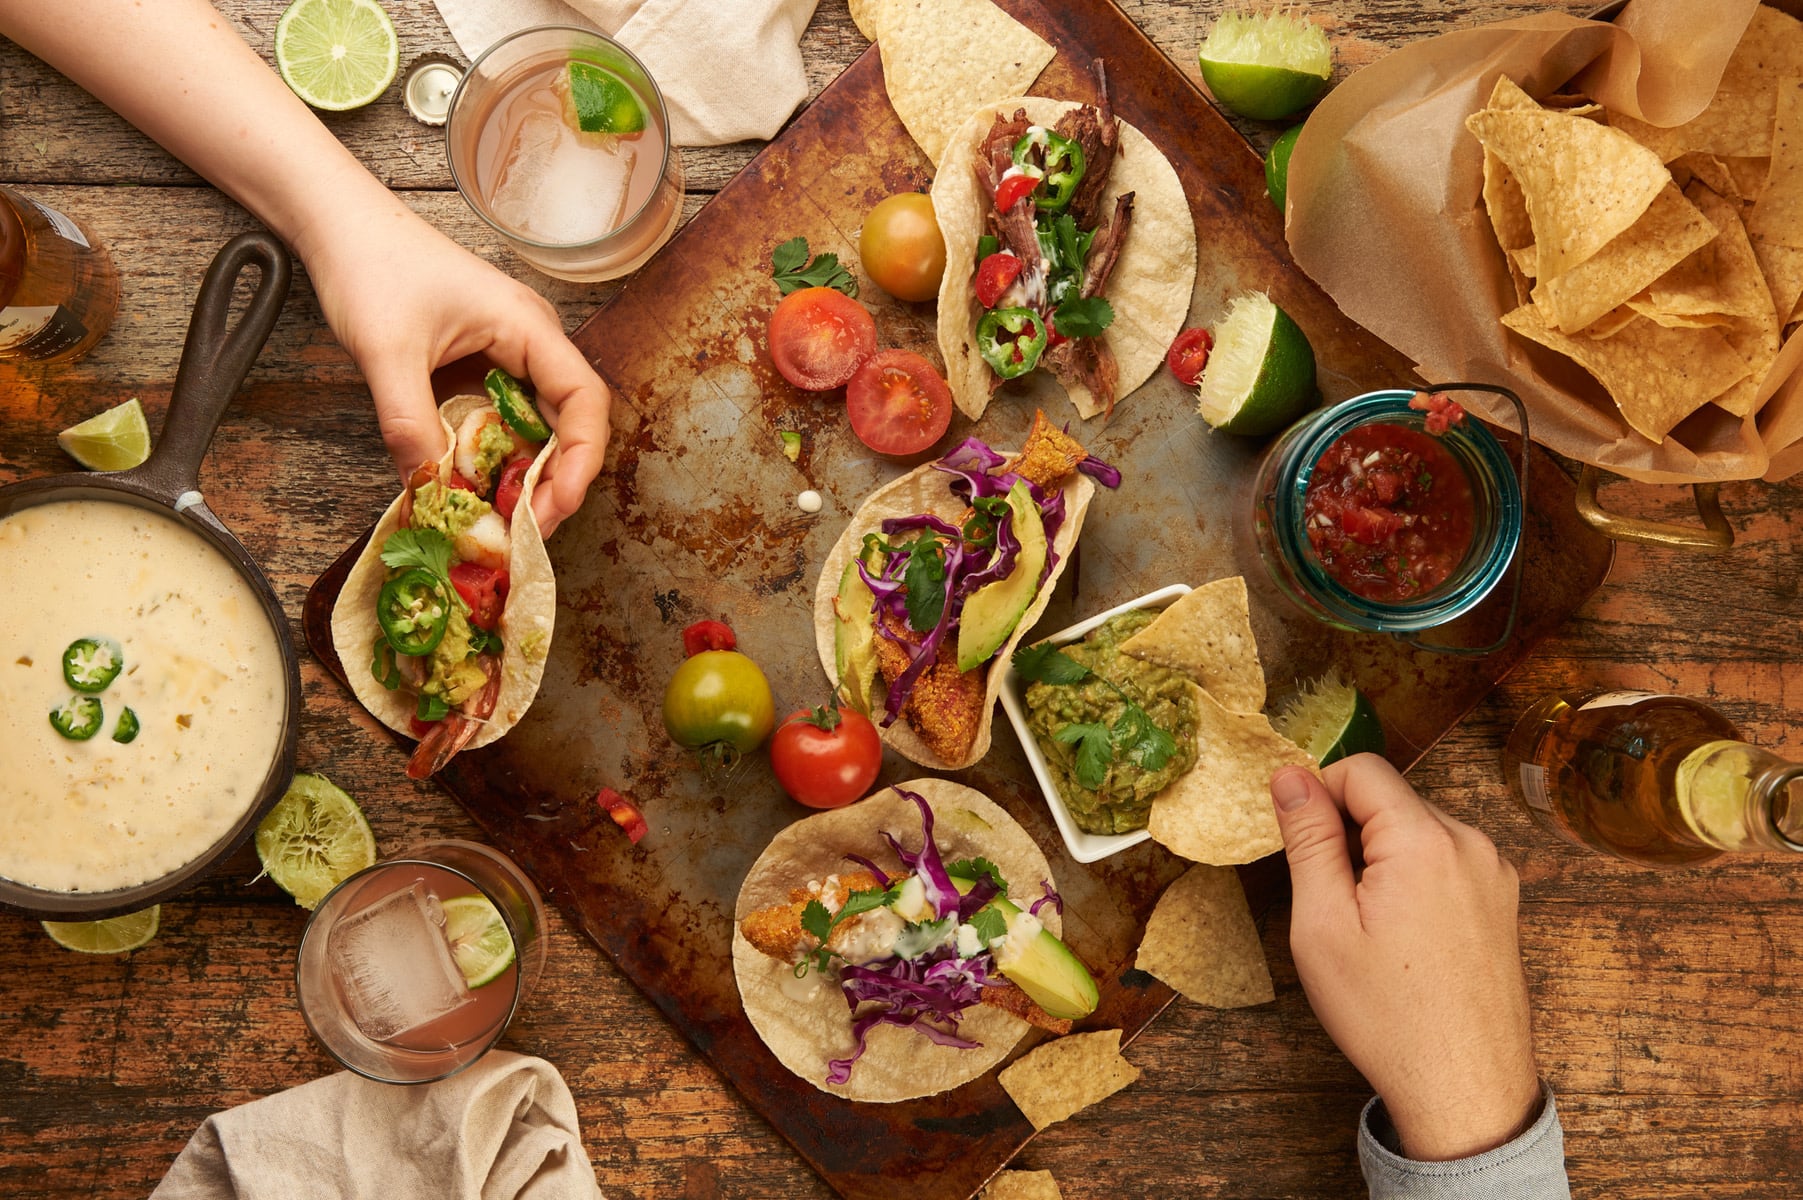
3. Composition
Look at any great food photograph and you’ll notice the main dish is rarely the only subject in frame. Food photographers style their images with background dishes, utensils, napkins, and other ingredients in order to draw the eye towards the main subject and add interest to a picture.
It’s important to know that when we look at photographs, our eyes naturally fall on certain intersection points of a frame. Photographers capitalize on this information with the Rule of Thirds.
A common misconception is that the Rule of Thirds involves including three different items in a photograph to create interest, but the technique has nothing to do with placing objects in groups of three.
To follow the Rule of Thirds, imagine that your frame is divided into an even nine part grid, just like a Sudoku puzzle. The main subject of a photograph should be positioned either at the intersections of these lines, or along them.
Whether the subject is a piece of pizza, a lemon, or a bowl of soup, the Rule of Thirds never changes.
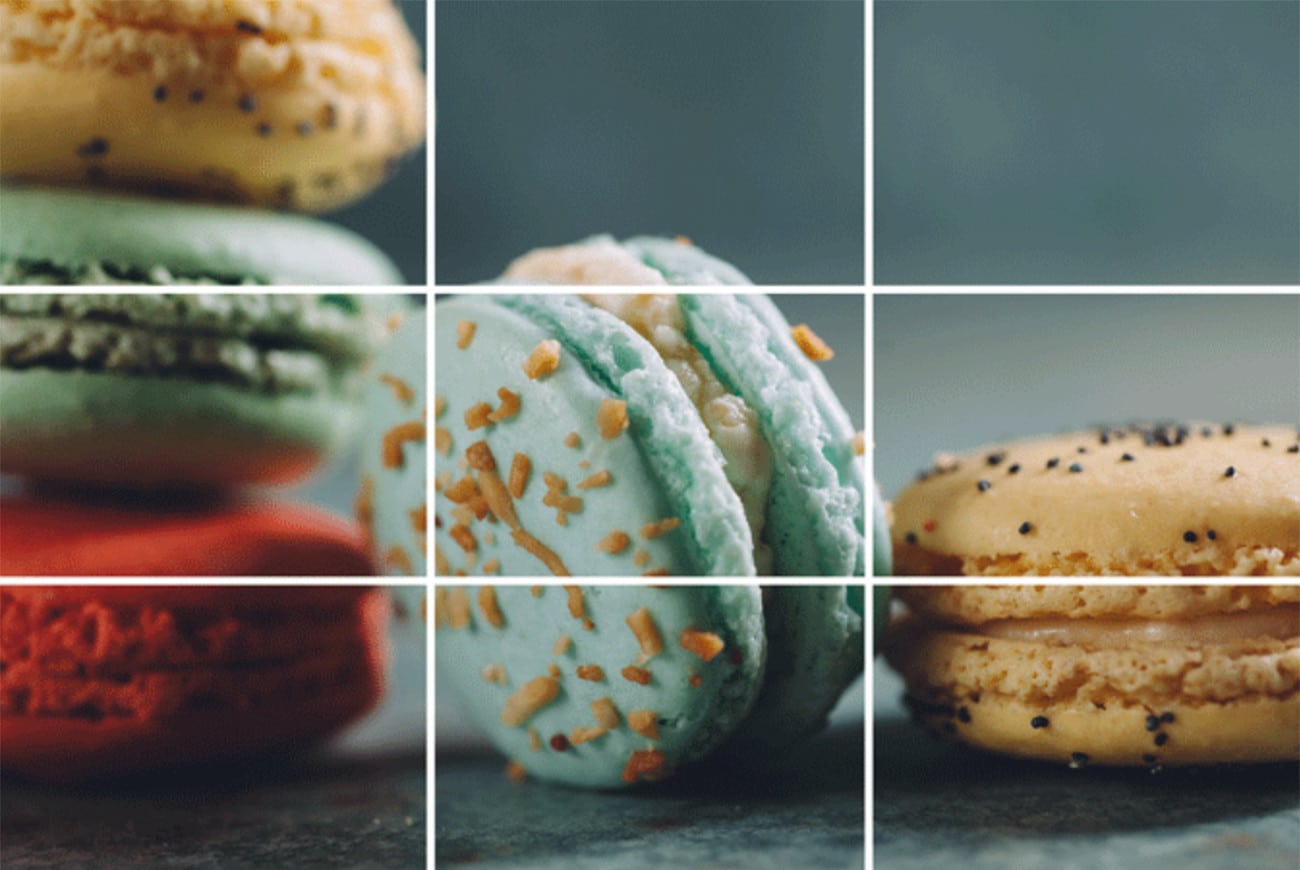
(via Creative Market)
When you look at the image above, you’ll notice that something draws your eyes in towards the screen. Without something in an intersection, the image falls flat.
While the Rule of Thirds is a good concept to keep in mind, especially when you’re just starting out, it doesn’t always have to be applied. Sometimes you may want to zoom into a piece of food—say, a melted and chewy chocolate chip cookie to show off its delicious texture. In this instance, you might find that the rule of thirds doesn’t apply.
When it comes to composition, it’s also important to decide what angle you want to shoot your food from. Many food photographs tend to display their subjects from a bird’s-eye view, but this isn’t the only option photographers have when it comes to showing off the best features of different foods.
Deciding which angle to shoot from means considering the appealing aspects of a subject: are you photographing a towering milkshake stacked to the brim with whipped cream, sprinkles, and maraschino cherries? A tall glass of fresh pressed juice? Or a tall plate of spaghetti with meatballs stacked one on top of the other?
If your subject has some height to it, you might want to consider shooting from a straight or slightly tilted 45-degree angle in order to best show off its defining factors.
On the other hand, if you’re shooting a mostly flat subject like a smoothie bowl, donut, or open faced sandwich, choosing a bird’s-eye view angle will help display all the best features in a more two-dimensional subject.

Peter Frank Edwards Portfolio
4. Food styling
While composition is going to help add interest and focus to your images, great food photography needs great food styling.
You may not usually eat breakfast with a scatter of coconut flakes, pumpkin seeds, and hemp hearts elegantly draped beside your morning toast, but employing these types of stylistic choices is going to help draw people’s interest to the main subject in frame.
Here are the styling techniques to keep in mind:
- Choose your best-looking plate, bowl, or serving dish.
Don’t be afraid to try unconventional options like wooden plates, marble cutting boards, or stone bowls and see how they work for your photographs. If you can’t splurge on the expensive stuff, don’t worry! A lot of unique serving ware can be found at secondhand shops for a quarter of the price of more expensive retail outlets.
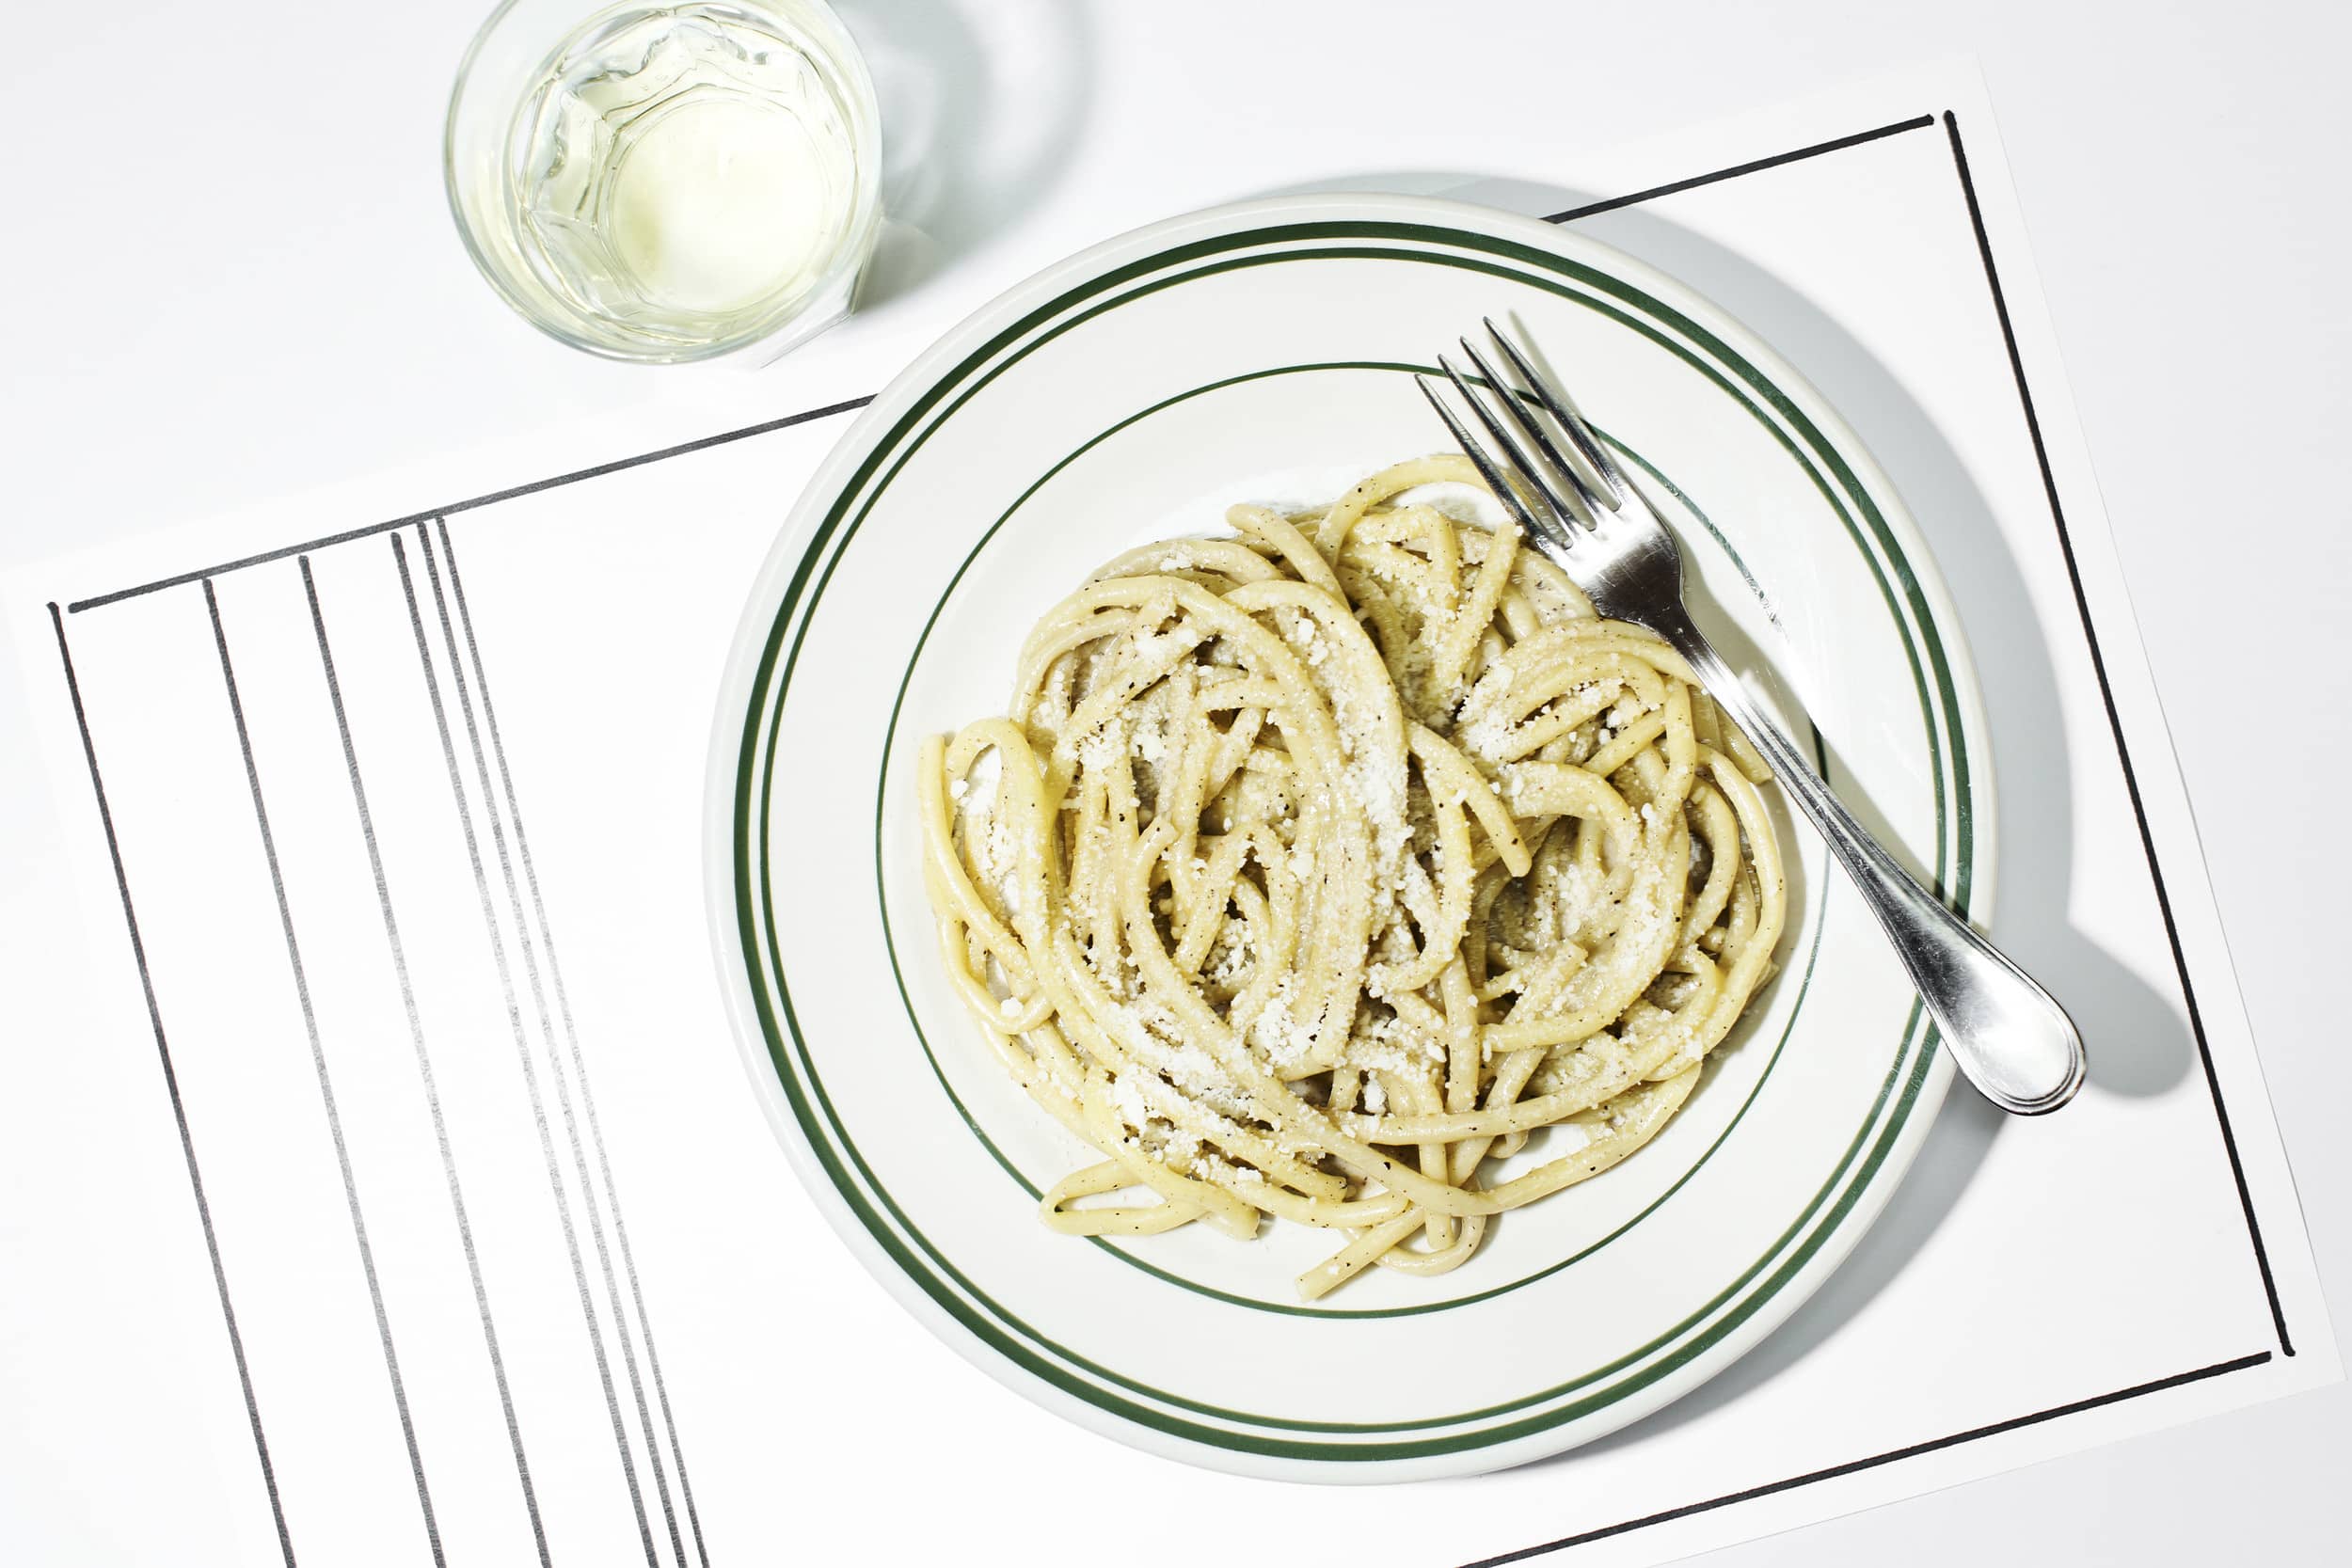
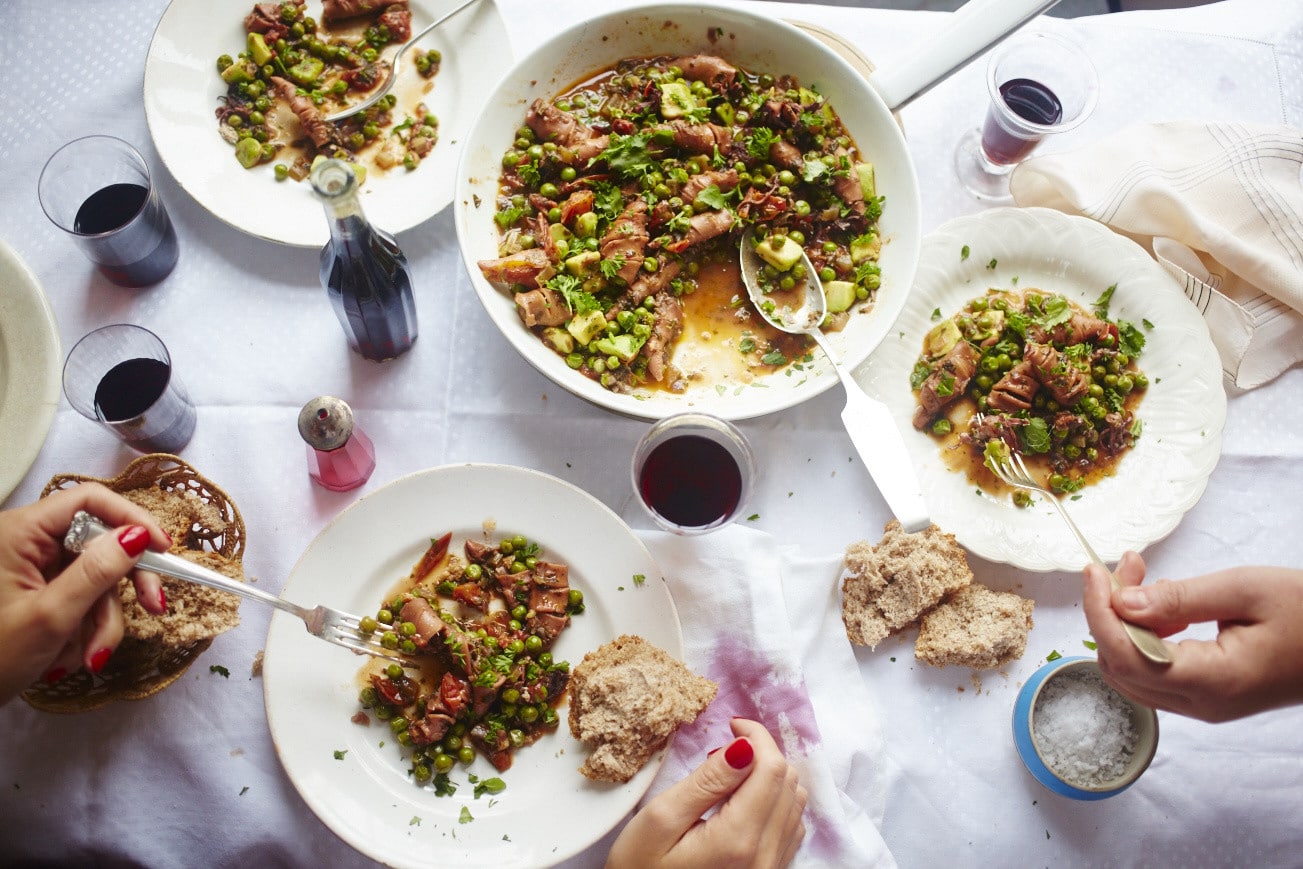
- Don’t forget about cutlery.
Many great food photographs use cutlery to ground the image in reality, and give the viewer a sense that they could just dive right in.
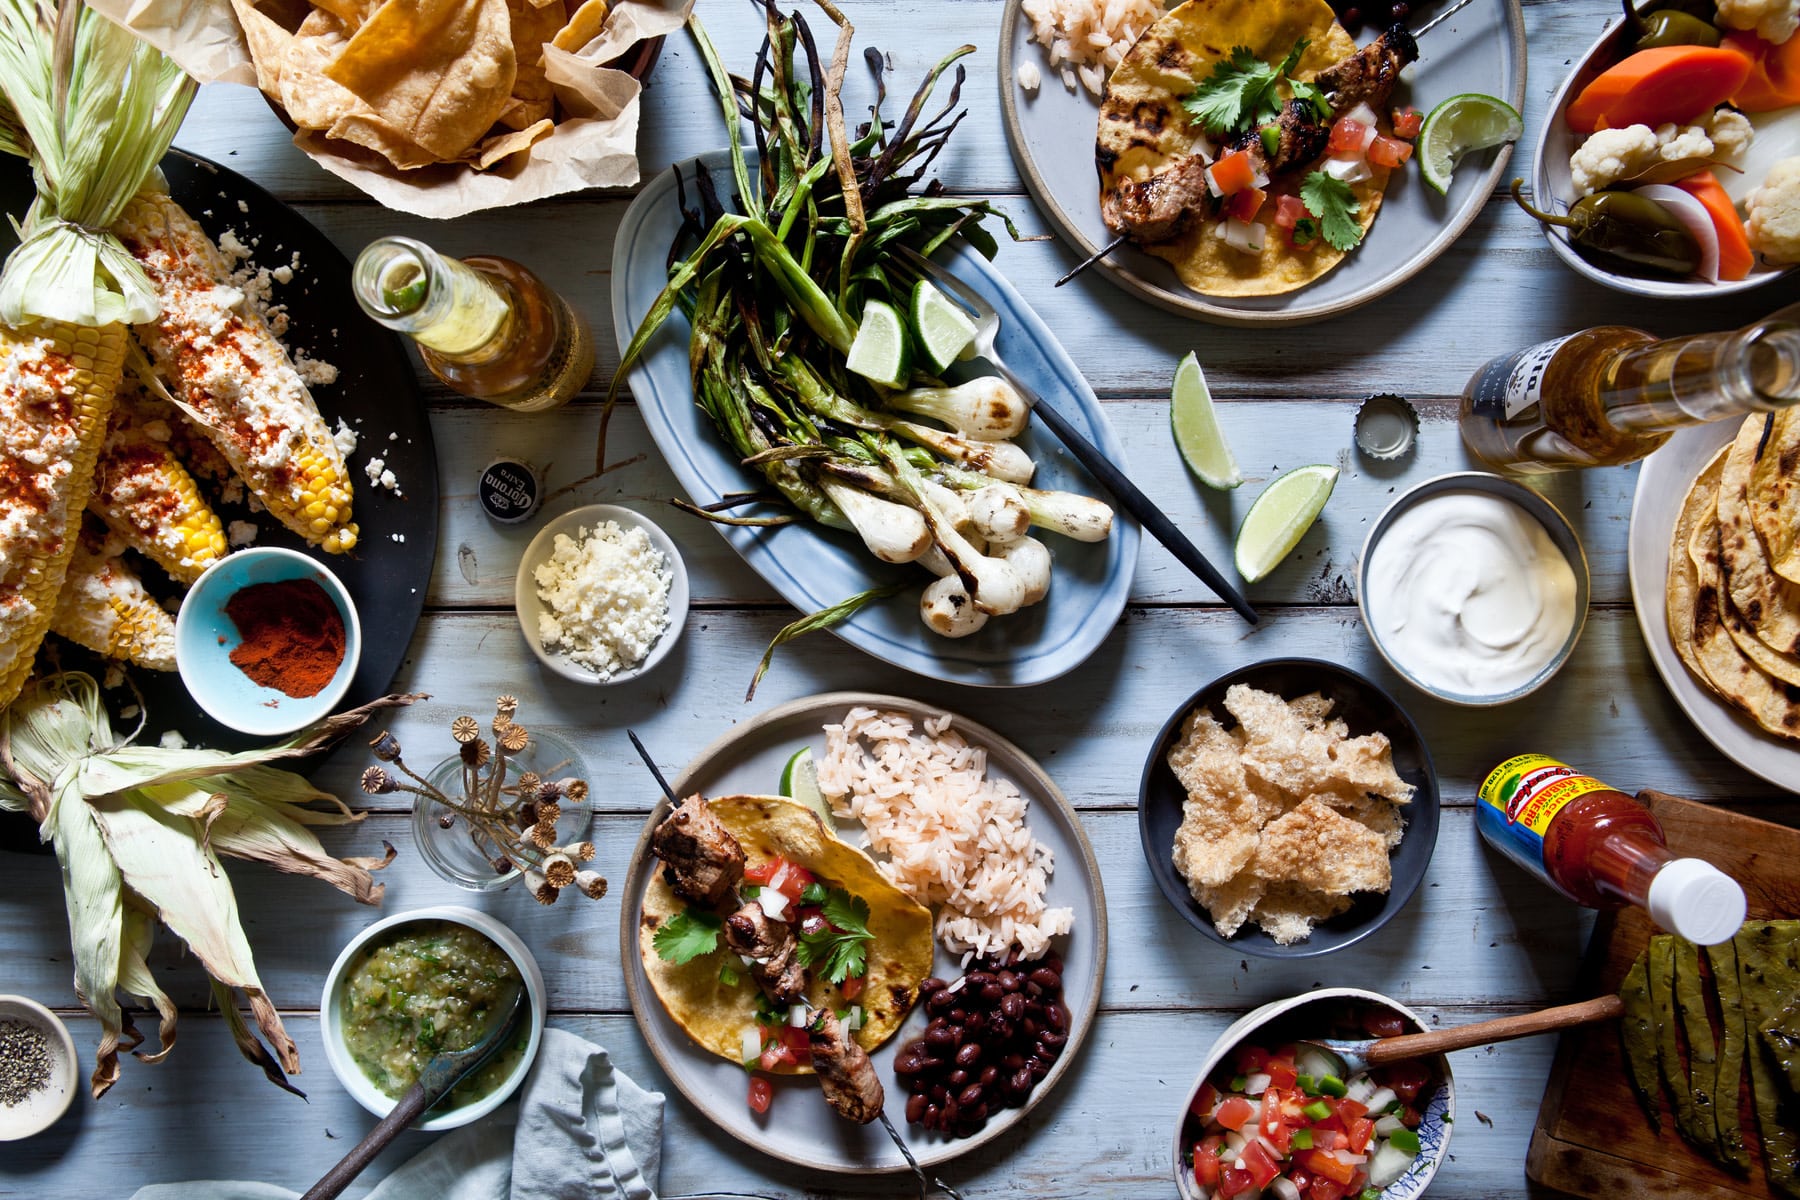
- Use fresh ingredients as background details.
A few juicy lime slices and hot chili flakes scattered beside a monotonous (but delicious) plate of Pad Thai helps to freshen up the image. Don’t be afraid to experiment with unlikely background details like leaves or dried flowers. When executed correctly, your viewer isn’t going to be wondering how leaves got on the table, they’re going to be wondering how your images look so great.
- A cloth napkin adds color and texture to an image.
While a blue linen napkin behind a roast chicken can help make the image pop, a detailed or embroidered napkin can add texture beside a bowl of soup.
- Don’t forget the garnish.
A sprinkle of parsley can add life to a brown-hued plate of Bolognese as much as a sprinkle of cilantro and olive oil can take a regular bowl of guacamole to the next level.
Dylan + Jeni Portfolio
5. Establish a style
Many successful food photographers have a signature food style that they stick to—rustic, minimal, modern. They’ve honed in on their specific style to differentiate their photographs from the next.
It’s likely that you’ve already started streamlining your own food photography style without even realizing it. Congratulations! Your own individual food style develops when you actively select which plate to use, where to position your photograph, and which accessories to add to the frame.
Once you establish how you want your photographs to look, work hard to make each image consistent with the next. Before you know it, you’ll be on your way to creating unique food images individual to your own taste.
Peter Frank Edwards Portfolio
6. Consider extra equipment
While extra equipment isn’t necessary to get the perfect food shot—especially if you plan to take your photos at the right time of day—investing in more gear can help guarantee you’re going to get a great shot without having to rely too much on the time of day or the weather.
Even if you don’t plan on purchasing professional equipment, knowing what each item does can help you get a better image as it will help you understand how professional photographers manipulate their surroundings to get a great shot.
Tripod
A tripod might not be at the top of your “must have” list if your primary audience is located on Instagram, but you can guarantee that when professional food photographers shoot for high-profile recipe books and food magazines, they always have a tripod on deck. Even the smallest shake can be seen in large, high quality photographs, and with food photography, the more in-focus your subject is, the better.
Bounce Card
A bounce card is a large white surface that can be propped up to reflect light back onto a subject, helping eliminate unwanted shadows. Even if your lighting conditions are near perfect, a bounce card can be extremely helpful in getting an evenly lit shot.
The good news is you don’t have to spend hundreds of dollars to get the professional look a bounce card provides: you can make your own out of a piece of white poster board that can be purchased at office supply stores or dollar stores for less than $5.00.
Black Board
If you want to remove light from an image, either to create a darker effect of make sure a photograph isn’t going to end up overexposed if you’re shooting in bright light conditions, you’re going to need a black board to absorb excess light.
Black boards look like bounce cards, except instead of being white in color, you guessed it, they’re black. They can also be DIY-ed out of black poster board for less than the price of a burger and fries.
Artificial Lighting
Because you can’t guarantee that an oversized window with sunlight streaming in will present itself every time you want to shoot, many professionals turn to artificial light.
The common method is to use studio lights with softbox attachments because they help mimic the natural light we all prefer. Unfortunately, many lighting options and softbox attachments can be expensive and bulky.
If you aren’t looking to spend hundreds, or even thousands of dollars on light fixtures just yet, you can position two desk lamps on either side of a subject and use a bounce card to reflect light back onto the frame.

Hélène Dujardin Portfolio
7. Know your camera’s settings
Aperture (F-Stop) deals with the amount of light entering a camera lens. The wider you set your aperture, the more light you’ll be letting into your camera, and the brighter your image will be. The narrower it is, the darker it will be.
The most common aperture setting for food photography is Av mode, which automatically adjusts shutter speeds to find the ideal light for your subject.
Shutter speed deals with how slow or fast your shutter opens and closes. Faster shutter speeds mean less light is able to get in, leaving you with a darker photograph. The opposite is true for slow shutter speeds.
ISO involves a camera’s digital sensor. It’s especially useful in low light settings when an open aperture might not provide a clear image alone. When taking food photography, you should always reach for an ISO of 400 or less, and avoid going higher than 1600 on most commercial cameras.

Dylan + Jeni Portfolio
8. Filters and editing
Thanks to Instagram, many of us are already familiar with basic photo editing techniques and know software like Photoshop isn’t necessary to achieve a drool-worthy picture.
However, basic color and exposure correcting software can help make a good food image great. The good news is that this equipment has never been easier to use. Many straightforward photo-editing applications are available for download on iOS and Android devices.
Popular apps include VSCO Cam, Photo Editor by Aviary, and Snapseed. These apps come with preset filters and built in correcting features.
As a rule, if you decide to use a pre-set filter on a food image, you should always aim to make the image look as natural as possible. Some heavy filters can make food look like it’s fake, or even take away from a subject’s natural texture.
If you love the way a filter looks but think it might be a little too harsh for your subject, try dimming it down until you find the right level of subtlety for your image.
Peter Frank Edwards Portfolio
9. Trust your eye
Ultimately, a good food photograph comes down to trusting yourself. If you’ve followed all the steps of taking drool-worthy food photos, and feel something still isn’t right, it probably isn’t: go with your instincts and don’t be afraid to break the rules. Even if you’re not feeling too confident with the photographs, there are lots of other great resources and food photography tips that can help you take your food photography to the next level.
Every image is different and there will never be a single rule that applies to all of them. That’s why the most important tool a photographer has is their own eye. Learn how to trust it and your photographs will make people want to lick the screen.
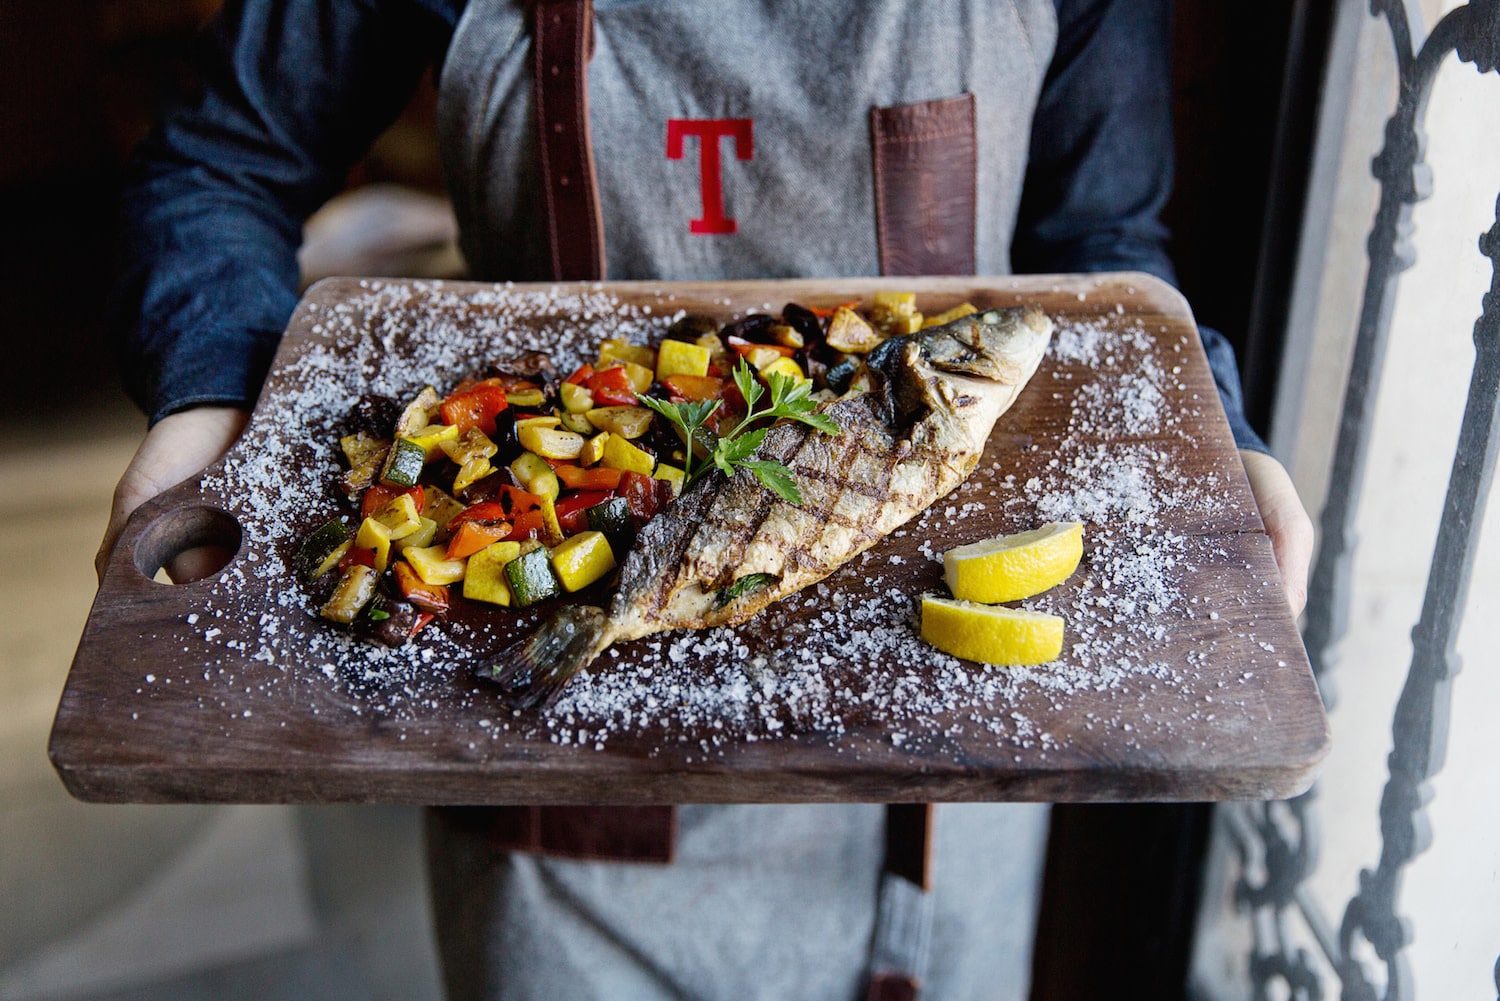
(Header Image: Aaron Schorch Portfolio)