

Why Art Documentation is Essential for Artists
For artists, proof of work is paramount. If it wasn’t for art documentation, we wouldn’t have a canon of art history. Our knowledge would be limited to our immediate communities and field of vision. Reproducing art allows us to disseminate our work widely and, in professional terms, secure representation, exhibitions, and funding.
Who This Guide to Art Documentation is For
The elephant in the room is this: aside from exhibition documentation, or records of work displayed in situ, photographers, film, and media artists don’t have to worry about documenting their work as much—their work can already generate stills and movie files to share.
The artists who need this guide are likely painters, sculptors, illustrators, textile artists, and makers; this piece is for you!
Why You Should Document Your Own Work
Es gibt ein paar Gründe, warum du das vielleicht selbst machen willst:
- You don’t have the money to pay a professional photographer.
- Du hast es satt, einen professionellen Fotografen zu bezahlen und willst nur einmal und nie wieder investieren.
- A professional photographer let you down—was it out of focus? The white balance off?
- You’re making work faster than you can book to document—especially true of makers who are creating to sell on their sites.
- Du hast bereits einige Fotokenntnisse durch eine interdisziplinäre Ausbildung oder durch Selbstständigkeit und glaubst, dass du diese Aufgabe übernehmen kannst.
- You live in an area where skilled photographers aren’t easy to find.
Was auch immer der Grund ist, dieser Leitfaden wird dir helfen, die Grundlagen für die Veröffentlichung deiner Arbeit zu schaffen.
Choosing the Right Gear to Document Your Art
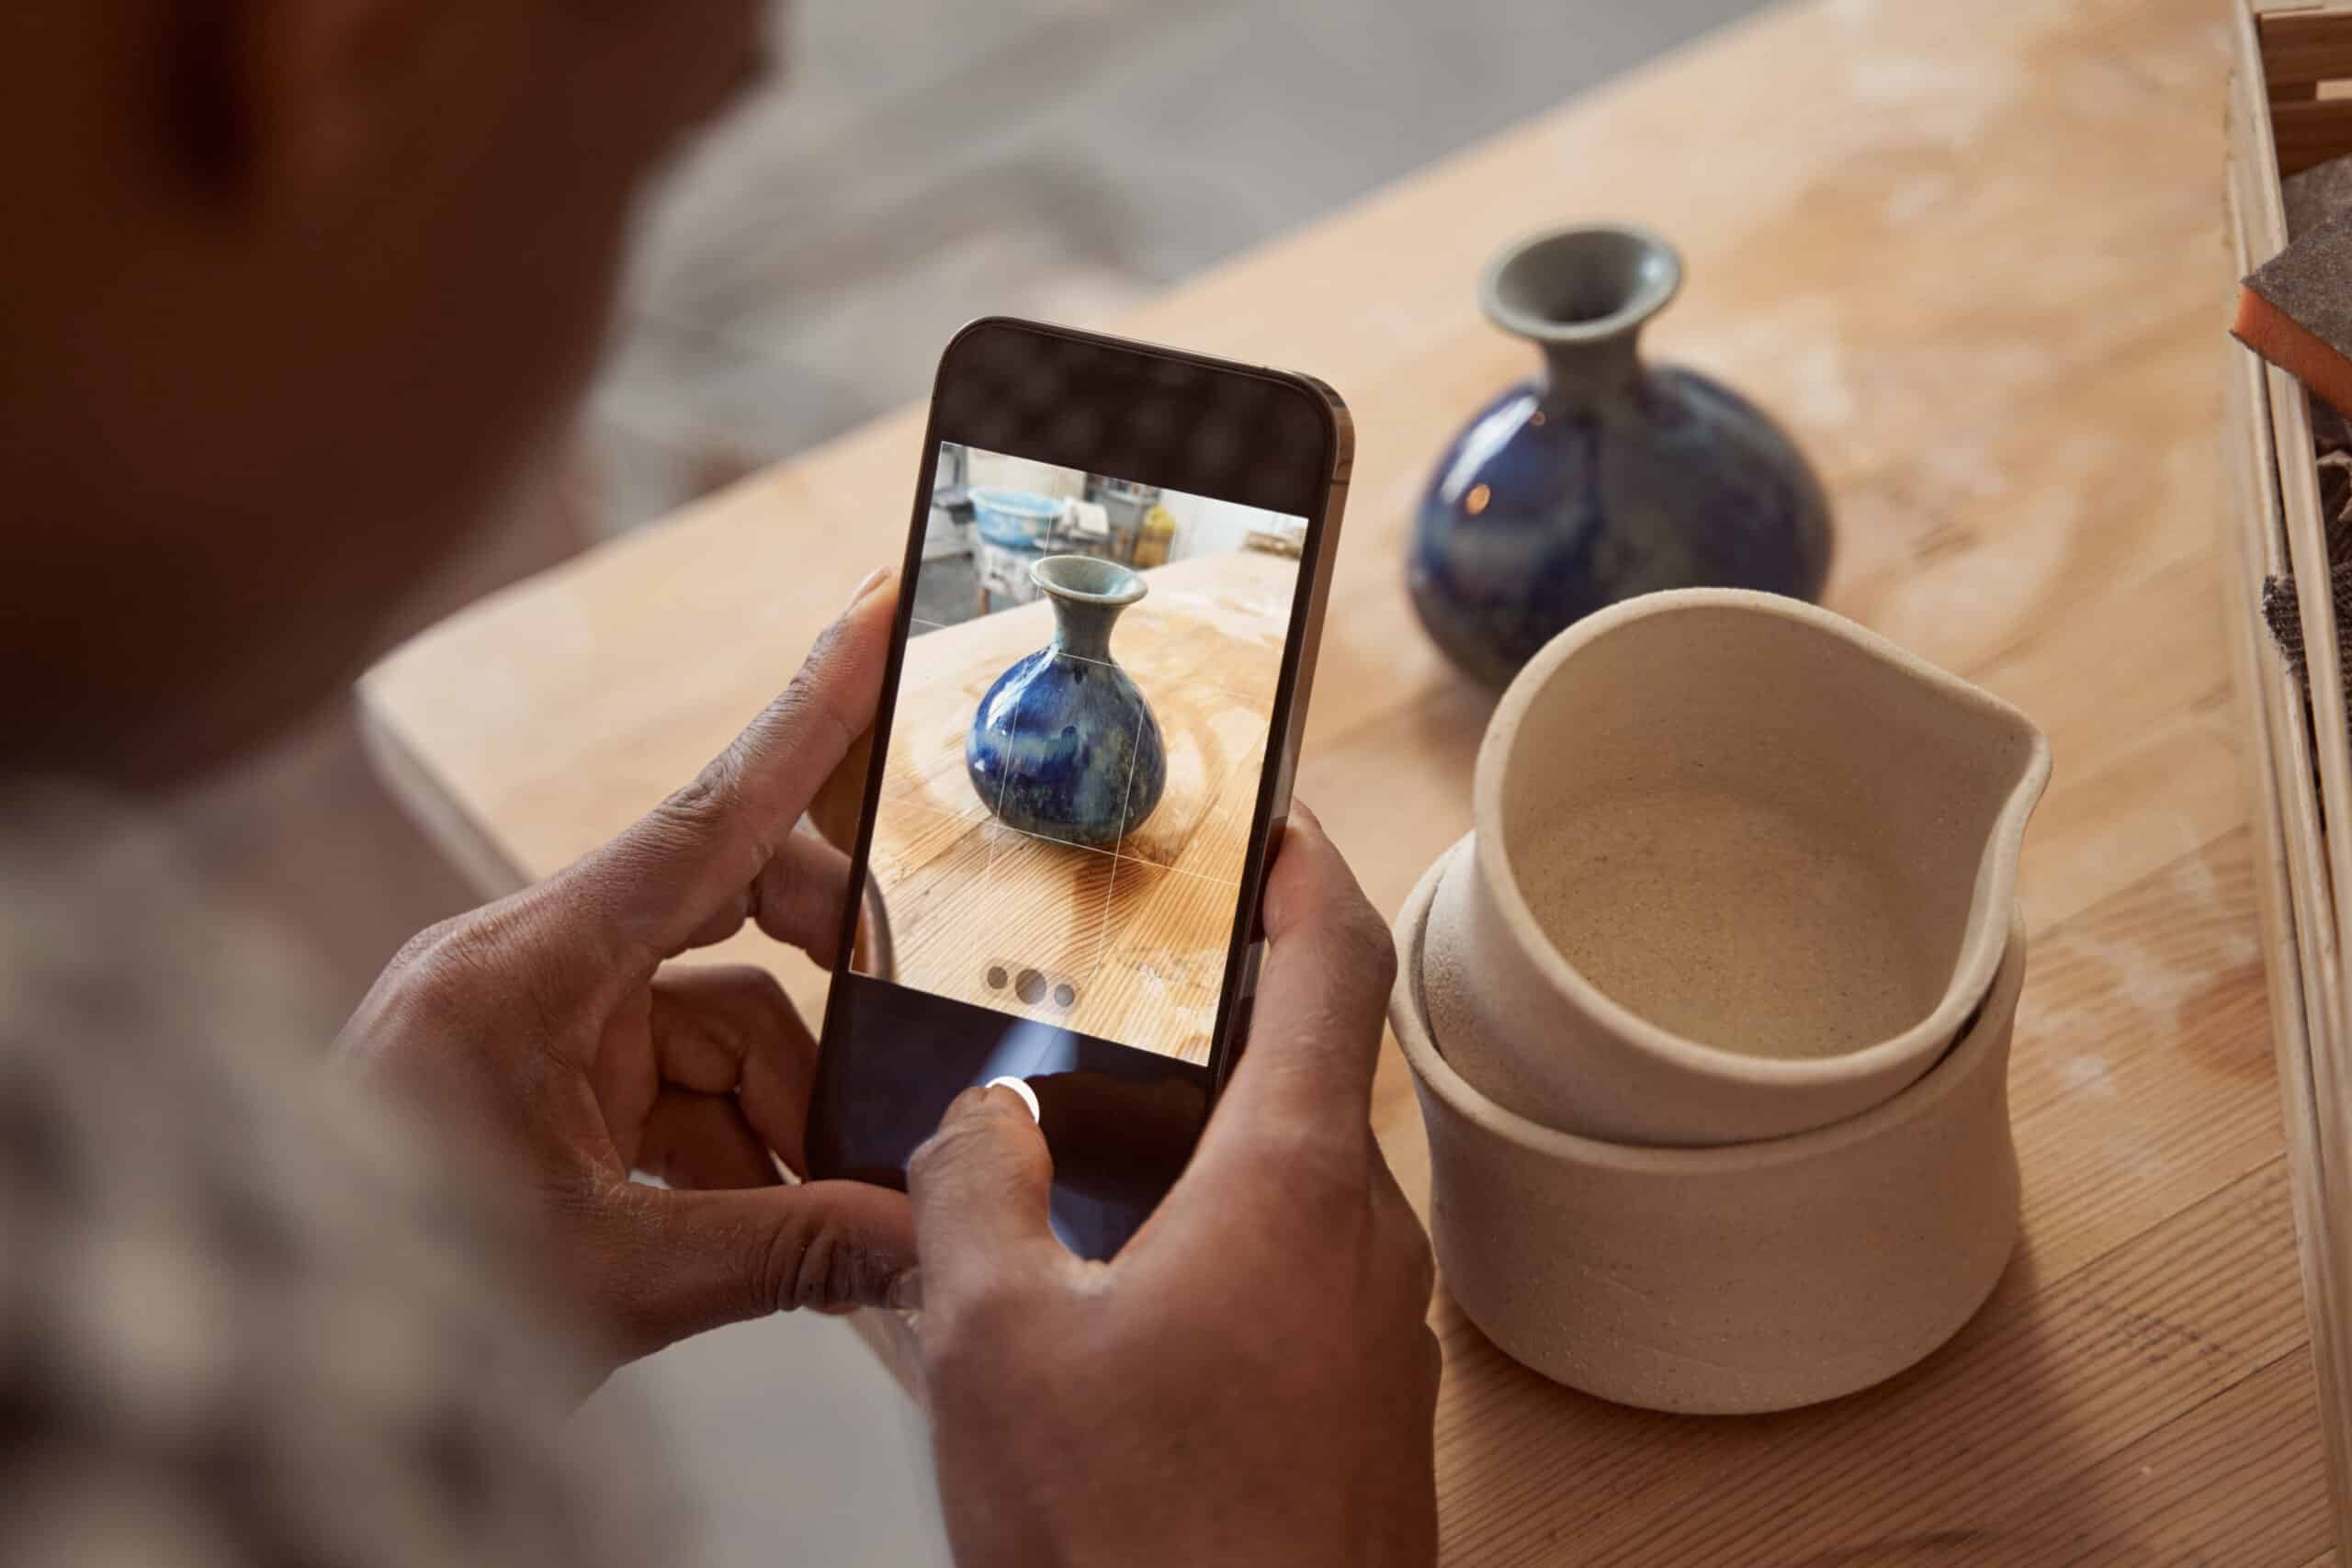
Before we get into the possible gear you may need, it’s important to first ask yourself where the images are meant to go. If it’s your website, social media, or selling platform, the investment in a camera may not be necessary. Your phone might just be all you need! If it’s for a catalogue, book, magazine, or reproduction, you’re going to want to take a different approach and make an investment.
Arten der Dokumentation
Copy Documentation: When art is documented to show the piece, isolated, with as much detail as possible. The purpose of this kind of image is for use in your portfolio, social media, or for reproduction.
Installation Documentation: This is a record of your work as exhibited in a show or hung in a physical space. The aim is to photograph the work with full view of the space to show the work’s scale.
Cameras & Phones
If a camera isn’t already a tool of your practice, you have a decision to make: get a mid-range one that will do an amazing job for your purposes, or, if you have a smartphone with a decent resolution and the option to shoot RAW file type, you can get some excellent results with what you have. Most phones have zoom options from wide angle to macro, allowing for a great deal of control in capturing a space.
Dreibein
To get the best outcome with the most detail, you’ll need whatever you’re shooting with to be very still. If you’re a shaky leaf or your artwork requires low-light for display, you will need a tripod. Tripods for phones are easy and affordable. You can also stand them on a chair, stool, or stack of books to get the right height.
Types of Beleuchtung
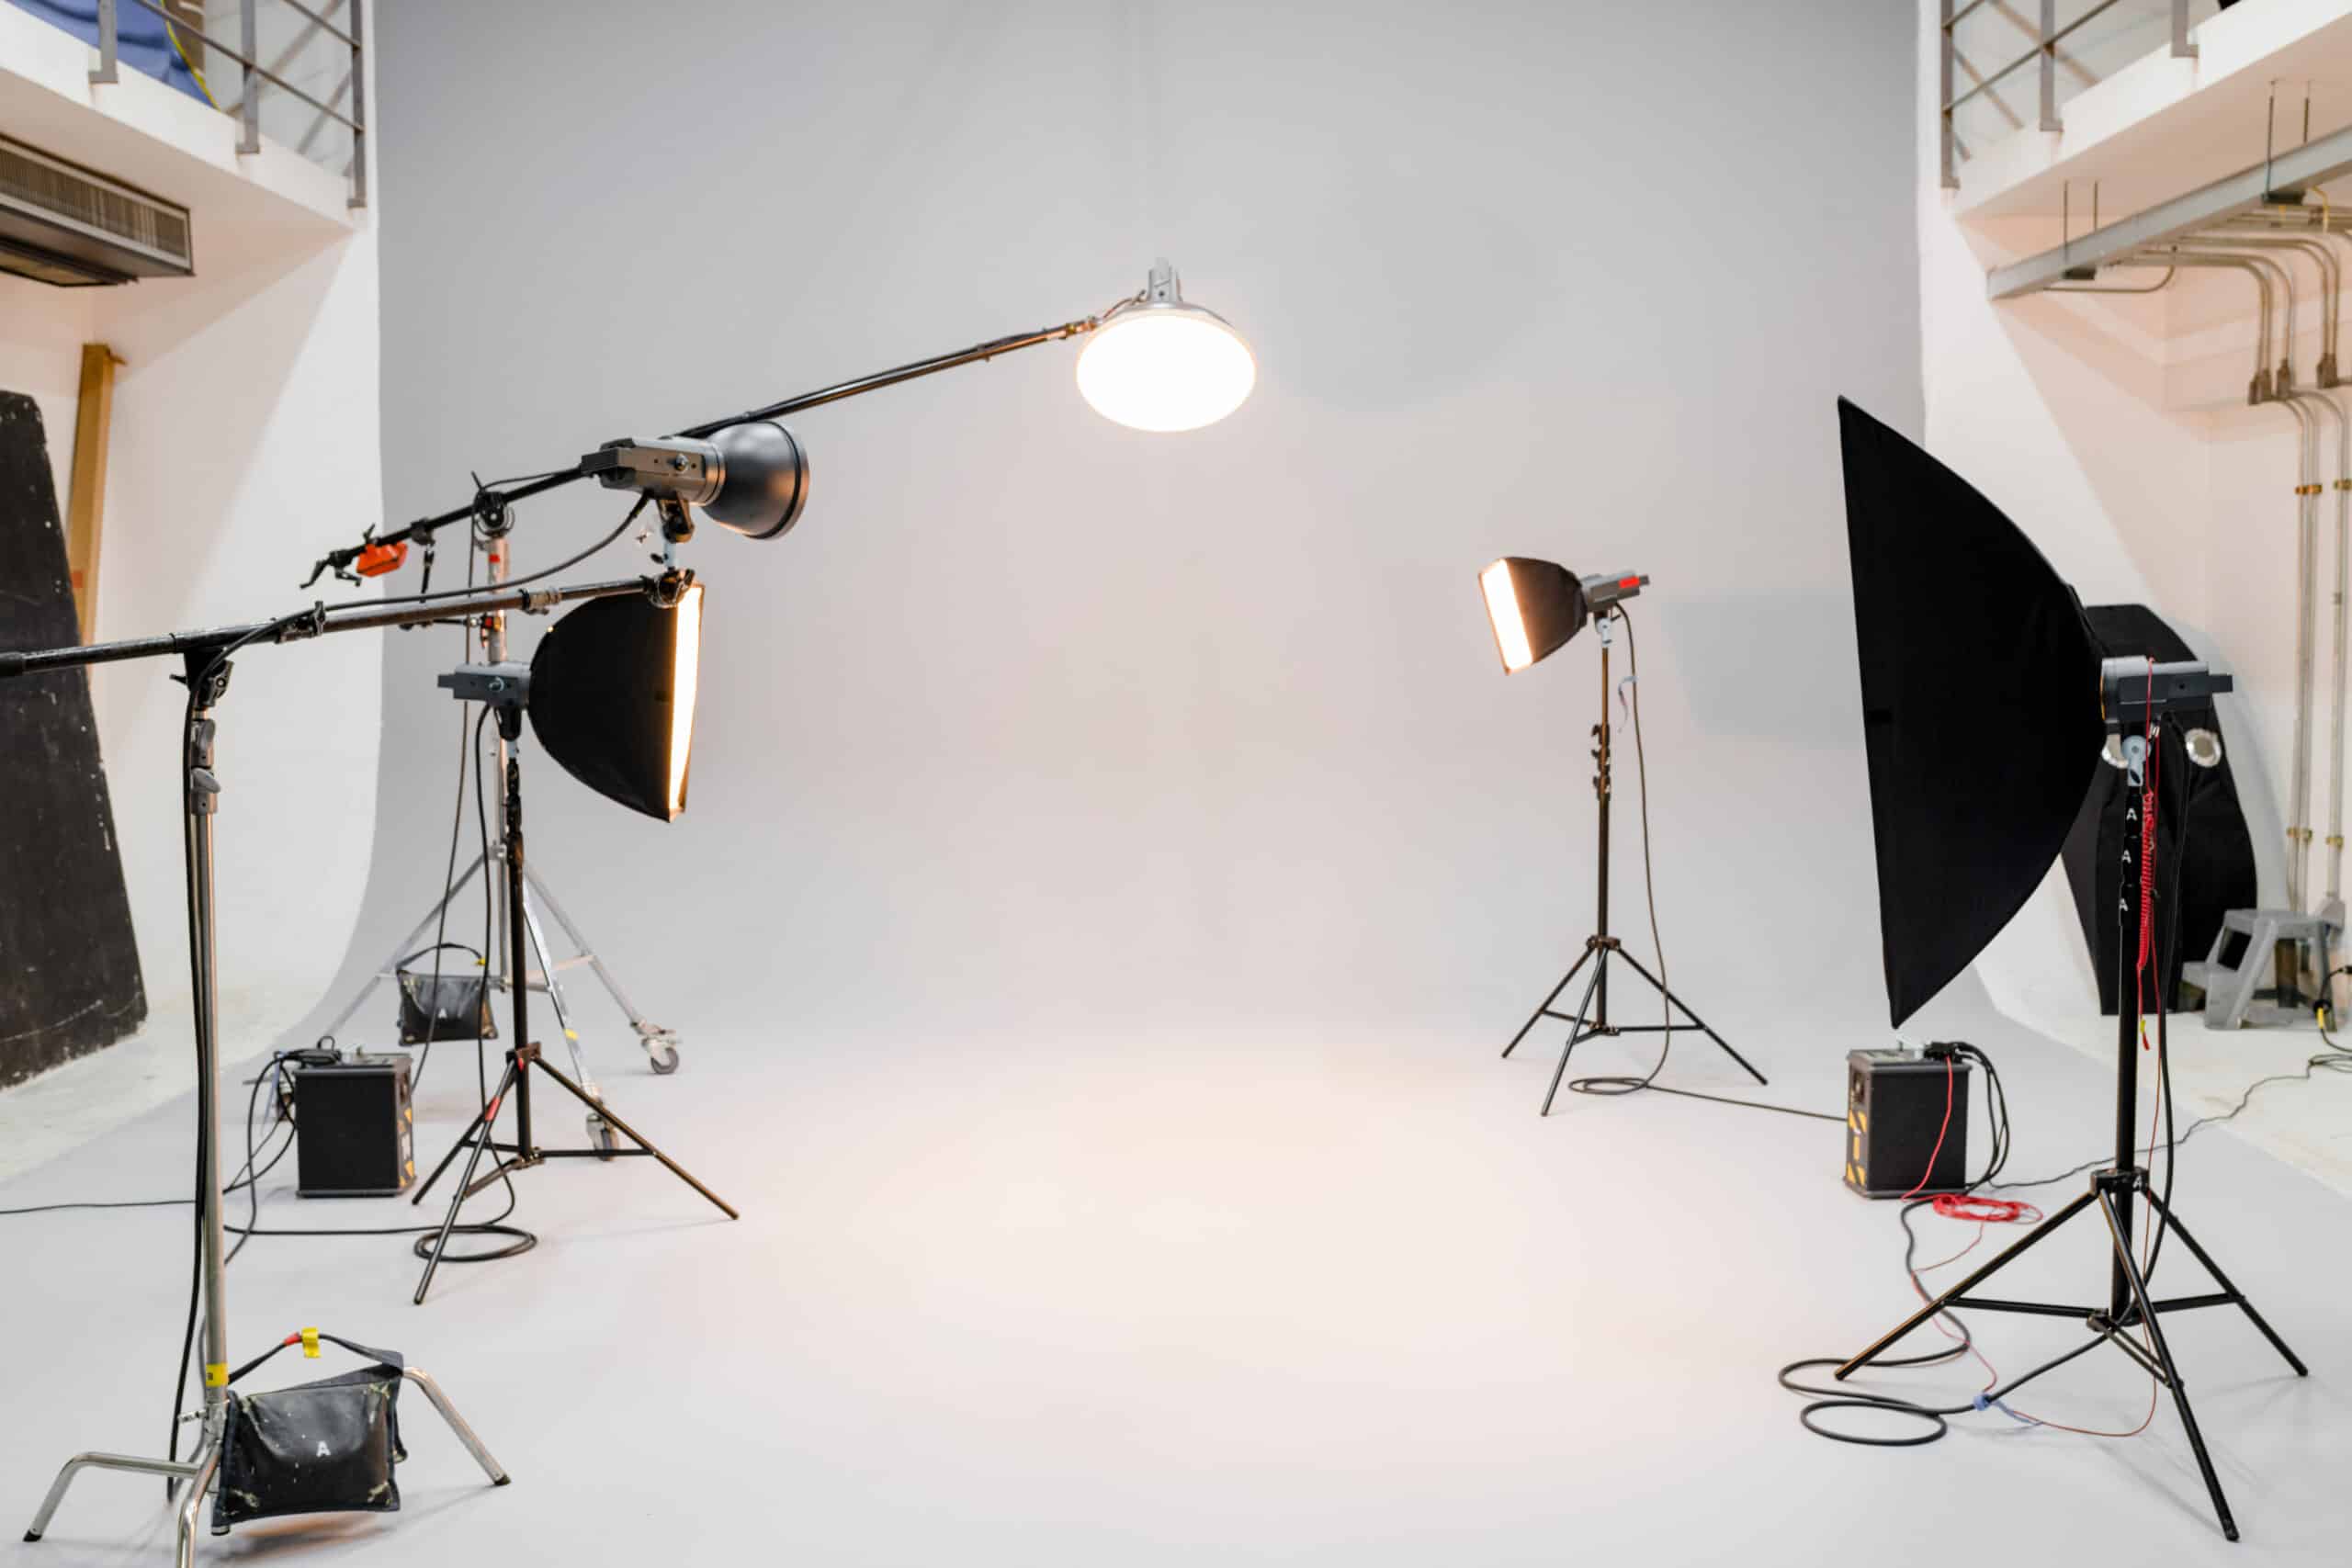
The essential element of photography, even more than the camera itself, is light. Lighting for art documentation can be so tricky to get right, but it doesn’t have to be expensive.
- Tube Lighting: These are affordable and portable. If you work very large, it would be worth purchasing two so that you can place them on either side of the piece to evenly distribute light.
- Strobe Lighting: A strobe is a very strong fill flash. This is a good investment to consider if you have a lot of art you need documented in a very consistent manner, especially for reproduction at scale.
- Reflector: A reflector or “bounce” can help soften or redirect light to areas in which the direct path has dropped off. It is one of the cheapest tools in a photographer’s kit, and for a price point in the $40 range, it has a significant impact for the investment.
Mastering Your Camera Settings and Lighting
Shooting RAW vs. JPEG
For either smartphone or camera, shooting RAW means you’re recording all the information in the scene directly from the sensor without any inferences/interpretation. This gives you greater control over editing in post-production. If you want to avoid extensive editing and that control is not a priority, shoot the largest JPEG possible.
Manual Settings on a Camera
- ISO: Always shoot with the lowest ISO possible—you want those pixels free of crunch and distortion.
- Blende: Du solltest mit einer Blendenöffnung von f8 oder mehr fotografieren. Je kleiner die Blende ist, desto größer ist die Schärfentiefe. Das bedeutet, dass das gesamte Werk im Fokus ist.

Color Balancing for Copy Documentation
Getting the color of your work to be accurately recorded can be tricky. You can try calibrating your camera’s white balance against the palette of colors in your work until they look accurate, or you can invest in a color-checker, a little passport of color chips to insert somewhere in your frame. As a visual artist already familiar with your own work, you may be able to do without and trust your eye in shooting or editing.
Lighting Your Work for Documentation
To get the most accurate representation of your work, you want to make sure that the piece is evenly lit. To achieve this inside, you need to create a 1:1 lighting scenario. This means that for each light, there is one placed opposite it, the same distance from the work, directed at the same angle. The easiest way of achieving this is a light on either side of the artwork.
You can also achieve copy documentation lighting if you can take the work outside. It shouldn’t be an overly sunny day, because then you may have some directional light issues to deal with, like glare or harsh shadows. Lightly overcast days are the best because clouds naturally diffuse and even out the light.

A Step-by-Step Workflow for Art Documentation
Wie du deine Ausstellungen dokumentierst
- Appraise the Conditions: Ideally, the exhibition space is lit well, and you won’t have to modify or bring additional lighting. The trickiest variable is when a gallery space has more than one type of lighting. In these instances, you may want to ask that one source be turned off or make another trip to the gallery at night.
- Walk Around: Take a moment to walk the space as a viewer and artist. Make a quick shot list so that you’re sure to capture all the vantage points you’ve identified as most interesting.
- Adjust: Set up your camera/phone and tripod, and check your settings. If you’re feeling really unsure, go with auto and move forward. Take the photos!
Wie kopiere ich ein Dokument?
- For Paintings/Drawings: Hang the piece on the wall at a comfortable height so that you can ensure a completely flat, straight-on perspective.
- For Sculptures: Cover a table with a large piece of paper. This will sit under the sculpture. Curve the paper upward and have it attached to an arm or taped to your wall. If it’s a white object, consider using a contrasting shade of paper.
Editing Your Photographs
Post-production can do a lot to save a shoot, but when going into the planning and execution of your documentation, you will want to try to get your settings as close as possible so that you can save yourself a lot of work.
Hier siehst du, was du in kostenpflichtigen und kostenlosen Apps und Programmen zuverlässig nachbearbeiten kannst:
- Horizontale und vertikale Verschiebungen
- Weißabgleich
- Smudges and weird walls
- Farbbrillanz, Belichtung, Kontrast, Schatten
- Some amount of sharpness and clarity
Software for Editing Your Images
If you’re saving money by not hiring a professional, you may still have to spend money somewhere. Some of the really necessary features like lens correction, RAW file editing, and fine-tuning are going to be paywalled.
Choose an editing tool that will fit your budget and your skill level. Like most photographers with formal training, I use Adobe. It’s a love/hate relationship, but the tools do work. Other options include VSCO, Photomator, Photoscape X, or the open-source Darktable, which is a great free option.
Take Control of Your Image with a Professional Portfolio
There is a lot to consider and learn when documenting your own work. I know it seems daunting, but if you have the start-up funds and time to build your skillset, it’s going to be an incredible asset to your practice. With complete control over your documentation, how your work looks online and to the wider world will be in your hands.
You’ve gone the extra mile to document your art beautifully—now make sure it’s seen by the right people. A professionelles Portfolio website is a non-negotiable part of your art business. It’s where you attract new clients, connect with curators, and apply for opportunities. Versuche Format with a 14-day free trial today and build a stunning online portfolio that gets your work noticed.
.
Mitwirkende
-

Julia Martin ist eine interdisziplinäre Künstlerin und Autorin aus Montreal. Mit einem Master in Bildender Kunst und einem Bachelor in Fotografie hat sie ihre Werke schon in Kanada, China, Frankreich und Finnland gezeigt und war bei mehreren Künstlerresidenzen dabei. Sie hat an der Universität von Ottawa unterrichtet, war in Kunstjurys und hat fünfzehn Jahre Erfahrung als freiberufliche Fotografin. Julias eigene Kunst lässt sich am besten als "traurige Geschichten, unterbrochen von Witzen" beschreiben."
Manchmal ist es aber auch andersrum.