


There is a particular kind of photograph that asks you to look twice. A face that opens into a forest. A skyline pressed into a silhouette. A figure that seems to dissolve into the weather around it. Double exposure photography has been doing this quiet, strange work for more than a century, and it remains one of the most expressive techniques a photographer can use to say something that a single frame cannot.
It is also, refreshingly, a technique you can practice on almost any camera you already own.
This guide covers the three ways photographers create double exposures today: on film, on a digital camera with a built-in multiple exposure mode, and in Photoshop. We will also look at the creative decisions that separate a memorable layered image from a muddy one, and we will pull examples from the kind of work Format members are publishing in their portfolios right now.
What Is Double Exposure Photography?
A double exposure is a single image made from two exposures recorded on the same frame. Where the two scenes meet, they blend. Where one is bright and the other is dark, the dark area “accepts” the second image and the bright area dominates. That simple bit of optics is the entire engine behind the technique, whether you shoot film, digital, or composite in software.
The term multiple exposure refers to the same idea extended to three, four, or more layers. Most photographers start with two, because controlling two is hard enough.
The intent of a double exposure is usually emotional rather than literal. You are combining two subjects to suggest something a single subject could not: memory, identity, environment, transformation. It is closer to poetry than to documentary.
A Brief History of the Layered Image
Double exposures arrived almost as early as photography itself. In the 1860s, spiritualist photographers like William Mumler used the technique to “summon” ghosts into portraits, a hoax that fooled a grieving public, including, reportedly, Mary Todd Lincoln. By the 1920s and 30s, surrealists like Man Ray, László Moholy-Nagy, and Wanda Wulz had pulled the technique into fine art, using it to fracture identity and dream-state imagery.
The technique then quietly powered decades of commercial work: album covers, film posters (think Goldfinger, The Girl With the Dragon Tattoo), and editorial fashion. Today it is one of the most popular techniques on creator-led platforms because it produces a strong, scroll-stopping image with relatively simple equipment.
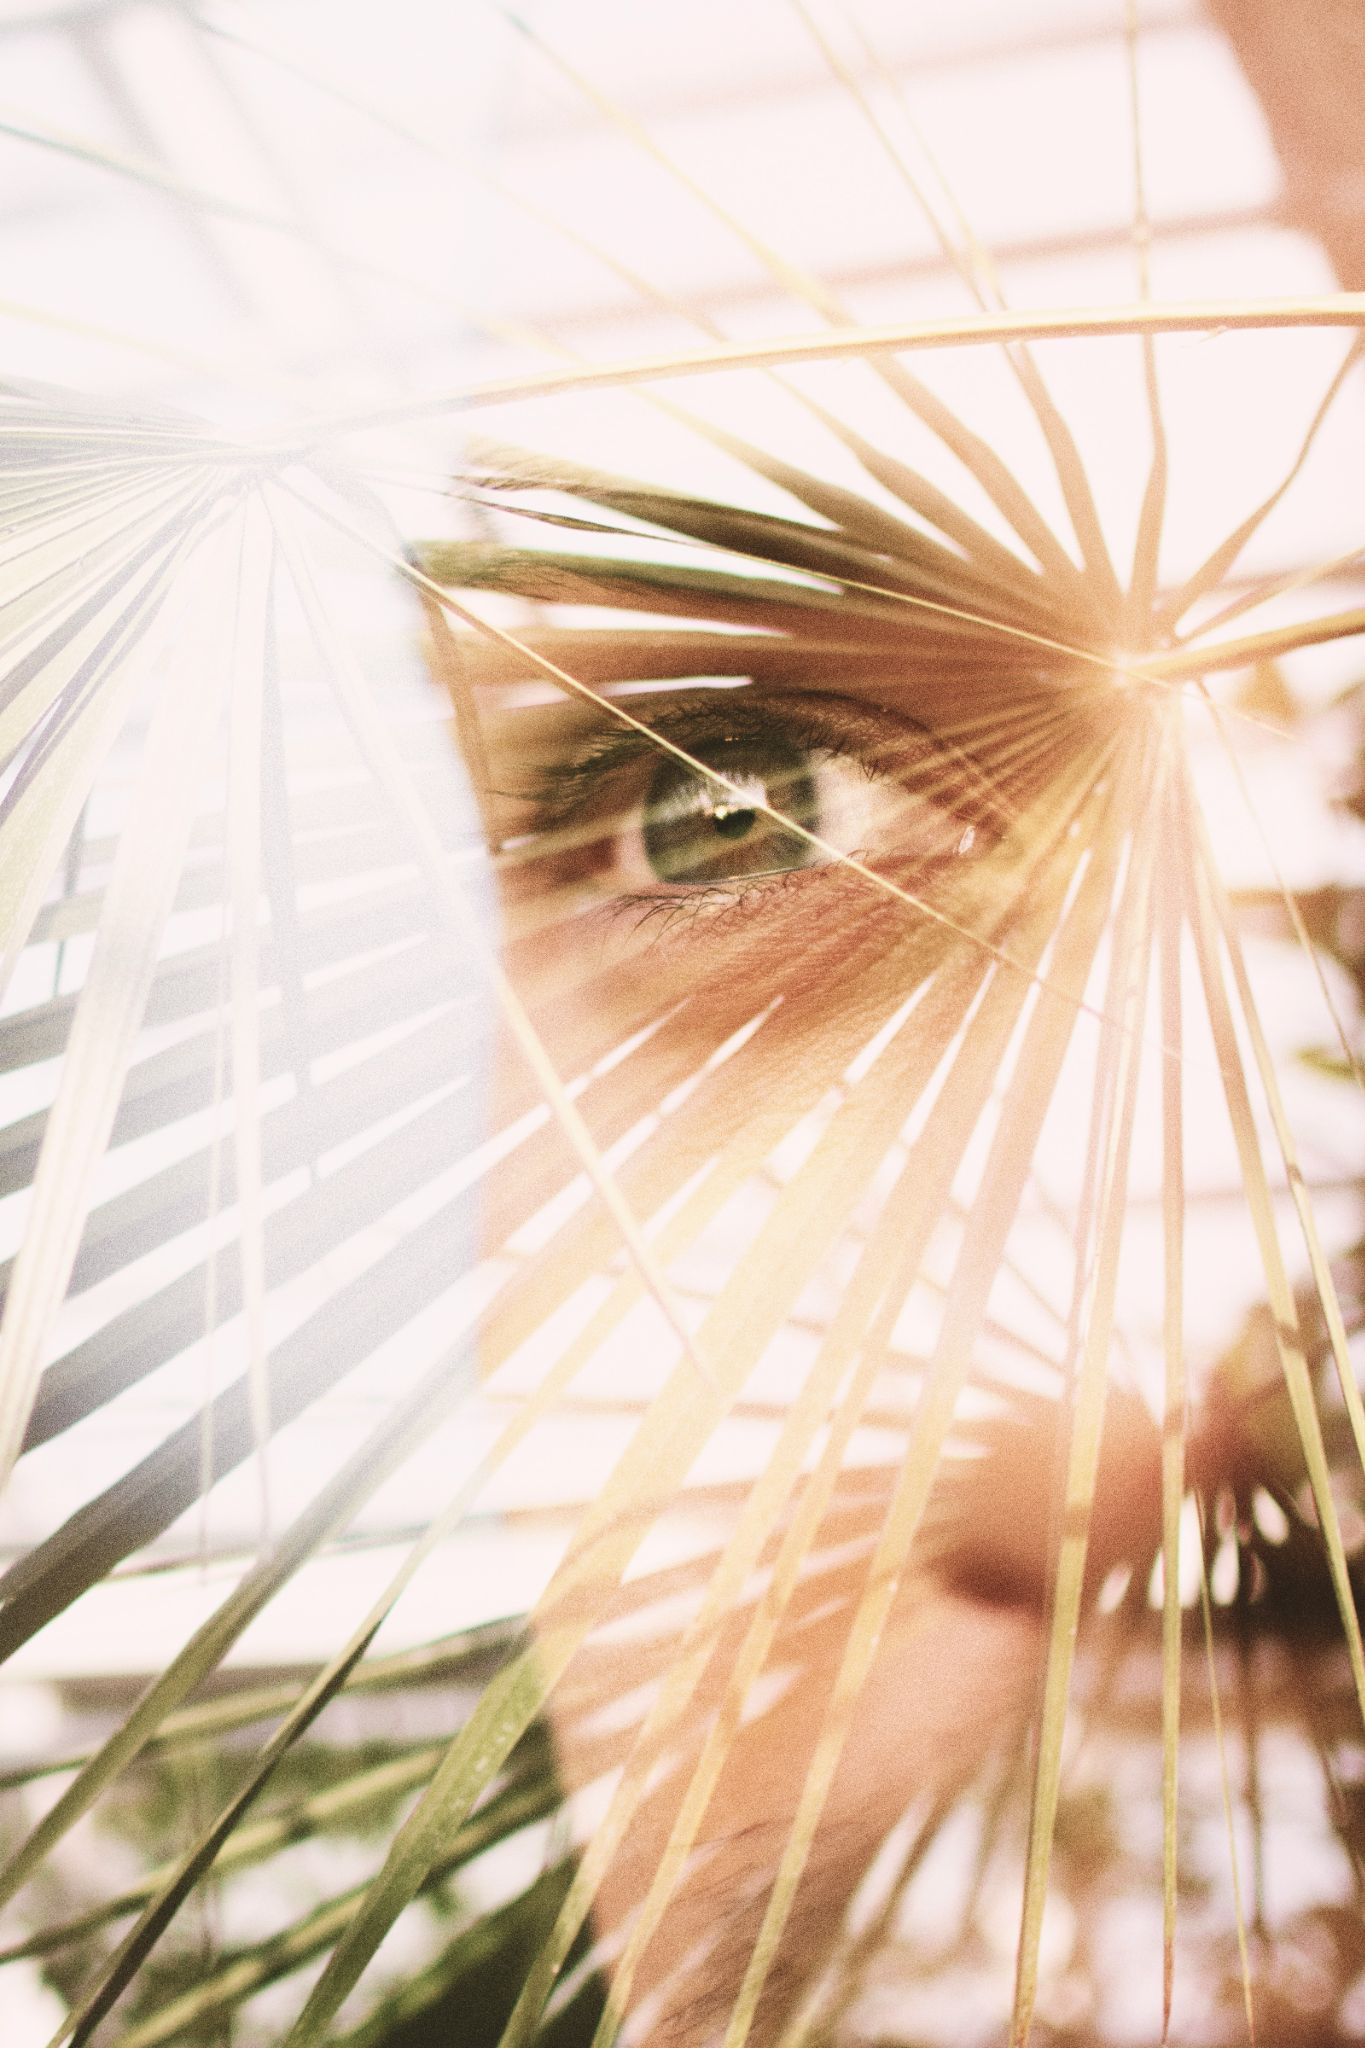
How to Shoot Double Exposure Photography on Film
Film is where the technique began, and it remains the most rewarding way to learn it. Every frame is a small wager, and the surprise of the developed roll is part of the appeal.
Cameras and gear
Any film camera with a multiple exposure lever or a manual rewind will work. Popular choices include the Nikon FE/FM series, Canon AE-1, Pentax K1000, the Hasselblad 500 series, and Lomography cameras like the LC-A+ and the LomoChrome line. Higher-contrast black and white stocks (HP5+, Tri-X, Delta 3200) give crisp silhouettes. Color negative film like Portra 400 produces softer, more painterly blends.
Some photographers with film cameras that don’t offer multiple exposure levers will also keep a notebook tracking what they photographed in each frame, and then shoot the entire roll again using their notes as a reference guide. This allows for a little more control over framing, although the final results are still a combination of luck and practice.
Step-by-step
- Choose your two subjects. Plan a “silhouette” frame (a shape with strong contrast, like a portrait against bright sky) and a “fill” frame (the texture or scene that will live inside the silhouette).
- Meter for each scene independently. Then underexpose each by roughly one stop. This is the most important rule of film double exposures.
- Shoot the silhouette frame first. Engage the multiple exposure lever, or rewind the film one click depending on your camera.
- Shoot your fill frame. Aim the dark area of the silhouette at the most interesting part of the fill scene.
- Advance the film and move on.
The two-stop rule
If you expose both frames normally, you will get an overexposed mess. The standard guideline is to underexpose each frame by one stop (combined: -2 stops total). For three exposures, drop each by roughly 1.5 stops. Many photographers cheat this rule depending on the contrast of their scenes, and that is part of the craft.
How to Create Double Exposure Photography on a Digital Camera
Most full-frame and high-end APS-C cameras released in the last decade include a multiple exposure mode. It lives in the shooting menu, sometimes under “Creative” or “Special Effects.” Canon, Nikon, Fujifilm, Sony, Pentax, and Olympus all support it, though menus differ.
Finding the multiple exposure setting
Look for “Multiple Exposure,” “Overlay,” or, on Fujifilm, “Multiple Exposure” under the drive menu. You will usually set the number of frames (start with two) and a blending mode.
Blending modes explained
| Blend Mode | What it does | Best for |
|---|---|---|
| Additive | Stacks brightness from both frames | Bright stars, fireworks, light trails |
| Average | Averages brightness automatically | A balanced look without manual exposure math |
| Bright (Lighten) | Keeps the brightest pixel from each frame | Layering a silhouette into a bright scene |
| Dark (Darken) | Keeps the darkest pixel from each frame | Layering a dark texture onto a portrait |
Most cameras also offer a live preview of the first frame on the LCD as you compose the second. Use it. It removes most of the guesswork and is one of the few ways digital genuinely outperforms film for this technique.
For a deeper walkthrough of in-camera DSLR multiple exposures, including a practical tutorial from a working photographer, see our companion guide on creating double exposures on a DSLR.

How to Create a Double Exposure in Photoshop
The Photoshop route trades the romance of in-camera work for total control. It is also how most editorial and commercial double exposures are actually produced.
Setting up your layers
- Open your base image (usually the portrait or silhouette).
- Place the second image as a new layer on top.
- Resize and position it inside the silhouette.
Blending modes that work
The four modes worth knowing:
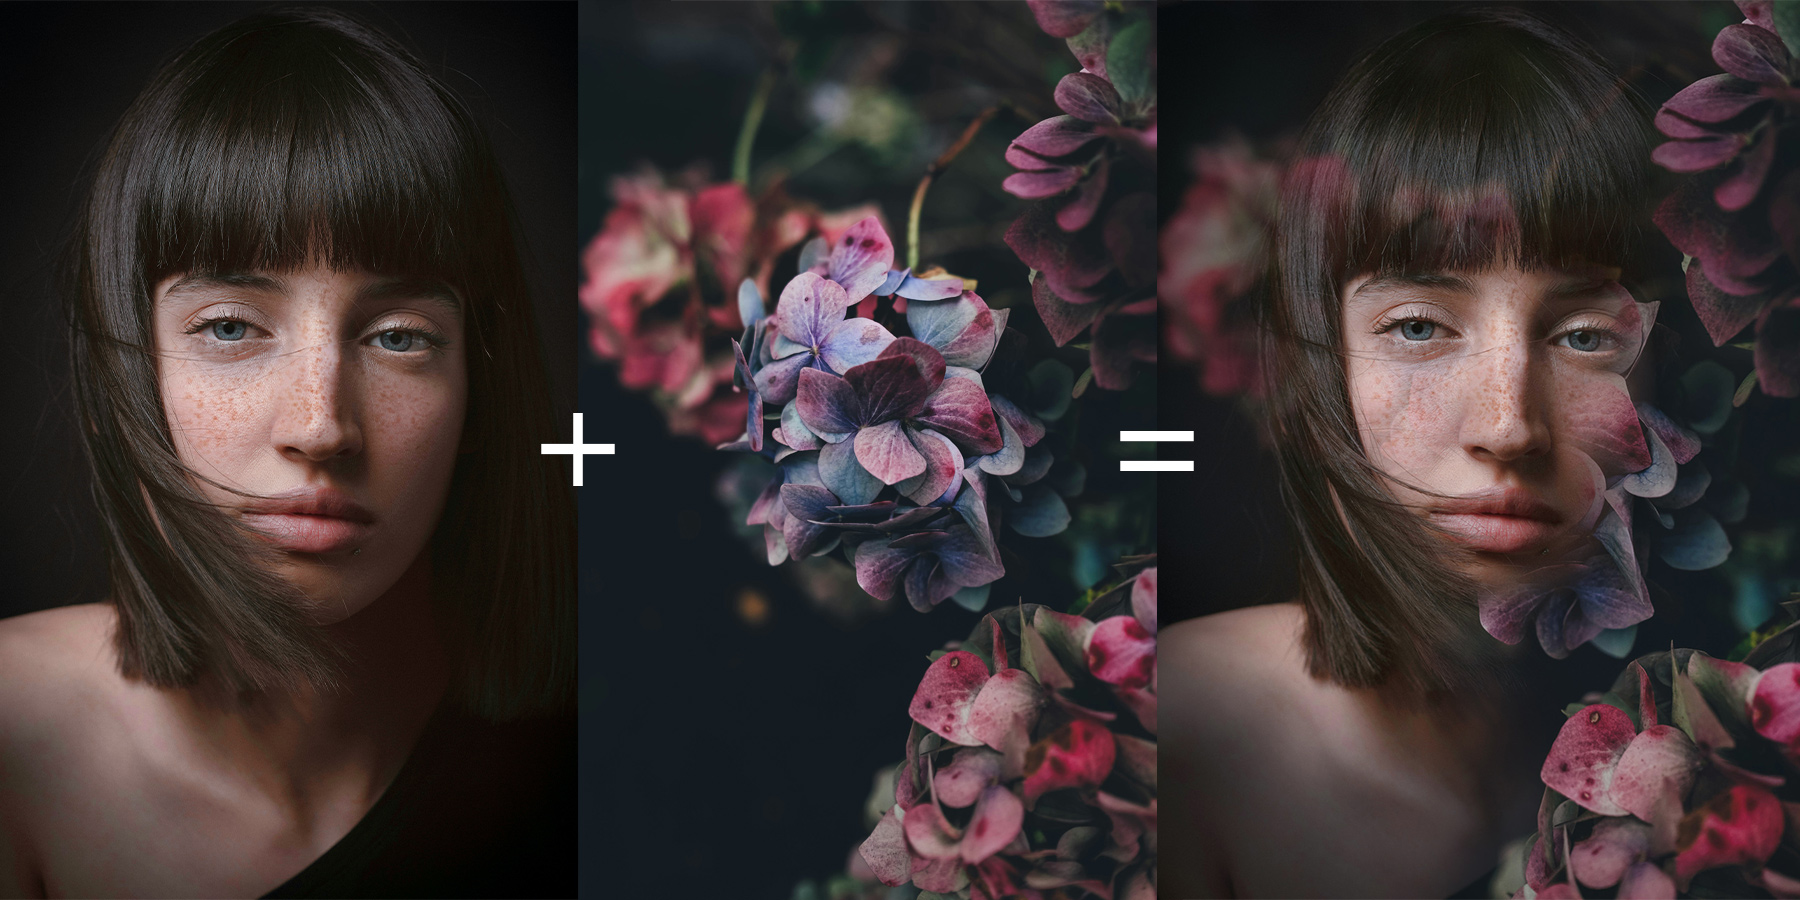
- Screen lightens. The black areas of the top layer disappear, leaving only the brighter content. This is the classic “portrait + landscape” recipe.
- Lighten behaves similarly to Screen but only replaces pixels where the top layer is brighter than the base. Cleaner edges.
- Multiply darkens. Useful when you want the top image to feel embedded in the shadow areas of the base.
- Overlay does both. Punchy, contrasty results that feel cinematic.
Layer masks for control
Add a black layer mask to the top layer and paint with a soft white brush to reveal the second image only where you want it. This single skill, more than anything else, separates amateur Photoshop double exposures from polished ones.

Creative Double Exposure Ideas Worth Trying
The technique itself is simple. What you do with it is the work. A few directions worth exploring:
- Portrait and nature. A profile filled with forest, mountains, or water. The most reproduced double exposure concept for a reason: it reads instantly as “inner landscape.”
- Architecture and figure. A subject layered with the building, neighborhood, or street that shaped them. Strong for documentary or editorial work.
- Self-portrait and motion. Two positions of the same person on the same frame. Wanda Wulz’s 1932 portrait of a woman mid-handstand is the early masterclass.
- Type and image. Layer text, signage, or graphic shapes into a portrait. Effective for personal branding and editorial covers.
- Surreal and conceptual. Combine objects that should not coexist (a face inside an aquarium, a city inside a flower). This is where double exposure earns its reputation as the most “writerly” technique in photography.
Once you start producing work in a consistent direction, the next move is usually presentation. A layered, atmospheric body of work calls for a portfolio that lets the imagery breathe. Format’s photography portfolio templates are designed for exactly this kind of editorial pacing.
Turn your best exposures into a body of work. Start a free trial and shape a portfolio as intentional as your imagery.
Five Mistakes to Avoid
- Not enough contrast in the silhouette frame. Without a clear bright/dark separation, the two frames just become noise.
- Forgetting to underexpose. This is the most common reason digital and film double exposures look washed out.
- Two busy subjects. Pair one detailed scene with one simple one. Two complex frames cancel each other.
- No plan. Random double exposures are almost never interesting. Decide what you want the image to say before you click.
- Over-relying on Photoshop blend modes alone. Screen mode is a starting point. Layer masks, opacity adjustments, and color grading are what finish the image.
Building a Portfolio Around Layered Work
Double exposure projects benefit from being shown as a series. A single image is a moment. A series is a vision. When you publish this kind of work, give each image room. Avoid grid layouts that fight the imagery’s softness. Look at the way photographers using creative photography techniques build out cohesive bodies of work, and consider sequencing your double exposures alongside related straight images for context.
If you are also experimenting with texture photography, double exposures pair naturally with that work. Both are about layering perception.
Give your layered work the room it deserves. Inizia la tua prova gratuita and build a portfolio that lets every double exposure breathe.
FAQ
Does it matter which exposure you take first? Not much. Take the silhouette first if it helps you compose the second frame, but the order has almost no impact on the final image.
Can you do double exposure on an iPhone? Yes, with apps like Snapseed, Union, or Lightroom Mobile. The principle (using layer masks and blend modes) is identical to Photoshop.
Why do my double exposures look muddy? Almost always one of three things: not enough contrast in the silhouette frame, both exposures too bright, or two busy subjects competing for attention.
Is double exposure the same as multiple exposure? Double is two frames. Multiple is three or more. Same technique, different math.