If you’re a photography fanatic with a passion for lifestyle photography, real estate photography, or product photography within the home, knowing how to capture the perfect interior shot is a skill you’ll need to master in order to take your repertoire to the next level.
Here, we’re looking at five top tips you can utilize to create artistic, technically impressive images of every interior you shoot—looking at everything from camera angles to set design, and everything in between.
1. Spend time setting the stage
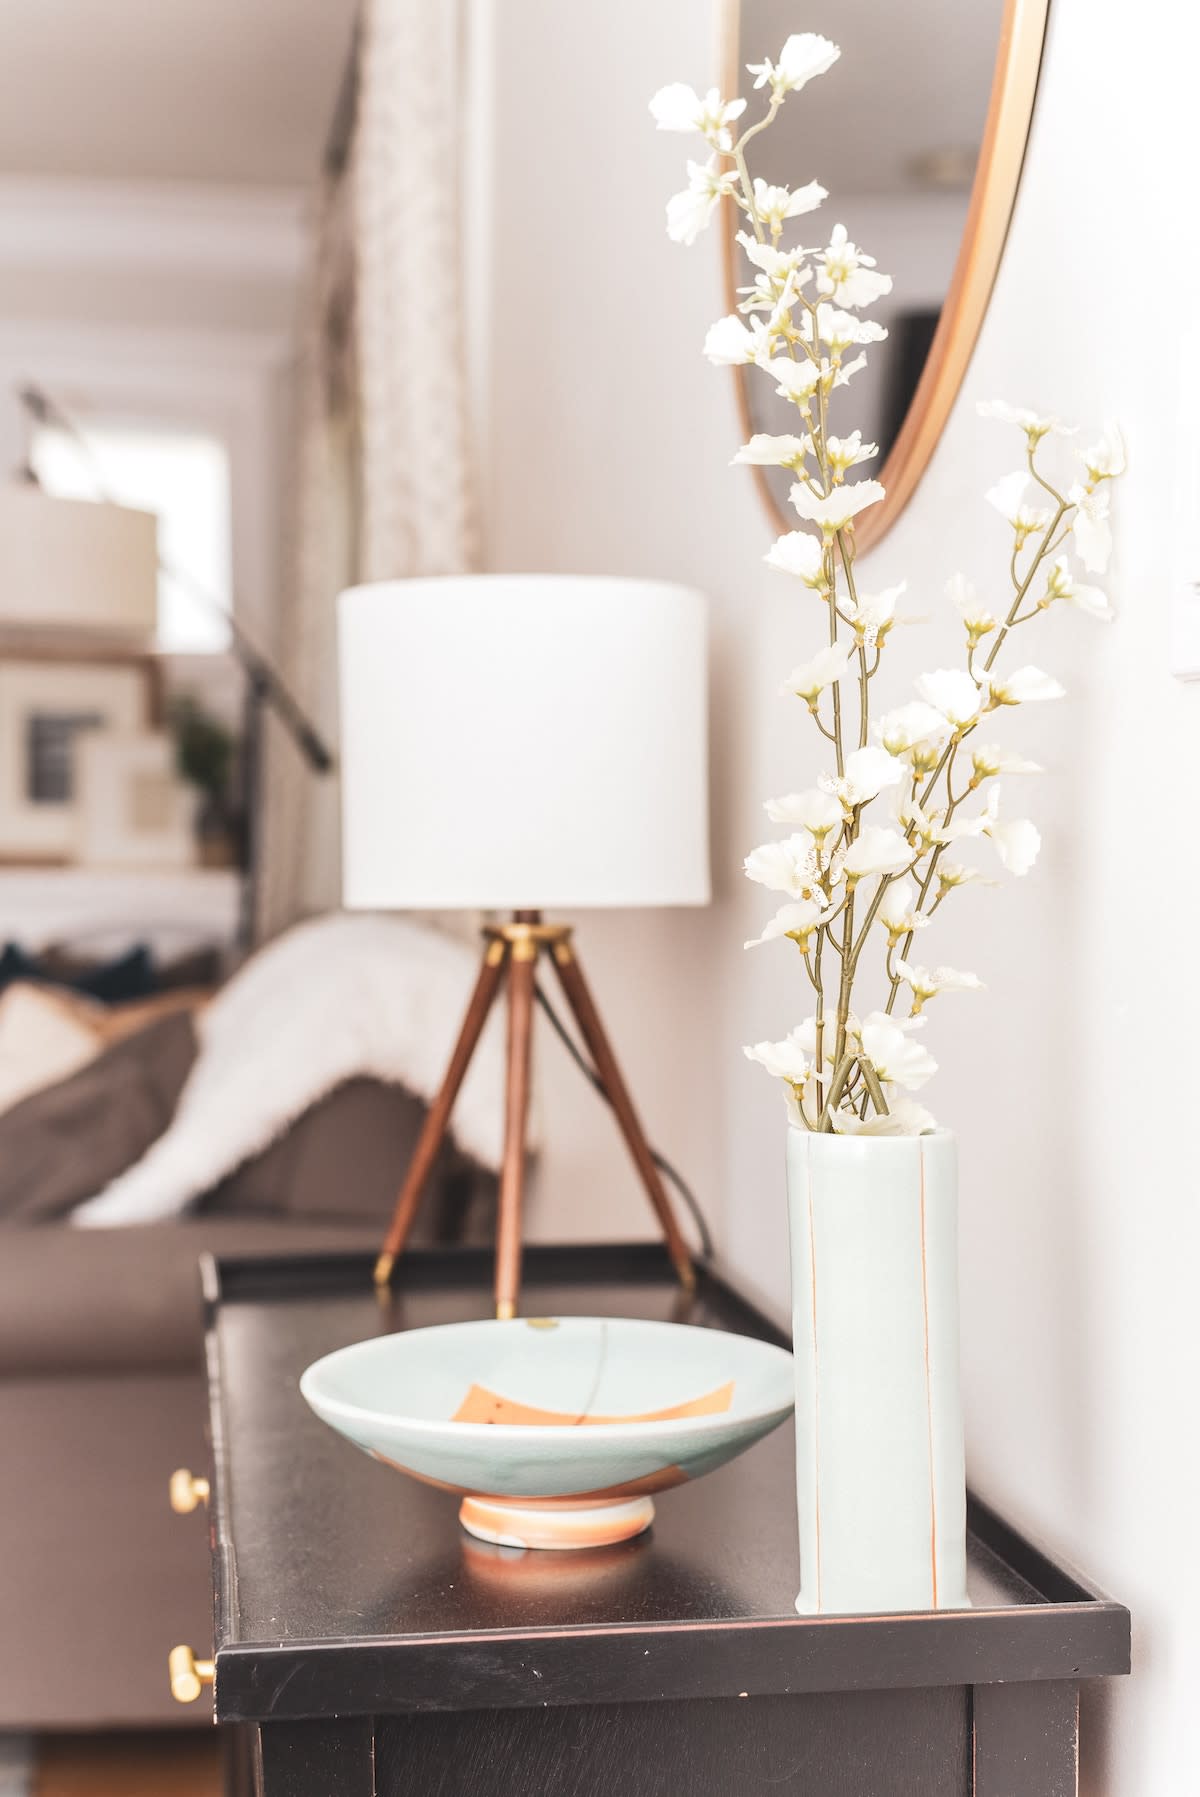
It’s unlikely that a room will just immediately offer up everything you’re looking for, so in an effort to capture the shots that you or your client have in mind, you’ll need to use your creative eye to set the scene—and this will largely depend on what the end goal of the shoot is.
To truly achieve your desired effect, this is a good time to brush up on the basic principles of photography and refamiliarize yourself with various techniques. You might already think you have these nailed, but a little refresher could do wonders when it comes to thinking about depth, color, lighting, and more.
Composition will play a key role here, too—as you’ll want to ensure the right products are taking center stage. While for a product shoot this will be the item itself, for a lifestyle or real estate piece, you might want to focus more on the intention of the room. Remember, you’re trying to sell this space, so adding finishing touches like cozy throws for a living space or highlighting appliances in the kitchen will make all the difference.
2. Work with the space available
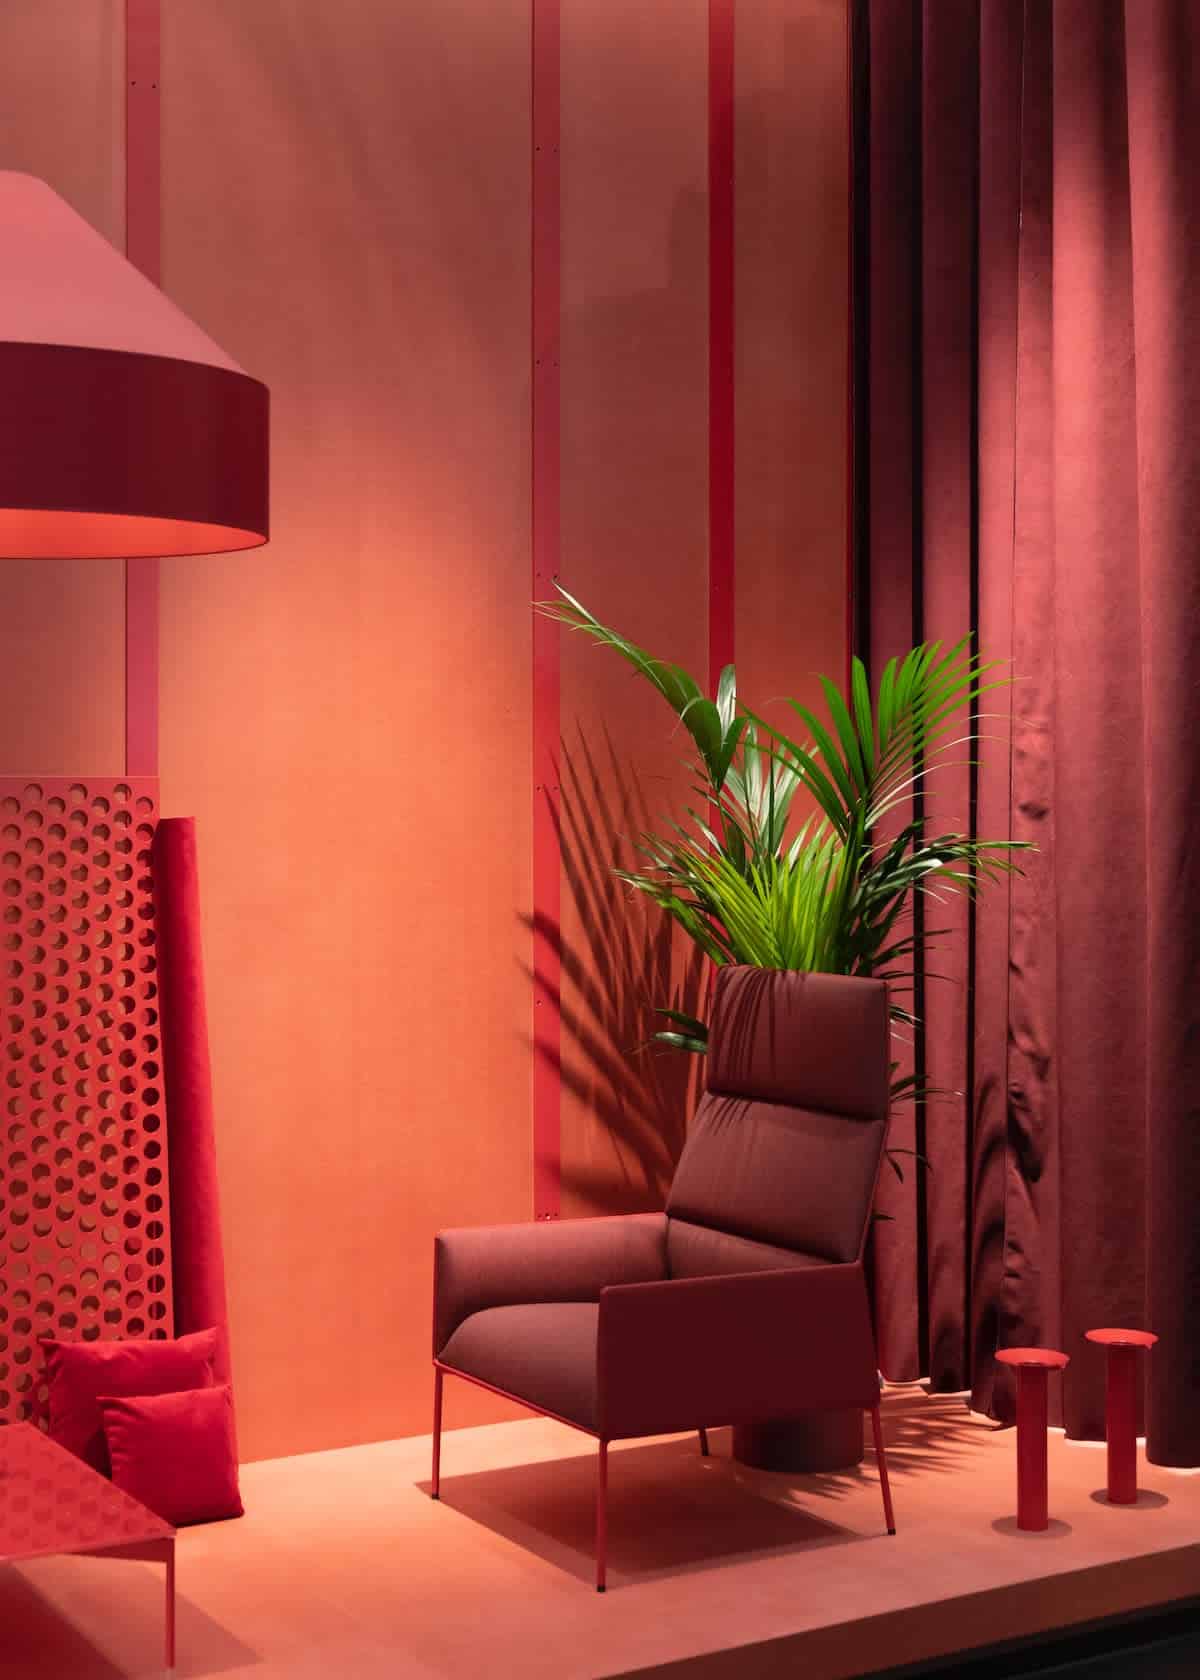
Whether you’re shooting the master bedroom or the conservatory, space will be a factor—and not every room will allow you to move around and experiment with ease. This doesn’t have to mean disaster for your photo shoot though. In fact, this could help you unlock new potential.
The bathroom is generally one of the smallest rooms in the home and lacking in natural light —so this could be one of your most problematic areas. To overcome this spatial issue, you’ll need to get creative with your angles. In rooms like this, mirrors can be a real lifeline—allowing you to create new perspectives and really open up the area.
You can also use surfaces within the room to help you create the illusion of extra space. Whether it’s reflective kitchen taps or clean, white tiles for the bathroom, spend some time exploring what the room has to offer and use these things to your advantage. The key here is to really work with the space available and allow it to enhance your photoshoot, rather than hinder it.
3. Make the most of natural light
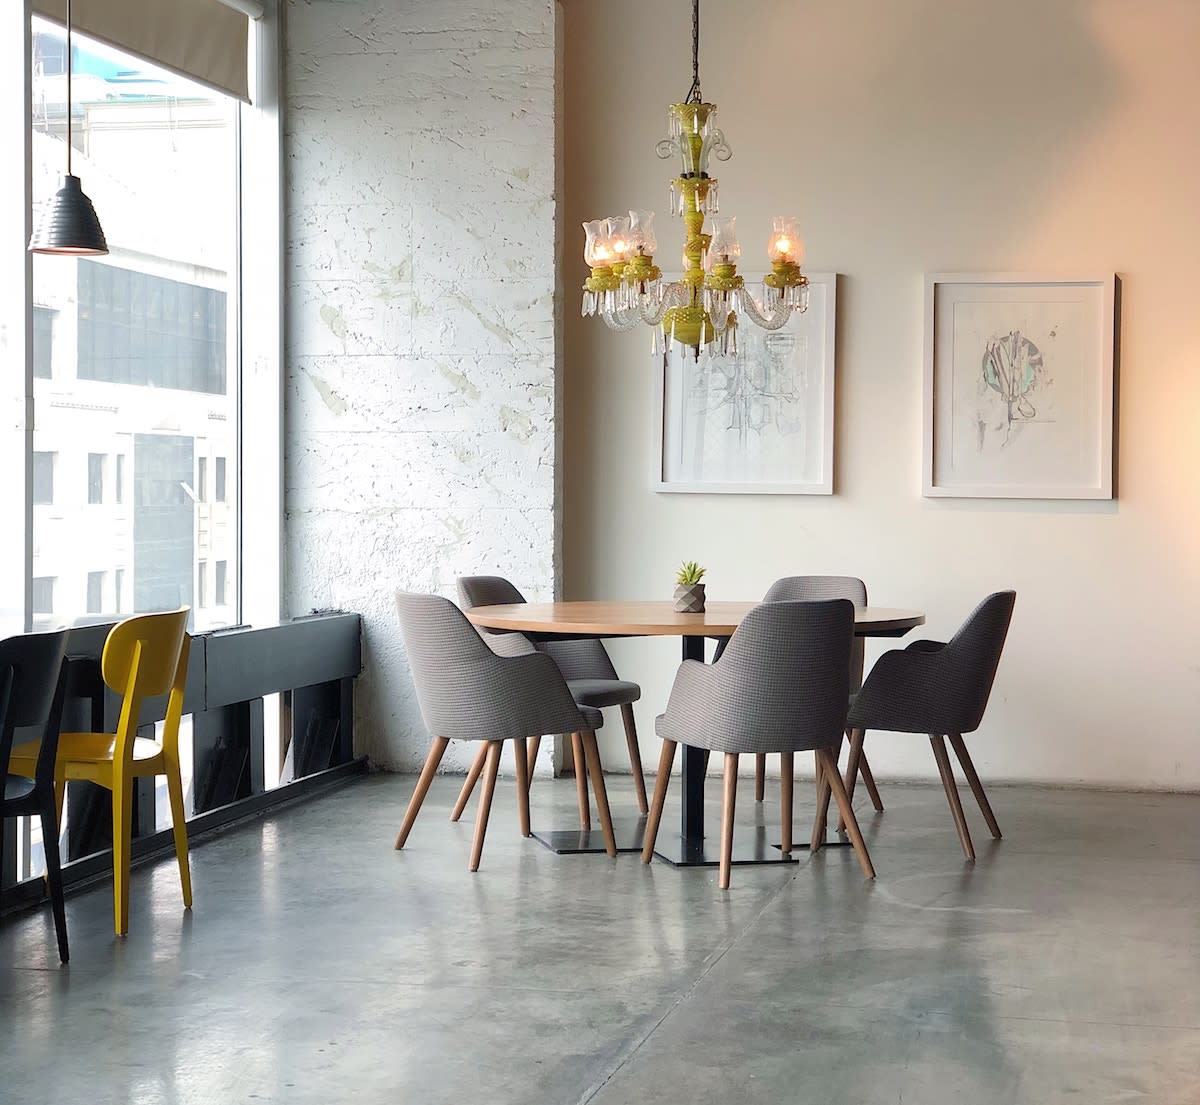
Regardless of your skillset or experience, as a photographer, you know the importance of really good lighting. Where possible, when shooting an interior you’ll want to be making the most of natural light—but, of course, there are a few things to factor in here.
Depending on the nature of your photoshoot, you’ll want to consider where the sun is positioned at any given time of day and how this will affect your images. While this might not be as crucial for lifestyle photography, natural lighting will play a big part in product and real estate photography—as you’re trying to sell the item or space.
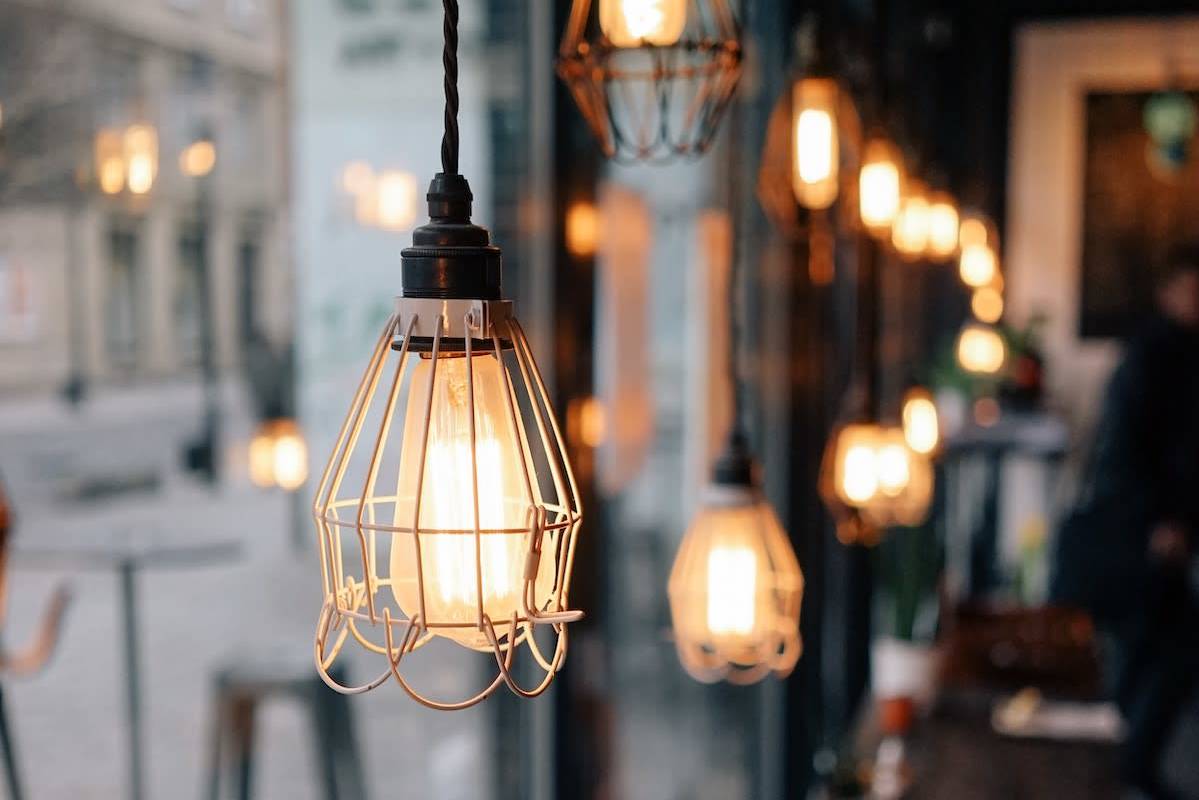
Artificial lighting can cause shadows where you don’t want them to be, so if you can get away with turning off all lights, do so. While to the naked eye lights brighten up the space, to the camera, they can actually take away from what you’re trying to achieve.
4. Know when to switch positions (and lenses)
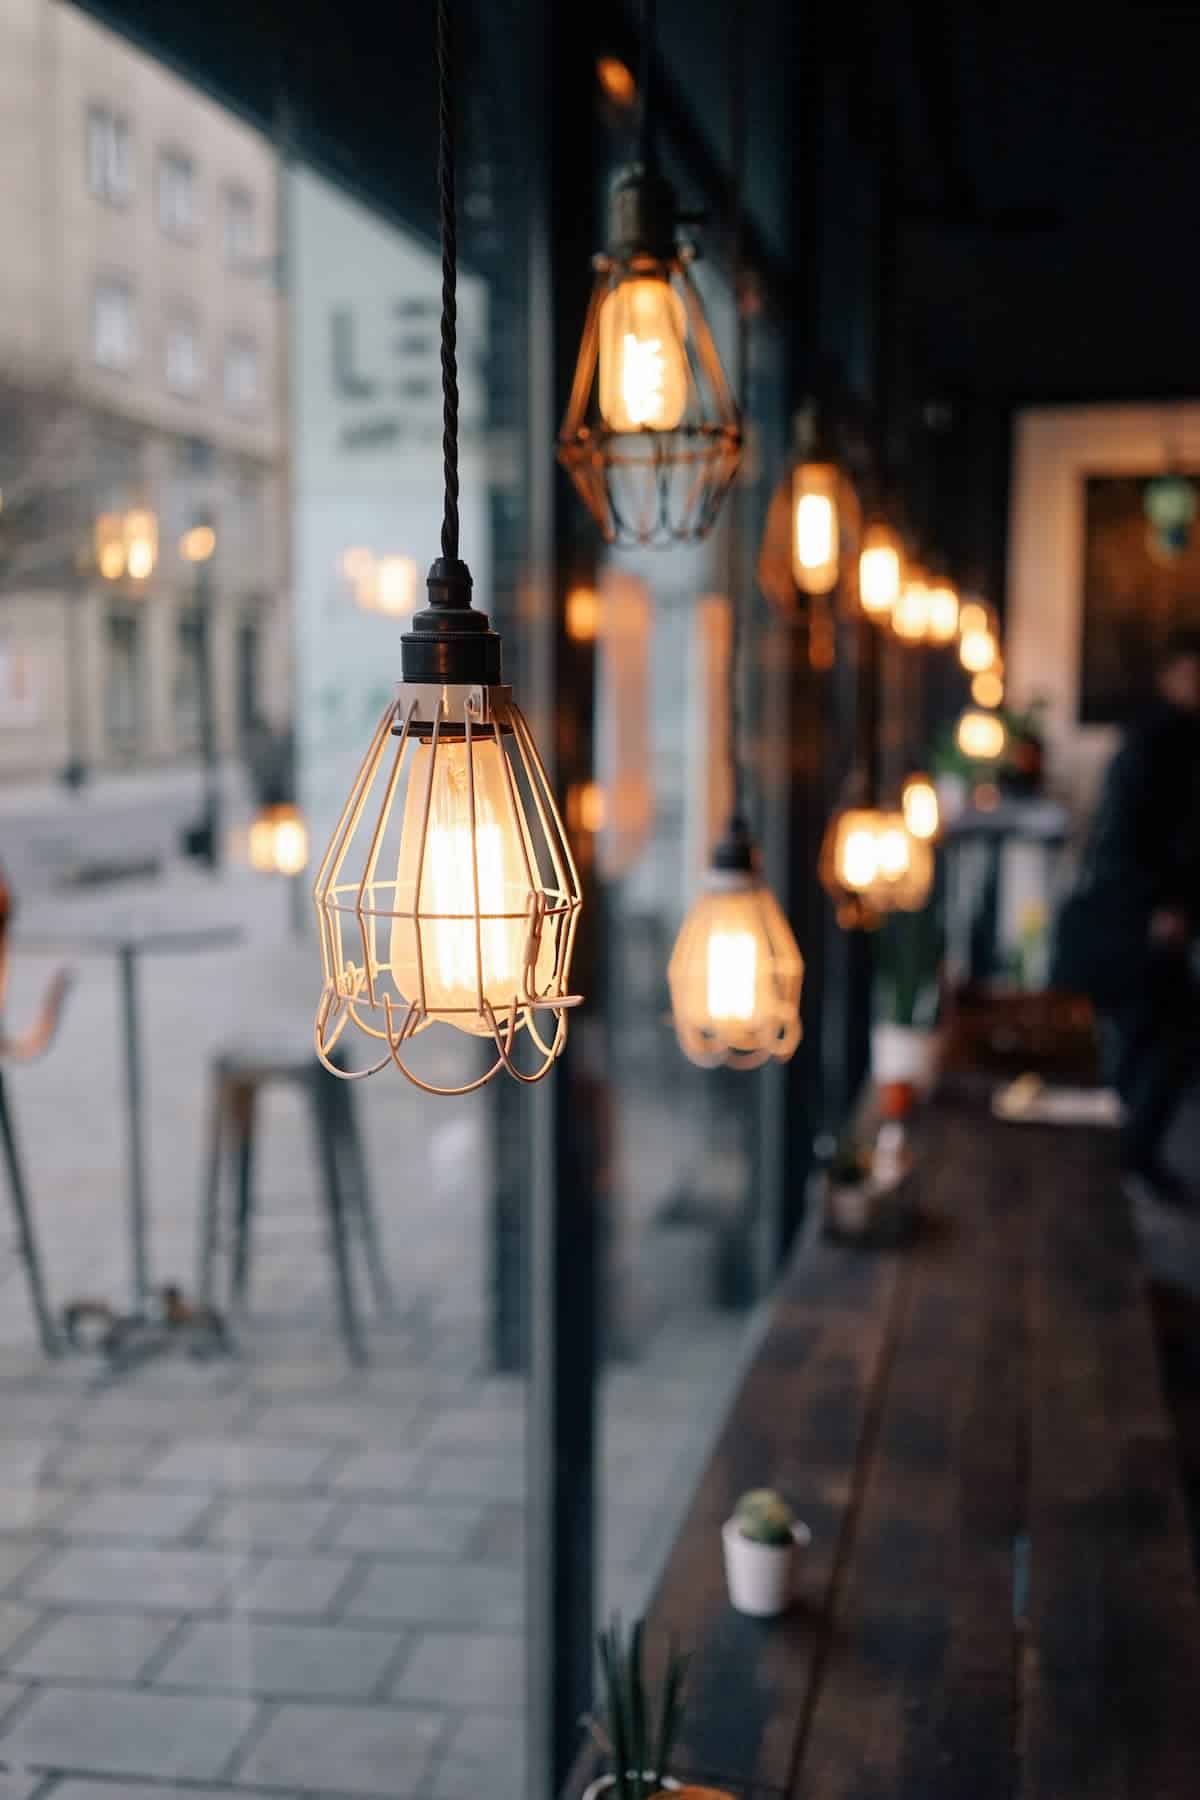
Shooting an interior requires some creative thinking, and this means that not all images will be taken at eye level. If the perfect angle requires that you take a shot from the top of a ladder, then be prepared to do so.
For an accurate shot of a product, you might want to consider close-ups—while whole room images would benefit from a wide lens. You’re probably more than familiar with the various lenses available, but there’s no harm in playing around with different options, even if you wouldn’t initially think they’d be suited to this type of shoot—you might just be surprised.
Depending on the part of the room you want to focus on, you might want to switch up positions so you get a top-down view. Alternatively, you could crouch low and get a wide-angle view of the room from one corner. Again, it’s all about experimenting, so be prepared to move around until you find the perfect fit.
5. Don’t be afraid to edit
Any photographer will know that what looks great to the naked eye doesn’t always translate on camera, and what looks great on camera doesn’t always translate when it comes to print—and this is why editing is crucial when it comes to perfecting the final product.
At this point, you’ll need to be thinking about where your images are going to be displayed. If you’ve been commissioned to create a lifestyle print for someone’s home, you’ll need to think about what material it will be printed on and what size—as these are the things that will impact the finished look.
For images that will be making their way into a print publication like a real estate brochure, this again will need to be taken into consideration. You might want to think about how the images can be grouped together to tell a story about the property and then edit them in-line with this vision.
As a photographer, there are so many caveats that come with each shoot. But as long as you’re listening to your client, keeping in mind the end goal and willing to get a little creative, you’re sure to deliver a final result that impresses.
Author bio:
Suhayl Laher works at Tiles Direct, one of the UK’s largest independent tile distributors and retailers—bringing design inspiration to homeowners, architects, and developers.
