Having some proper lighting equipment is a key part of taking professional-looking photos. It can give you more control over your photography and help you achieve better results.
Some examples of that equipment are speedlights and studio strobes, but that kind of gear can be expensive. If you’re looking for a simple way to start, reflectors for photography offer an affordable option that can help you manipulate the lighting in your shots. And even if you have a great set of lights, reflectors will still come in handy.
They are versatile pieces of equipment that can be used in natural or artificial lighting to add, remove, or diffuse light. Most photography reflectors are also durable and easy to transport.
But there are many different types of reflectors for photography available, and they’re not all created equal. So let’s take a look at some of the different reflectors you can get and how to best use them.
Different Types of Reflectors for Photography
Photography Reflector Colors
Photography light reflectors come in a variety of colors that can provide different lighting effects. Many photography reflectors feature removable covers that provide multiple color options. Here’s a rundown of the standard colors and what they can do.
White reflectors are ideal for fill light, which means they can be used to soften or eliminate shadows. The white surface provides natural-looking and neutral-colored light.
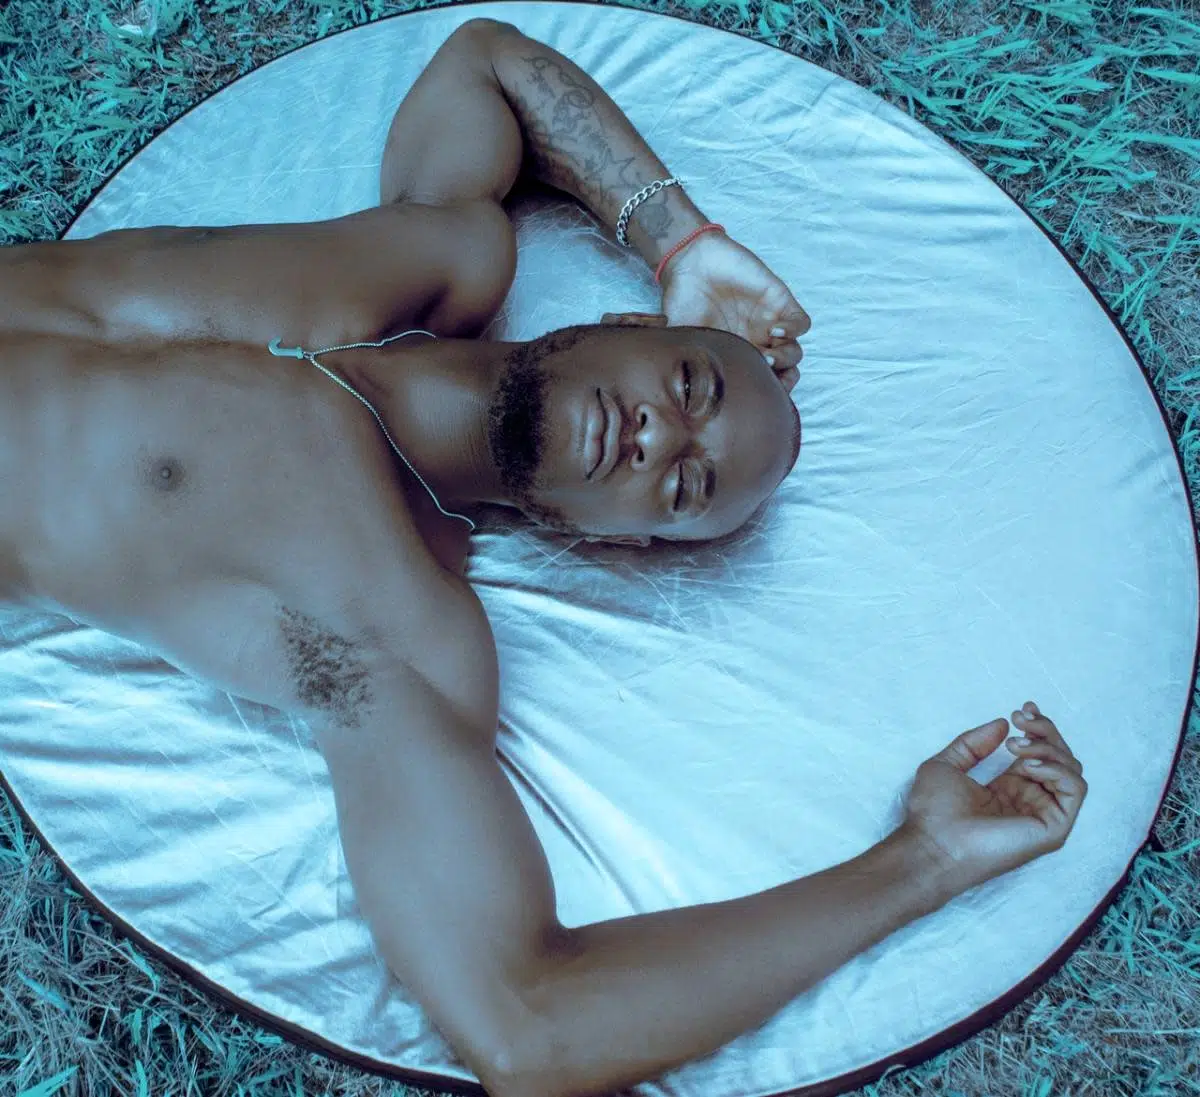
Silver reflectors can provide the most light, so they’re useful for situations where you have dull conditions and want to reflect as much light as possible. They can also be used to increase highlights and contrast. But you should avoid using them in direct sunlight, as the light will be much too harsh.
Gold reflectors can add a warm, golden light to your photography, and they are also useful for providing fill light.
Translucent materials are used as light diffusers, which can make your lighting less harsh and more even.
Black materials can be used to block or remove light from your composition.
Photography Reflector Sizes
Reflectors for photography come in a variety of sizes, and you’ll need to make sure you get one that’s big enough to suit your subject. So here’s a basic rundown of the different options and what they are used for.
Reflectors that measure about 50″ (120cm) or larger are capable of handling full-length portraits or group photos.
Reflectors that measure at least 30″ (80 cm) are a good fit when it comes to taking headshots or three-quarter-length portraits.
Reflectors with sizes smaller than 30″ are best used for close-ups and small product photography.
With reflectors, it really is the bigger the better, because having a larger reflector gives you the freedom to place it further from the subject and get more even lighting. The only real benefits of choosing a smaller reflector are that it will be easier to handle and more affordable. And keep in mind, unless you purchase a photography reflector stand, you’ll need either an assistant who can hold it or a way to prop it up.
Photography Reflector Shapes
Most reflectors for photography are flat and either round or rectangular in shape, but there are some other options to consider. One example is curved reflectors that are popular in portrait and fashion photography.
They can provide even lighting from multiple angles, and are typically used to light a subject’s face from underneath. This can remove shadows from the face and neck, and help to define the cheekbones and facial features.
One of the most popular models is the Eyelighter from Neewer, but there are other similar reflectors available. They are sometimes called “clamshell” reflectors because they are perfect for use as part of a clamshell lighting setup. That’s a common technique in headshot photography that uses two lights, with one above the subject and one below. But if you’re using a clamshell reflector, you only need one light above the subject and the reflector acts as the second light source.
Light umbrellas are another type of reflector and their shape can make the reflected light easier to control. That’s because they reflect the light on a more focused area than a flat reflector. In reflective umbrella photography, the light source such as a studio strobe is aimed away from the subject and directly into the umbrella, and the umbrella reflects it back onto the subject.
The Many Ways to Use Reflectors
Photography light reflectors can be used in many different types of photography. Besides being an essential piece of portrait photography gear, they are also useful for still life and product photography. And you can even use a photography reflector for video shooting. Here are some tips on how to use light reflectors.
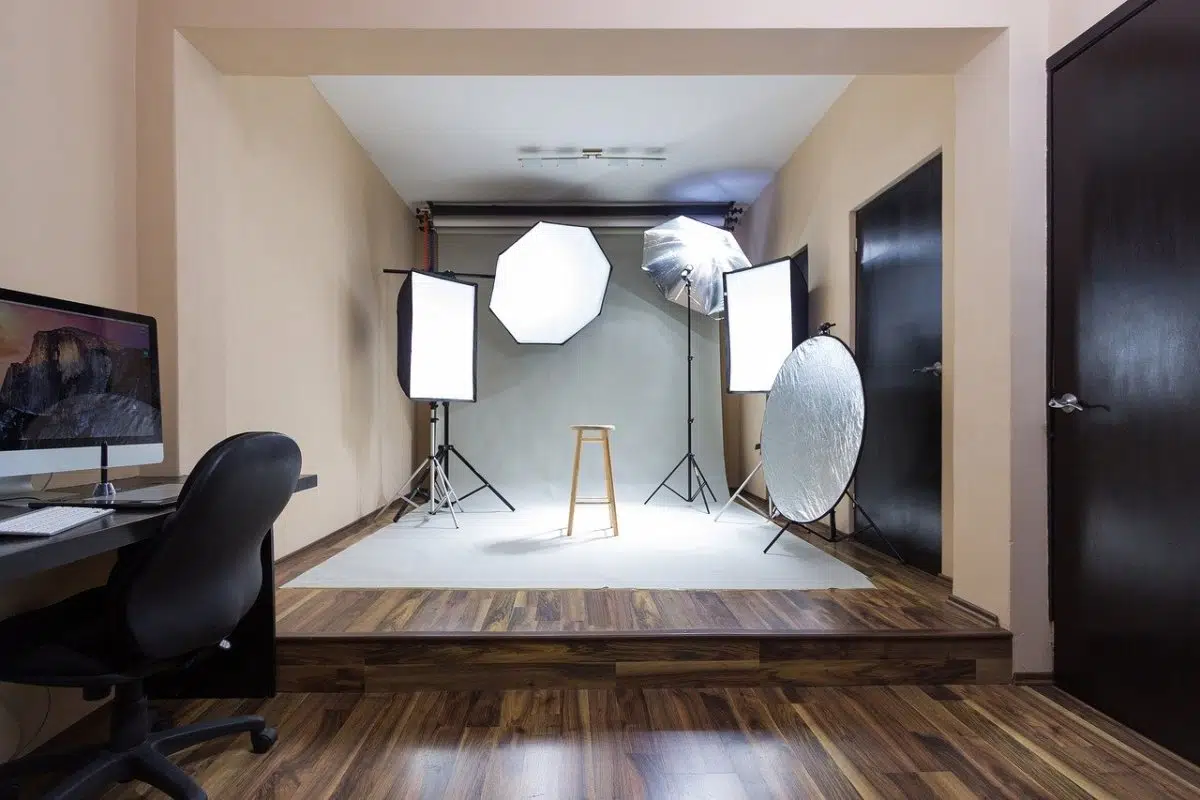
How to Use a Reflector in Indoor Photography
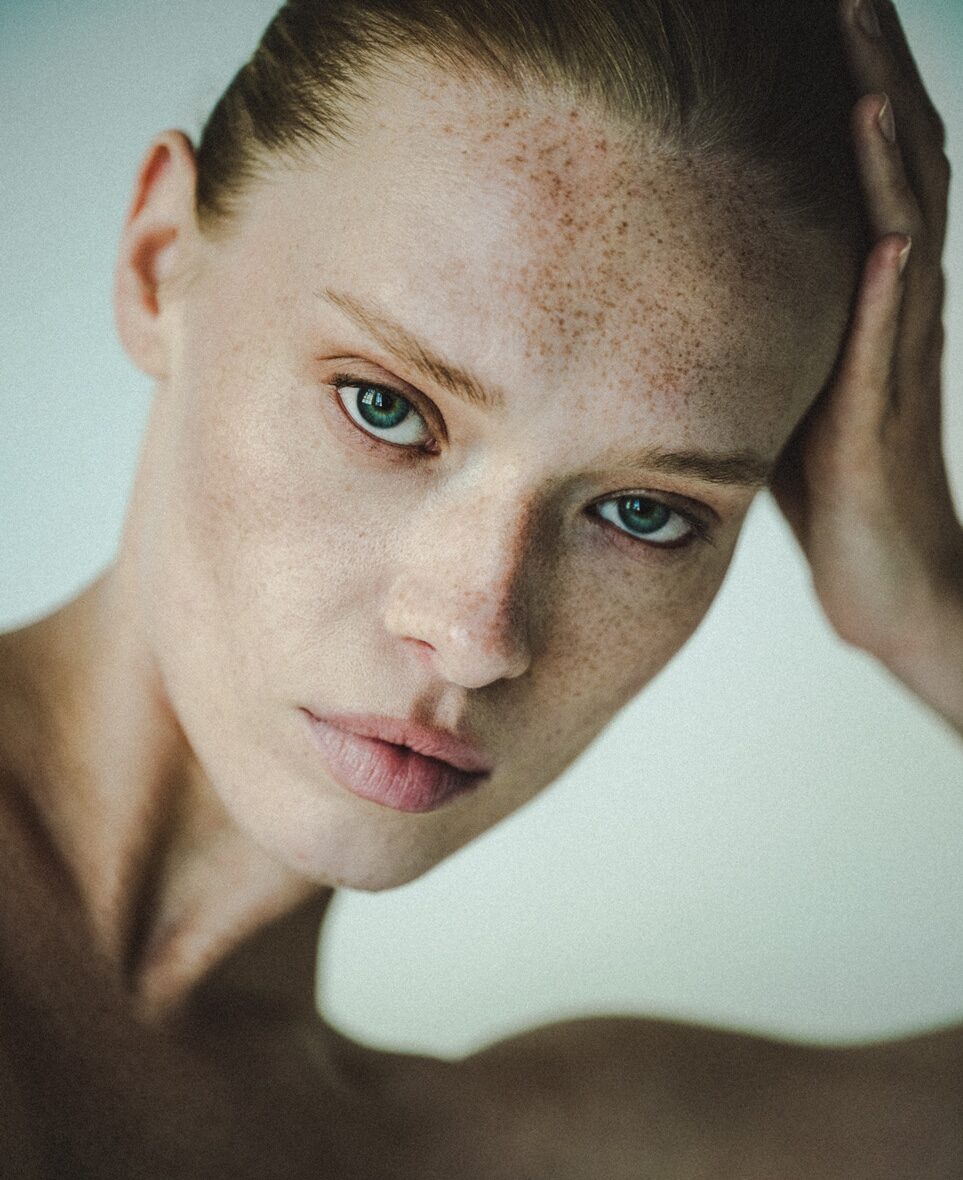
Reflectors are a key piece of equipment for studio photography. They are often used for portraits to soften shadows. For example, to soften shows under the subject’s chin or eyes, you can place a reflector just in front of them or in their lap.
Reflectors are also ideal in product photography as you can use them to soften shadows on the background or a surface that the product is sitting on. Try placing your reflector opposite to your main light source to create fill light that softens the harshest shadows in your composition.
How to Use Reflectors in Outdoor Photography
Reflectors for photography are also very useful when shooting portraits in natural light.
If you want to shoot an outdoor portrait where the subject is backlit, you’ll probably find that you also need a light source in front. Otherwise, your subject’s features will be hidden in shadow.
Try using a reflector directly in front of the subject to provide more even lighting. To create a dramatic effect, try moving the reflector to one side to experiment with how it lets you manipulate shadows.
Another situation where reflectors will help with outdoor photography is when shooting in weak light. Some examples are when you shoot in the shade or on an overcast day. In those cases, a reflector comes in handy to gather the available light and direct it where you need it.
How to Use a Reflector in Bright Sunlight
Whenever you’re using a light reflector for outdoor portraits, you should avoid having your subject look directly at the reflector. You’ll be reflecting sunlight into their eyes, and the UV light can cause damage. Also, remember to avoid using a silver-colored reflector, as it will reflect the sunlight like a mirror and be too harsh.
The Best Reflectors for Photography
Perfect for Beginners: Phottix 5-in-1 Premium Reflector with Handles
This collapsible light reflector is a great option to start with. There are many similar reflectors on the market, but this one hits all of the criteria you should be looking for—and at a fair price.
This 5-in-1 photography reflector features removable and reversible covers that provide all five standard colors. This photography reflector comes in a range of sizes, but the 43″ (109 cm) is a good and versatile option. It’s available for $44.95 on Amazon.
The Premium Option: Lastolite TriFlip 8:1 Kit
If you want more features and have some money to spend, this triangular light reflector offers more color options. It provides all the standard color options plus extras: white, Softsilver (a whiter silver), Sunlight (a silvery gold), and Sunfire (a darker gold). If you take the covers off, the surface underneath is translucent and acts as a two-stop diffuser.
The triangular shape also makes it easier for an assistant to handle when you’re shooting, and it has large, comfortable handles. This photography light reflector is available for $119.88 from B&H.
The Most Rugged Reflector: Profoto Collapsible Light Reflector
If you want a reflector for photography that can stand up to abuse, look no further than this rugged model. It’s designed for on-location shoots and has the features to prove it. It has a sturdy collapsible metal frame and comes in a tough carrying case. It’s waterproof, dustproof, and lightweight—perfect for lugging to your shoot location, wherever that might be. This photo reflector is 50″ (120cm) and is available for $145.00 from Profoto.
Curved Photography Reflector: Neewer Eyelighter Reflector
If you’re planning on focusing on headshots, fashion photography, or beauty photography, you should consider picking up this curved reflector. Its arc-shape can provide even more lighting from multiple angles in a variety of situations, but it’s ideal for providing extra light on a subject’s face from underneath. It features professional-grade construction but won’t break the bank. It is available for $105.99 from Amazon.
Making a DIY Photo Reflector
If you want to save some money or start experimenting with reflectors for photography before deciding which one to purchase, going with a DIY reflector can be a good route. They only require a few inexpensive materials that are easy to find. Here is a simple photography reflector DIY guide:
Buy a large piece of white display board from an art store. Alternatively, you can use whatever flat, white, and lightweight board you may have on hand.
Choose a silver-colored reflective material. You can use tinfoil or a shiny wrapping paper. A mylar emergency blanket from a camping supplies store is a more durable option.
Crumple the reflective material repeatedly to create small wrinkles and a more even texture. (This will help prevent hot spots, which means when the light gets reflected back unevenly and creates bright areas on the subject.)
Cover one side of the board in the reflective material, using a glue stick or spray adhesive.
That’s it! You now have a simple, two-sided reflector with a white side and a silver side. Keep in mind, there are a couple of drawbacks to DIY reflectors:
They often don’t look pretty, so you may want to avoid using DIY reflectors when shooting clients. Using a store-bought reflector will help you look like a professional.
DIY reflectors usually don’t stand up to abuse very well.
DIY reflectors are usually not as easy to transport.
Reflect on What You’ve Learned
Now you know how to use reflectors in photography and some of the options out there for getting started. There are many models to choose from to suit different types of photography, or you can build your own.
Once you get comfortable using reflectors to manipulate light, don’t forget to show off your results on your online photography portfolio. By giving you more control over the light and shadow in your compositions, photography reflectors can help take your work to the next level.
Want to learn more about how to use light in your photography?
Key Light Photography: A Beginner’s Guide
Silhouette Photography 101: Master The Basics
Cinematographer’s Guide to Using Natural Light