Ready to get more creative with your photography? Getting a DSLR (Digital Single-Lens Reflex) camera is an exhilarating and intimidating experience. Most beginners play it safe, keeping to the automatic modes, but if you’re looking to step up your photography game it might be time to switch to the manual settings. Not only will you see a difference in the quality of shots, you will also have more creative control over the outcomes. In this guide, you will learn about the tools you need to get set up, various photography terms and how to put all the information together to get the shot that you want. No filter needed.
First, knowing how you want the shot to look is key to getting your desired results. This guide will provide you with a little introduction to all the things that go into making a beautiful shot.
How to Get Set Up
Lighting
An important part of upping your photography skills is learning how to master lighting. Flash photography can be useful in certain settings, such as when you’re indoors in low light or when you want your image to have a high-contrast look. On the other hand, natural lighting produces more subtle results. We have a guide covering types of lighting to get you identifying what you’re working with, or what you want to work with.

Environment
Where you are will greatly affect how your photo turns out. If you are inside a low-lit home or outdoors midday, you will have to adjust your manual settings accordingly. Newer DSLR’s (2020-onward) can handle higher iso’s without necessarily getting insanely crunchy in the end result, but you should try shooting the same scene in multiple iso settings so you get a good sense of the spectrum of good to unusable.
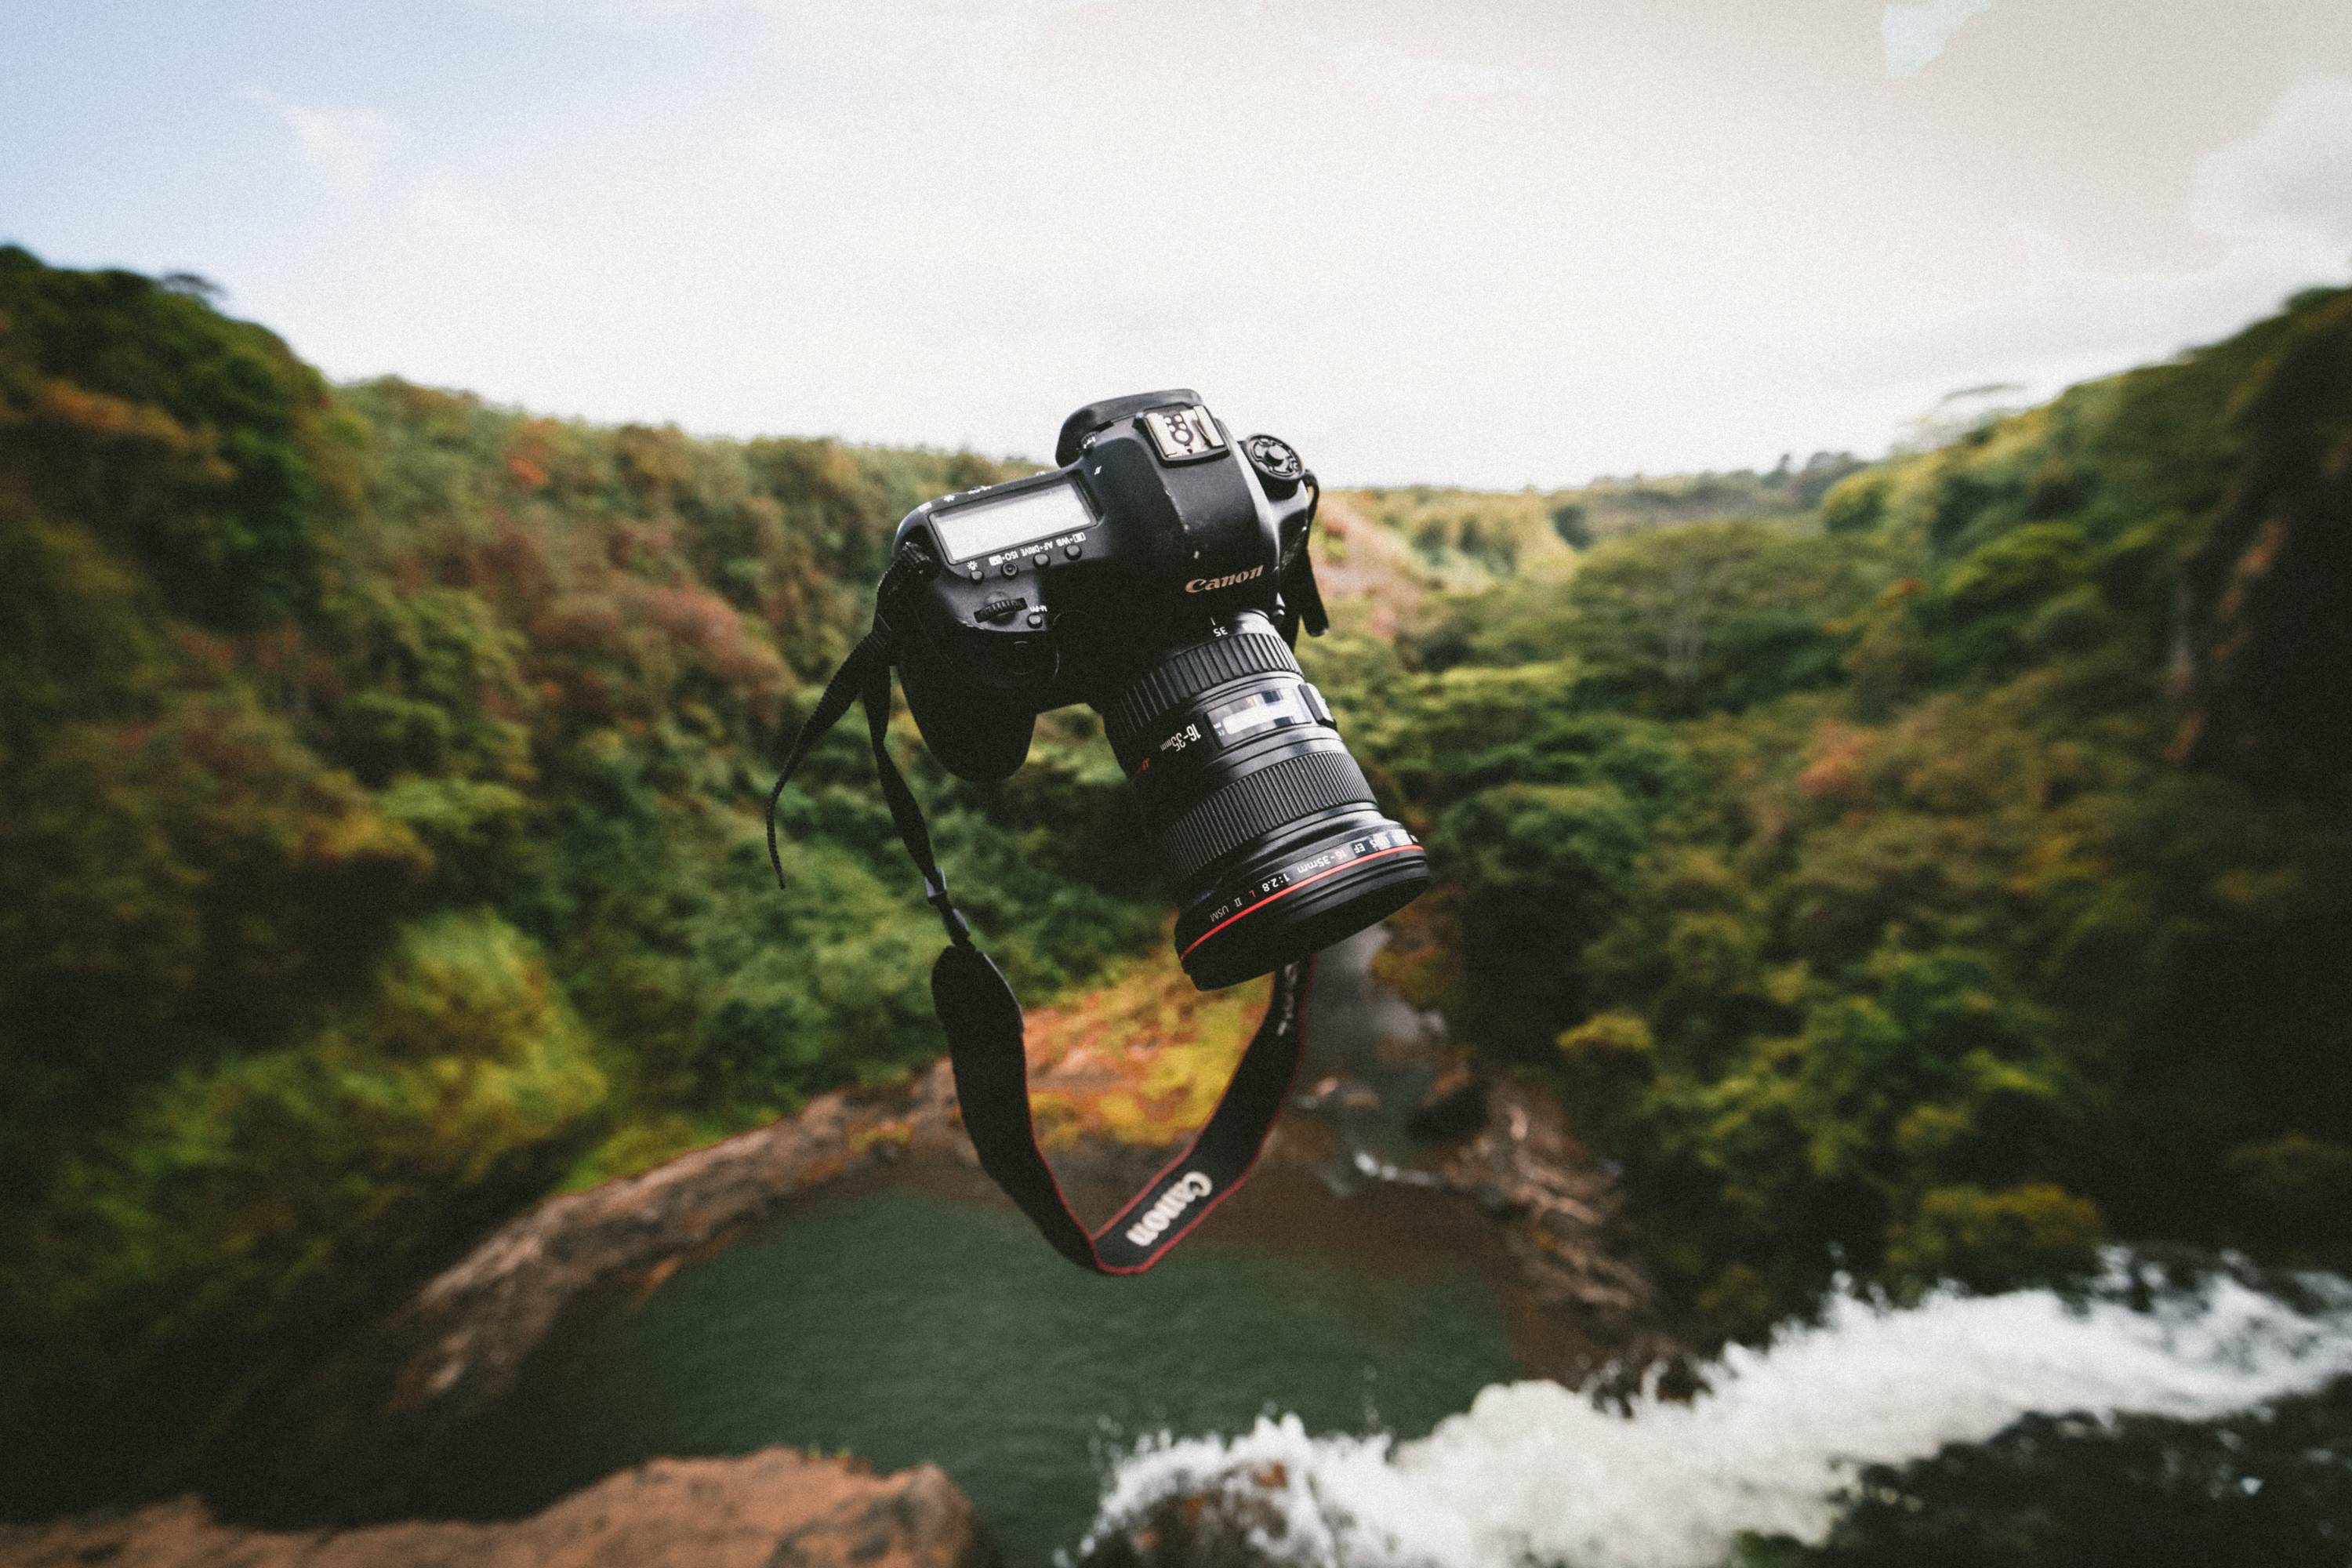
Lenses and Tripods
Using a DSLR doesn’t have to be overly complicated. Depending on the brand, many entry-level digital DSLR packages come with an 18-55mm kit lens, which is great to start out with. Keep in mind that the wider the aperture, the more you can achieve incredible depth-of-field separation, like the bokeh effect. You can maintain a sharp focus on your subject with a blurred background or foreground, creating a dramatic effect. Wider apertures also allow you to take photographs in lower lighting, so for your DSLR, you may want to look at a 50mm lens to offer options and versatility to your shooting.
The difference between these two lens types is that the 18-55mm is a zoom lens, while a 50mm is a prime lens; most prime lenses offer lower aperture settings compared to zoom lenses. A zoom lens allows you to zoom in, capturing multiple focal lengths without changing lenses. A prime lens is fixed, meaning that you can’t zoom in with it, and will only be able to capture one focal length. To get a closer shot, you would have to change the lens, or, zoom with your feet as we say.
If you’d like to move past the kit lens, you will have to decide on whether you would like another zoom lens or to try a prime lens. Both have positive and negative aspects for photographers.
Another piece of equipment you’ll want to consider using is a tripod, especially if your camera doesn’t compensate for slight movements. Using a tripod will ensure a crisper and cleaner image.
Basic Photography Settings
Now we’ll move on to the technical settings of your DSLR. Once you have everything you need to take a photo, like proper lighting, setting and equipment, it’s time to start using the manual settings on your camera to create the desired effect.
Aperture
The aperture consists of small blades in the lens that create an adjustable, octagonal shape. It tells you how big the hole is in your lens. The smaller the hole is, the less light passes through it. The wider the hole is, the more light will enter your lens. It’s best to think of the aperture as the pupil of your camera’s eye–one that can be controlled by you. The aperture is measured by your f-stop. The higher the f-stop (f22), the smaller the hole and the darker your image will be.
The f-stop also measures the depth of field, as we covered above. A lower f-stop (f2.8) will give you more depth to your image. For example, if you are taking a photo of a person and would like the background to be a bit blurry, you would choose a low f-stop. If you are taking a picture of beautiful scenery, you would (usually) want a higher f-stop to make sure everything is in focus.
Shutter Speed
The shutter speed tells you the amount of time the camera will be exposed to light. The duration of time is shown in a fraction of seconds, for example it could be 1/2-second or 1/200 second. A speed of 1/200-second is faster than 1/2-second. Using a faster speed means the image will be darker. If you would like to lighten the image, use a slower shutter speed. However, a faster shutter speed is better at freezing a frame of movement. For example, if you want to capture a still of someone running, you will want a faster shutter speed.

ISO
The ISO is a control within the camera that will affect the exposure. A high ISO will yield a brighter image, but it could also create a grainier, or digitally crunchy, image. For example, setting your camera to ISO 1600 will lighten the image and make it noisier. If you are using ISO 400, the images will be sharper and darker.
On some DSLR cameras, there are creative modes that give you slight control over a few of the settings. The two common ones that photographers use are shutter priority and aperture priority. Shutter priority means you have control over the shutter speed and ISO whereas aperture priority gives you control over aperture and ISO. The camera will adjust the aperture and shutter speed, respectively, for the best exposure.
Putting It All Together
After you have input your settings, your light meter will indicate what adjustments you will need to make before taking your shot.
Light Meter/Histogram
The light meter is a tool used to gauge your manual settings. If the light meter reads “0″, it means that there is enough light to capture your image. It also indicates that your image should be well-balanced. If your light meter reads negative, it means the image will be underexposed, or too dark. A light meter that reads positive will mean the image will be overexposed, or too light. You can adjust the different settings on your camera to pull the meter to zero.
One of the best indicators, if your camera settings display it, is the histogram of your scene with the settings you have selected. It will indicate whether your frame is blown out, or too dark, a healthy histogram will look more like a mountain than a valley–showing there’s information in your whites, and blacks as well as great midtones.
Here’s a handy graphic:

When you are ready to shoot in manual mode, here is one way to go through your settings. Choose the ISO that would best work for your lighting conditions. If you are in a darker space or indoors, choose a higher ISO. Second, decide if depth of field or motion is more important. If you choose depth of field, you will need to adjust your aperture before you compensate with the appropriate shutter speed; vice versa for motion. Make slight adjustments based on the results.
There are a couple of tricks to use when trying to find the right balance for an image. For a medium level of ISO sensitivity, the shutter speed and aperture can be in the middle also. However, if you use a high ISO sensitivity, a faster shutter speed means you should make your aperture larger (low f-stop) and a slow shutter speed means you should make your aperture smaller (high f-stop).
Trial and Error
The best way to learn more about your manual settings is to try different combinations. Using everything you’ve learned above, set up your DSLR and take different shots of the same thing using different settings. Keep a log of the results so you can track which settings worked the best for different scenarios–you can also sort them by their meta data in post-production. Using these techniques, you’ll be well on your way to mastering the technical challenges of photography.
If you’re shooting in RAW mode, there will still be opportunity in your post-production time to play with exposure. ISO, not so much, so it’s wise to really grasp that one via trial and error. Remember to familiarize yourself with your camera menu, manual and YouTube tutorials specific to your camera. Most of all, play!
More photography resources:
Best Free Online Courses and Tutorials for Photographers
A Beginner’s Guide to Buying the Right Photography Equipment
8 Common Beginner Photography Mistakes (And How to Avoid Them)
7 Essential Photo Editing Basics: Our Top Picks of Adobe Lightroom Tutorials
Build Your Portfolio With Format
Rated #1 online portfolio builder by photographers.