
How to Make a Photography Website in 2025
A step-by-step guide to making your own photography website, from curating your work to creating and customizing the perfect photography website template.
Before you make your own photography website
When you create your own photography website, it might seem like something only established pros really need to do, but the reality is more like the opposite—a great online portfolio is crucial for any emerging photographer. Whether you’re a student, freelance, or new to the profession, having a well-structured website will put your work in front of the people who can use it.
Save time with a website builder to create a photo website
You don’t need to put in tons of time and effort learning web design coding languages like HTML and CSS when starting a photography website. You’ll find plenty of website builders that can offer a wide range of customizable templates to make your own photography website without any coding knowledge.
A website builder for photographers should include:
your own online store
- a built-in blog
client galleries to let you privately share photos with clients
When starting a photography business, a website is generally the first point of contact you have with clients. Make a strong first impression by giving yourself everything you want and need to in order to impress your audience.
Start with what you have for your photography website
Having a large portfolio of work to share might also seem like a prerequisite to create a photography website, but you can easily curate a memorable site that features as few as twenty images.
A website that shares only a small selection of work is easy to browse through and gives viewers a quick overview of who you are and what kind of photography you offer. You can get creative with your website and use it as an online photo diary or a gallery for a single photo project; or you can go the super-simple route and just use your site as a place to host your CV, contact details, and a few of your best images.
When making photo websites, it’s all about being patient, thoughtful, and strategic.
Learn how to build your own photography website in 9 steps:

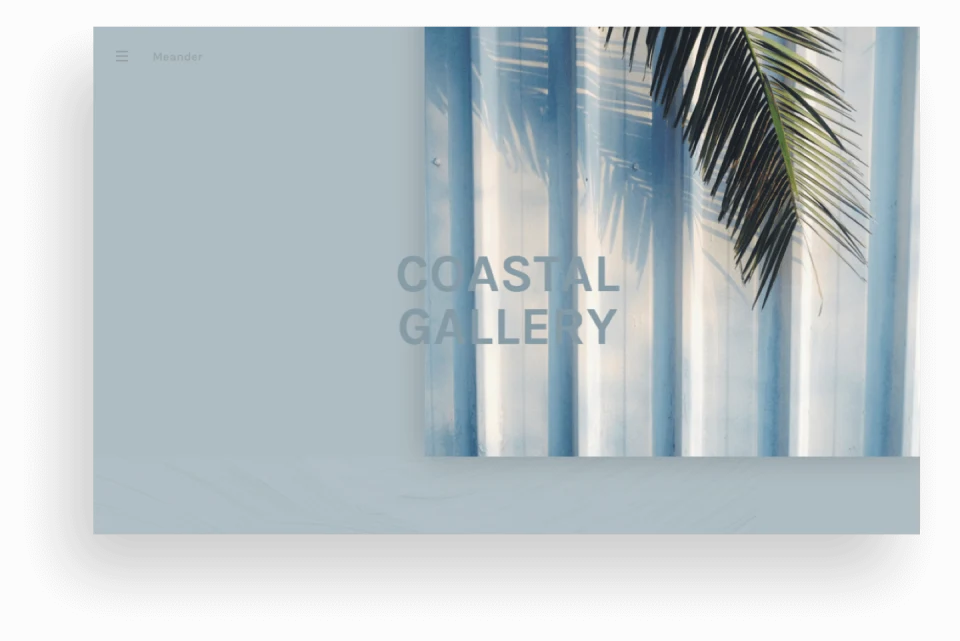
Create and customize your photography website template
The first step to building a photography portfolio website is to plan how you want it to look.
If you are using a website builder like Format to create your online photography portfolio, you will find it easiest to start experimenting with the different photography templates and layout options available. This is especially helpful since you can quickly build a professional-looking online portfolio without coding. Otherwise, you may have to begin by sketching out possible layouts with pen and paper if you’re going to code a website yourself.
Consider these layout design questions for your photography website:
Will the pages on your photography website scroll vertically or horizontally?
Will the photos be displayed individually, or in a grid with multiple images?
Where will the site menu be located: footer, header, left, or right side of the page?
What font(s) will you use for your site?
What color scheme best accents your work?
How will you display your name in a way that stands out?
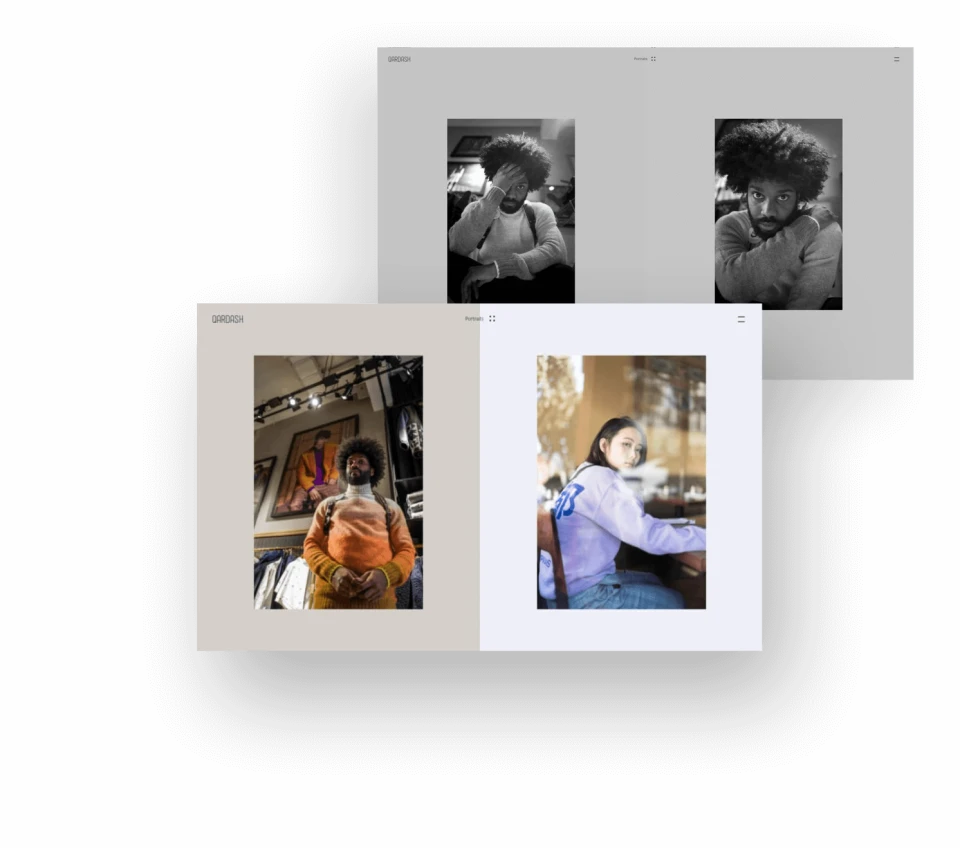
Choosing a website template is a good way to get things started. Changing your website template whenever you are not satisfied with the one you’ve tried will allow you to experiment with new layouts until you find one that suits you.
With Format, it’s easy to choose and customize a photography website template so your site looks exactly the way you want.
Choose a website template to get started.

Upload your photography to build your photography portfolio
When you create your photography portfolio website it can be tempting to fill it up with a huge archive of your work. However, your images will stand out better if you choose fewer images. You want people to see and remember your best work, not be dazzled by dozens of images. Some of the best online portfolios include only one or two galleries of images.
When starting a photography website, curate the galleries for your photography portfolio on your computer before uploading them to your website. Here are a few ideas for how to categorize your work. (If you do additional creative work that isn’t photography, you may want to keep it on a different section of your website):
Subject matter (e.g. portraits, landscapes, travel, fashion)
Type of work (e.g. personal, commercial, editorial, documentary)
Clients (e.g. by client name or by type of client)
Medium (e.g. 35mm, 120mm, digital, video)
Location (this may be useful if you are a travel or documentary photographer)
Series (this may be useful if you primarily do personal or fine art photography)
When you upload a gallery of images to your sites, help viewers understand your work better by including captions to your photos, or a written statement at the start or end of your gallery. Here you can add greater context to your photos, or describe what it took to take these shots. By adding these flourishes to your work, you will be able to engage your viewers better.
Captions and statements describing the camera used are commonly employed in simple photo diaries. If you’re uploading a series that has previously been published, you may want to share this information and add a link to the publication.

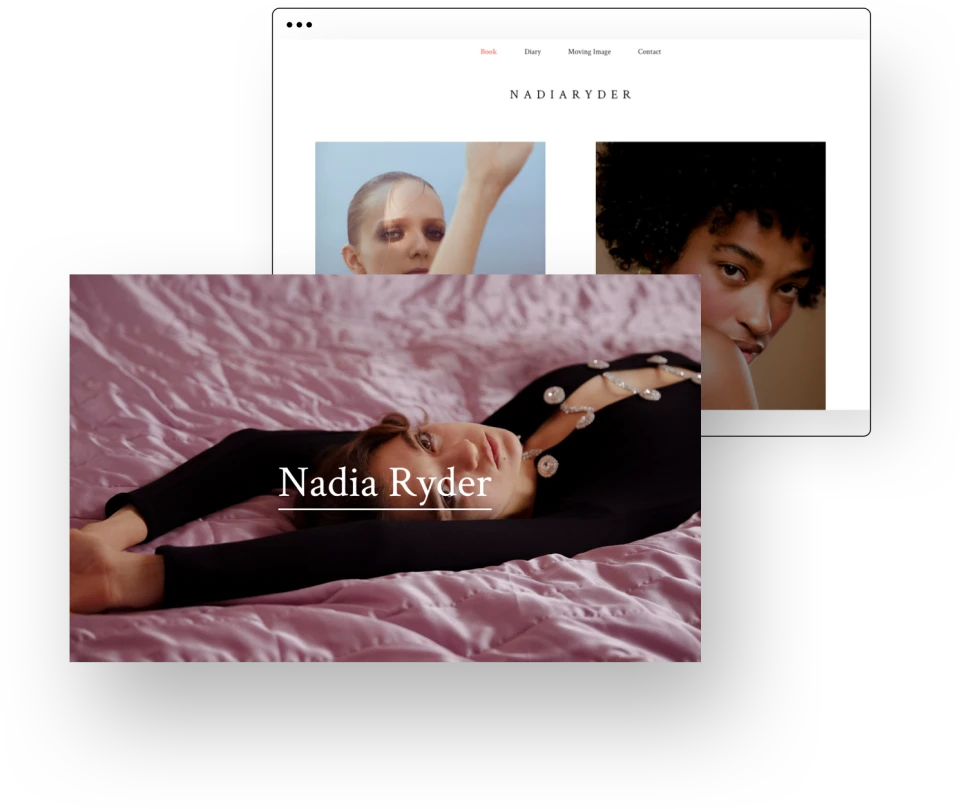
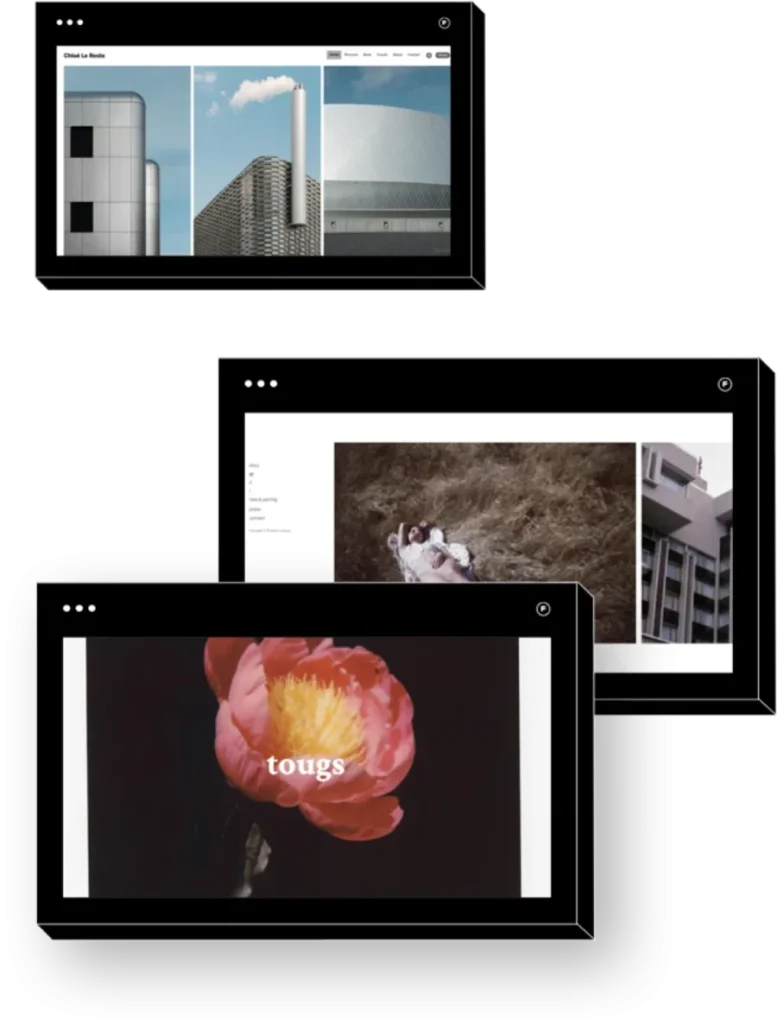
Create a strong homepage
In most cases, your homepage will be the first page that people see when visiting your photography website. You can make a lasting impression by creating a title page that visitors must click-through, or by choosing your best image.
You might also consider setting up your homepage to display your best projects or recent work. Alternatively, you could present a short set of five to ten standout photos that illustrate the kind of work you do.
Think carefully about how your homepage will look to someone who has no idea who you are and has never seen your photography before.
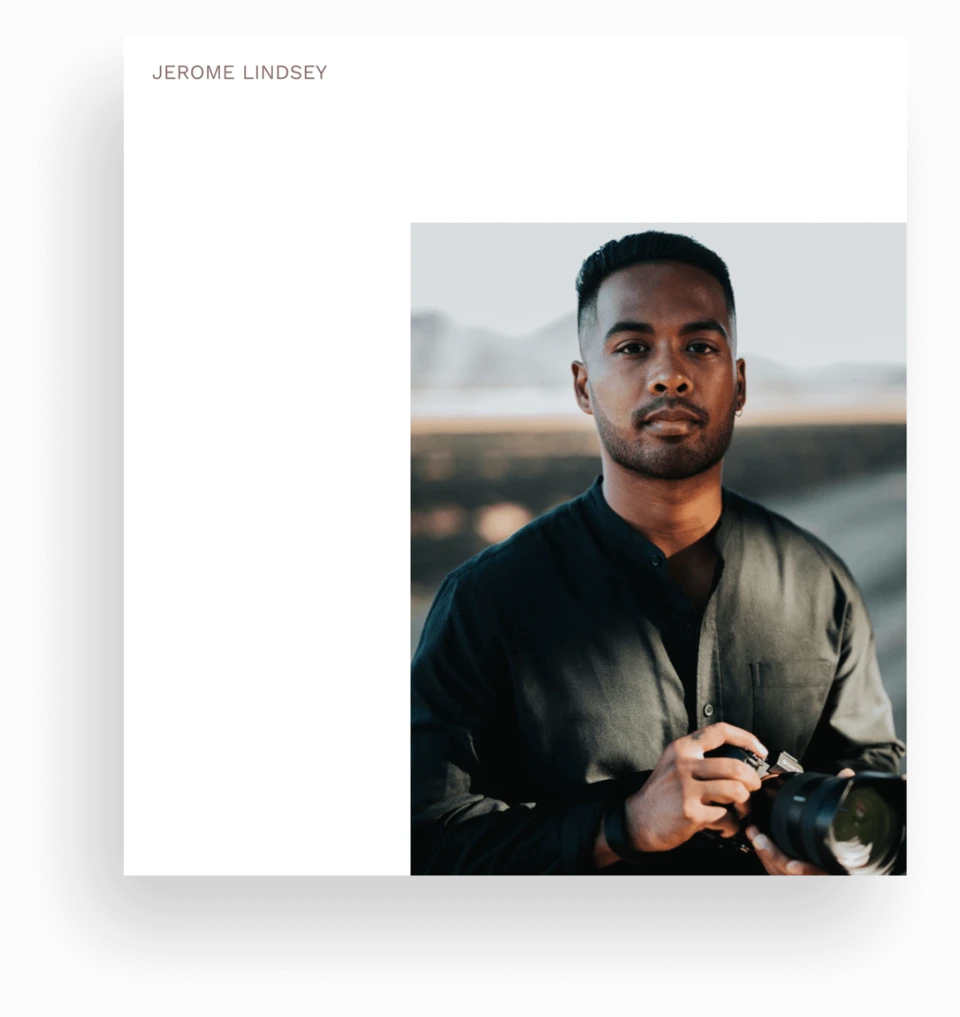
Personalize your photography website with a bio and contact page
Now that you’ve curated one or two galleries for your photography website, it’s time to create an About page. An About page should touch on 4 key elements:
A biography of yourself
A brief CV or artist statement
Your headshot
Links to published work
Make sure your contact details feature prominently on your site, whether on your about page or on a separate contact page.
Make it clear to visitors what kind of work you do and what opportunities you’re looking for. If you’re looking for certain types of clients, commissions, or publications, say so! Clearly state what kind of work you are available for, where you are located, and how you can be contacted.
If you have social media accounts that you use for your photography, add links to your social accounts, but don’t add any accounts that you wouldn’t readily share with clients. If your Instagram is more focused on your personal life and you don’t share your photo work on it, you don’t need to link it here.
If getting new clients is your top priority, you should create professionally oriented Facebook, Twitter, and Instagram accounts for your photography business. When you want to show off your professional qualifications, add a link to your LinkedIn.

Help people find your website
The content on your website shouldn’t be merely photo galleries. Search engines like Google need more context about your site so that it can help you be found.
Start by adding additional information about yourself, your photography specialty, and where you’re located in the website’s title and meta description. Not only will this help with SEO, but it will also help potential clients easily identify who you are, what you do, and where you are.
For example, if you’re a wedding photographer living in Toronto, ON, a perfectly suitable page title would be: “John Doe – Wedding Photographer in Toronto, ON”.
Your description could go into further detail about which specific cities you service.
Most photography website builders will allow you to edit the site title and description both globally throughout your site and individually per page from their site editor.
Then add yourself to many local photography directories. These can be easily found by typing into Google your city + photographer directory. Having your photography website listed in local photography directories will help your SEO and give you another customer acquisition stream.
Finally, keep your open graph image consistent with your design and feel. The open graph image is what shows up when people share your site on social media, so it’s important to choose one that represents your work well.
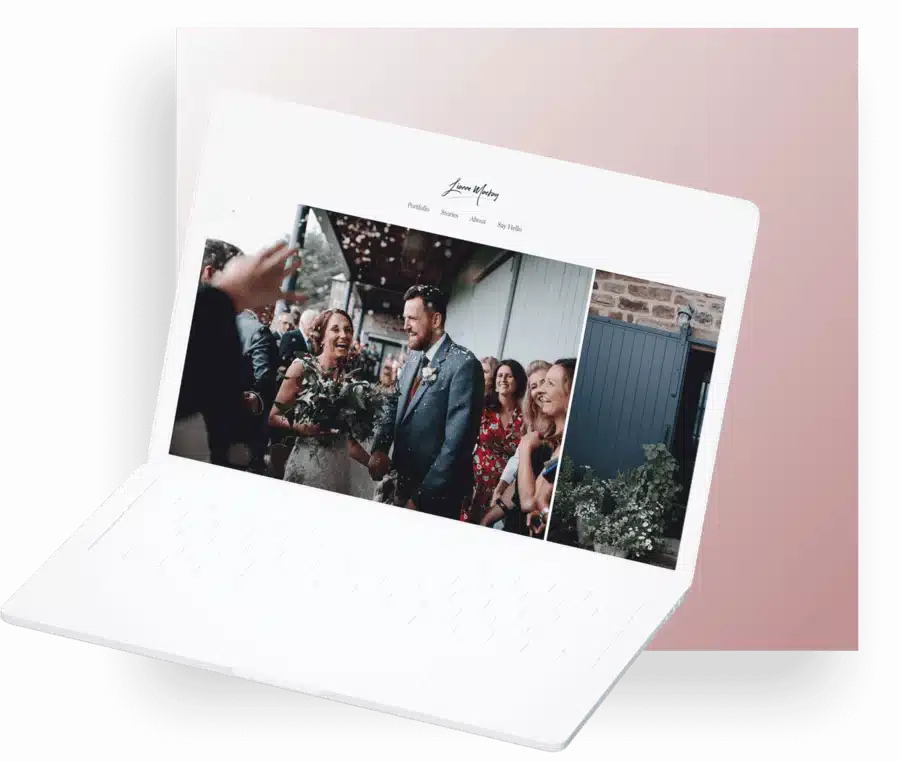
Add your rates and sell your work
Not every photographer needs a pricing page on their website. If you aren’t specifically looking to get paying clients from your site, you don’t need to include your rates.
However, if you’re a photographer who specializes in weddings, engagements, or portraits, for example, we consider adding rates the best way to create a photography website that takes website viewers from interested customers to paying clients. You may even want to add an option to book and pay for sessions directly through your site.
How you charge should reflect how you work
The exact pricing and rate structure of your photography is completely up to you. You may negotiate rates based on the asking price, or you may offer an estimate of your service costs. Nonetheless, listing your pricing rates is a good way to focus on those who know they can afford your services.
If finding clients is a priority for your photography website, consider adding testimonials and frequently asked questions to your pricing page. These pieces of information can serve to reinforce three things:
Potential clients’ confidence in you and your services
Remove blockers to questions that would otherwise prevent them from calling you for your photography services.
Give reason for the rates you’re charging
Other pricing options to consider when deciding how to create a photography website that converts:
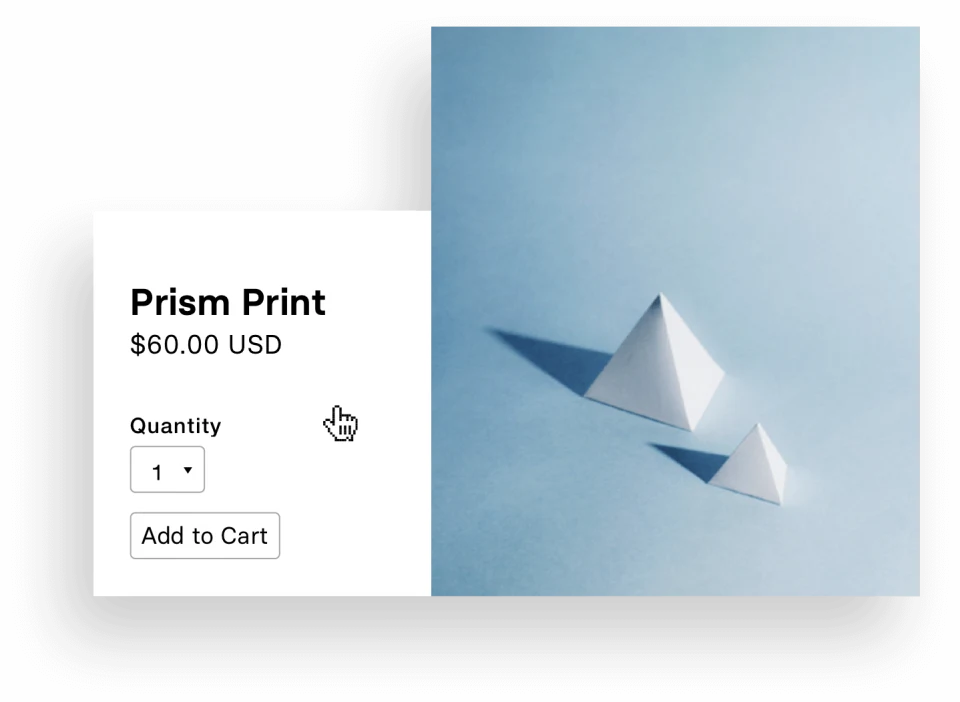
Selling prints of your photos is always a good idea. It is an easy way to entice visitors to your work by telling them to send you an email if they’re interested in buying prints of your photos.
Adding an online store is a more effective way to publicize your work. Most site builders allow the addition of a shop page at no cost. Before setting up your storefront, you may want to become aware of the cut that the marketplace platform is taking from your sales.
You don’t necessarily need to print any photos before setting up an online store—you can always just select a few images you’d like to sell, and add those to your store, with a description of the print sizing and quality that will be available. If someone places an order, you can then make the print for them on demand.
If you already have products you want to sell, like photo books or zines that you’ve printed, Lightroom presets, Photoshop actions, or any other photo-related item, you can add these to your store.
Remember to clearly describe what you are selling, and where you ship to, and how much shipping will cost. If you’re selling framed prints or photo books, including clear product images and sizing information will help customers get a feel for what’s on offer.

Do a full review
When figuring out how to start your own photography website, it’s easy enough to get caught up in the excitement of the process and forget to do a review before publishing. This is a mistake that we want to encourage you to avoid.
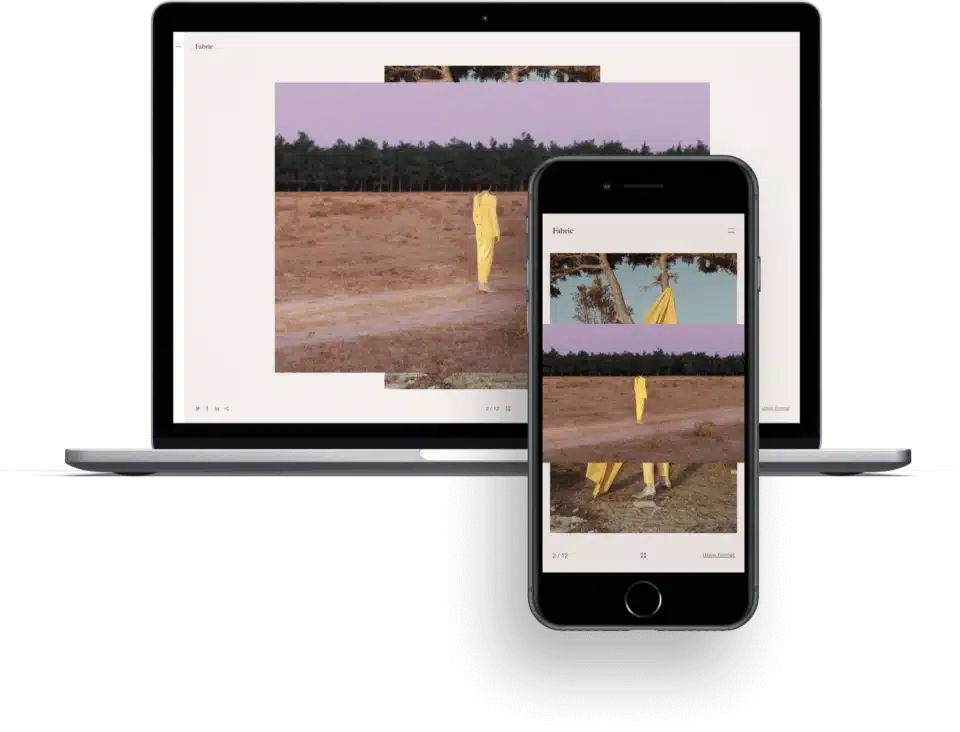
It is important that your work looks professional on this website. Ensure your photography portfolio is compatible with all devices, including smartphones and tablets. Themes are typically optimized for desktops but it is still good to see how your finished website will look on mobile devices. More than half of web traffic is now taking place on mobile, so it’s a safe bet that many of your visitors will be viewing your site on a mobile phone.
Knowing what theme to pick that will display your work best is not always easy, but not rushing and finding the best theme for you is always worth the extra effort.
Best practices for creating a professional photography website:
Concentrate on proper navigation, clean layout, and adaptability for mobile phones; make sure your whole site appears easy to browse; and user-friendly on mobile. Full-screen images which look stunning on a monitor may be overwhelmingly large on a phone. Your desktop browser’s grid layout may look very different on a smaller screen. Check out your own website on your phone and make sure it feels and looks just as good as your desktop version.
Next, proofread the text on your entire site. It’s always a good idea to get someone else to do this, too, as it can be easy to overlook your own typos. Check that your spelling and grammar are correct and consistent across every page with text on it, from your website menu to any photo captions you might have. There’s nothing worse than crafting a perfect statement to go along with a photo series, and then publishing it with a glaring typo in the title. Make sure all the text on your online portfolio is just as carefully curated as your photography.
Check your whole photography website for any formatting errors and design inconsistencies. For example, have you decided to italicize your captions? Make sure each one is italicized. These details may seem minor, but ensuring that the formatting is perfectly consistent across your whole site will also ensure it has a professional and polished feel.
Test any links you’ve included in your photography website, whether they’re links to published work or your social media profiles, to ensure that they are all entered correctly and leading where they should.
Submit your finished site to trusted people before publishing it to the world. Ask your classmates and instructors for help with your website. Show it to friends, other photographers, and mentors. Request constructive criticism. Remember: your online portfolio is for other people, not yourself.
Make sure to include your branding! Create and upload a website logo and custom favicon to your site, don’t forget your branded social handles, and a branded email on your contact page.
Keep your site updated
Update your photography website at least once a month to make sure that your newest work is posted, your CV and contact info are up to date, and everything is running smoothly and looks good. Adding your latest projects and publication details to your website helps ensure that anyone who comes across it has the latest information about your photography practice.
Starting your own photography website
As you can probably see, designing your own photography website is no small task. It takes time, thought, and strategic planning in order to create something that accomplishes your goals.
For some, their website will be a means of simply getting their name out there, networking, and having a place to showcase work.
For others, starting a photography website might be more about booking clients, highlighting services offered, and showcasing capabilities.
Regardless of what category you fall into, having a photography website is something that we encourage all aspiring and established photographers to consider. It can truly take your work to the next level and really help you establish yourself as a professional, either now or down the line.
While we hope we’ve answered all your biggest questions about how to build a photography website, we know the process can feel overwhelming, so start slowly, do one task at a time, and don’t expect your website to come together in a day. Building a credible photography website takes time and patience.
Having said that, if you’re looking for help on how to make your own photography website so you can beat the headache and get your photography website up and running ASAP, try Format today.
Updated on August 31, 2022 | By Steph Davidson
