Real estate photography can be a great way to build up your career as a shooter and add some variety to your online portfolio website. With the busy housing marketing, real estate agents are always in need of high-quality images to help sell or rent a property. Real estate photographers are often rarely short on work or clients, and are able to make a living shooting real estate photos that sell a space.
Ready to try your hand at shooting real estate photos but not sure where to begin? From gear to shooting to pricing, we’ve compiled a list of tips to help you take your real estate photography to the next level and ensure your images exceed industry standards and client expectations.
The Best Gear for Real Estate Photography
Real estate photographers often invest in a few key pieces of gear to ensure they get great shots that will impress clients. To prepare for a real estate shoot, make sure you follow these gear tips:
Go for a DSLR Camera with a Wide Angle Lens
A full-sensor DSLR camera is great for real estate photography because it allows you to shoot manually, with a quick response and an easy view of your shots as you take them. Using a DSLR also gives you more options when it comes to editing your real estate photos post-shoot.
When it comes to real estate photography, a wide-angle lens is a must have item of gear. A wide-angle lens allows you to capture great images in tight or narrow spaces, such as a small room. It also makes rooms appear more spacious, a big plus for real estate photography.
Use a Tripod
A tripod is a solid item of gear for real estate photography, as it gives you the option of setting up your camera at the same, consistent height, room to room. It will also ensure your real estate images appear clean and in focus, with no blurriness or haze caused by a sudden movement of your camera or a shaky hand.
As well, if you plan to take long exposure images of the house’s exterior, which can create a beautiful shot that real estate agents will love, a tripod is a must.
Invest in a Flash
Photographing real estate, you never really know what you’re walking into and it’s good to be prepared, especially in low light settings. A flash, such as a monolight or a flashgun, will help to compensate for low light and make it easier for you to take bright, clean photos.
If you decide to invest in a flash, check if it has a built-in receiver that you can trigger so the flash goes off with the touch of a button. If it does not have a built-in receiver, get a flash trigger you can attach to the flash so you can trigger it without having to touch it.
Buy a Remote Trigger for Your Camera
In real estate photography, you are often shooting with a low shutter speed to ensure you capture the detail and light of a room or area. If you accidentally touch the camera at this setting, it can cause the image to shake and create blur or other imperfections. Avoid this issue by investing in a remote trigger for your camera so you can have a touch-free set up for the shoot.
Get a Drone for Aerial Images
Most real estate shooters can start with a bare-bones set up of a camera, a wide-angle lens, a tripod, and a flash, and make sure just fine. But to take your real estate photography aerial, you will need to invest in a drone. Drone photography can be a great way to get stunning exterior images of property from above, revealing the entire property and the surrounding area.
Real estate agents often appreciate the option of aerial images to give potential buyers a full sense of the property. If you’re looking to expand your real estate photography skills, investing in a drone as well may be the way to go. However, drones can be pricey, in the $1,000 range, so you may decide to invest in this gear once your real estate photography business is up and running.

Shooting Real Estate Photography
Once you’ve invested in some gear, you’re ready to take photos of real estate for an estate agent and practice your shooting skills. Follow our estate photography tips to capture stunning images:
Schedule the Shoot for Late Day
Timing and weather are both key factors for creating great real estate photography. Shooting too early in the day or after sunset can result in poor lighting for both exterior and interior photos. Try to schedule the shoot for a period in the daytime where the sun is sitting behind the house to ensure you have sufficient natural light to get some beautiful images. This also gives you the option of shooting the exterior during the golden hour, right before sunset, which can result in some stunning photos.
Check the weather before the shoot to ensure there is no rain or storm clouds in the forecast, as these factors can make it challenging to get the lighting you need.
Do a Walk-Through Before Shooting
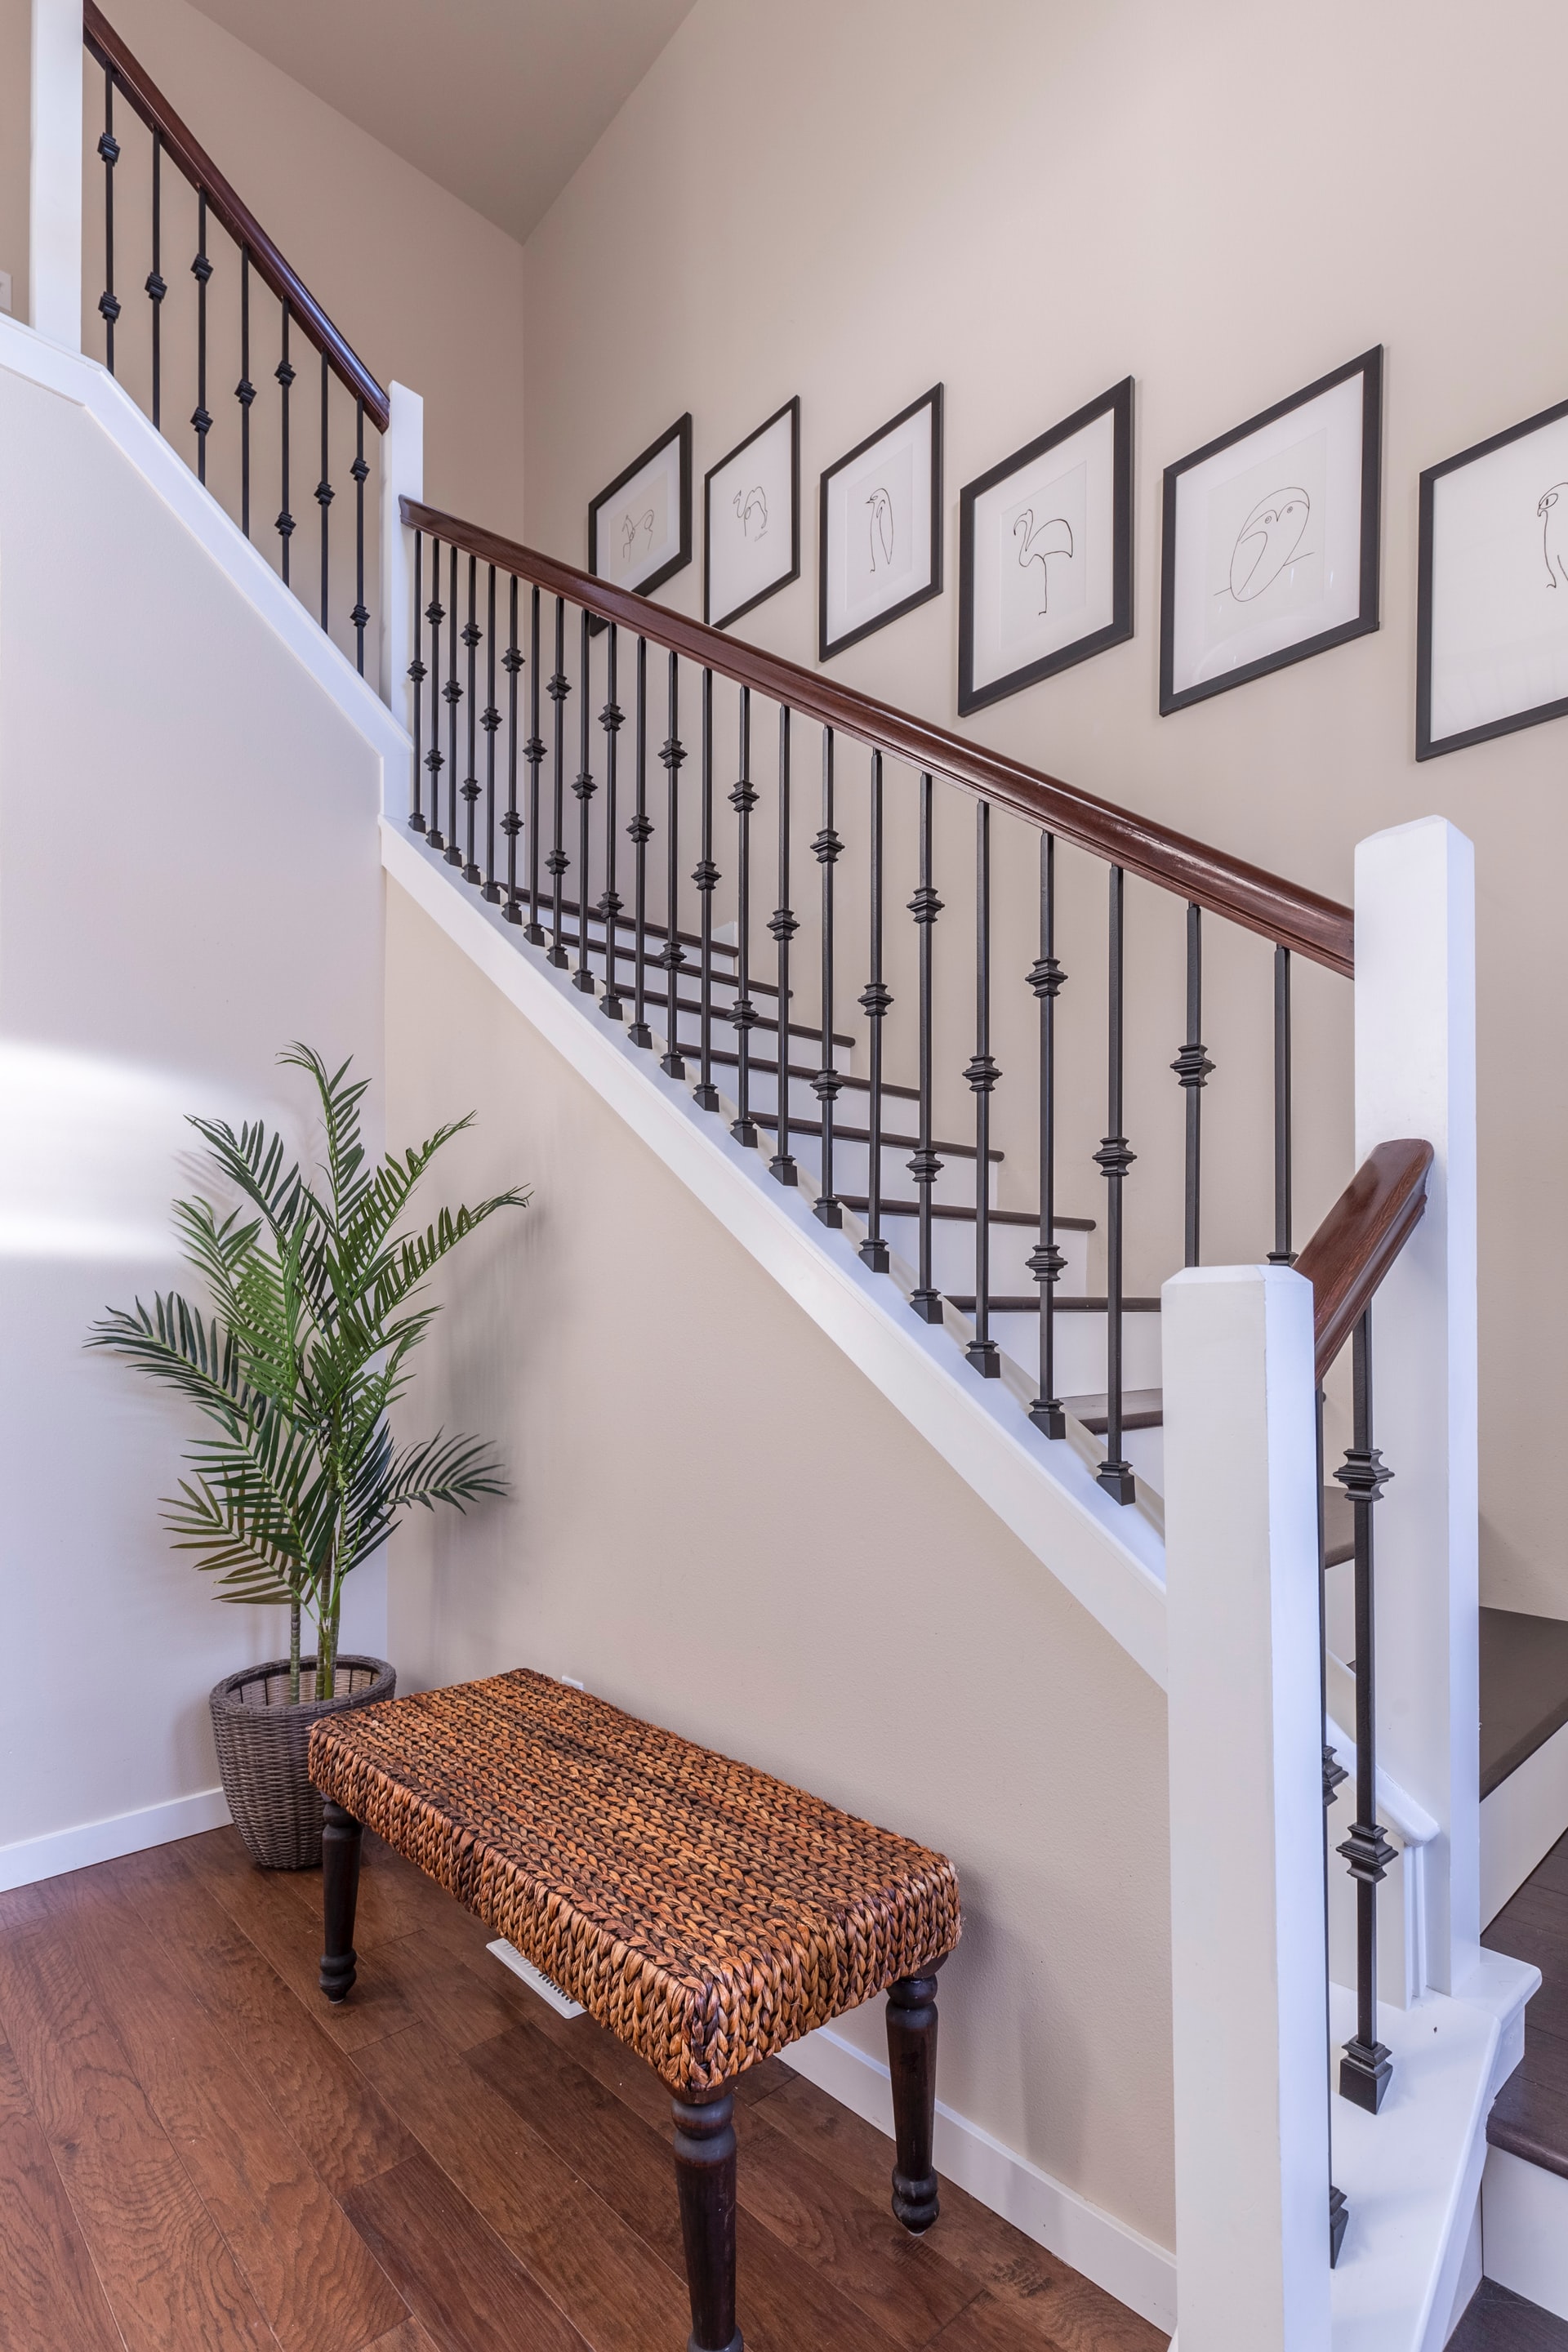
Set aside 30 minutes to an hour to walk through the property and get a sense of each room or interior. Take note of how the property is styled, most real estate agents will stage a home or apartment to highlight its best features. Ideally, each room will be clean and uncluttered, with just enough furniture and decoration to make it feel lived in and not too sparse.
During the walk-through, make note of any potentially challenging rooms to shoot, such as a small, tight room or an awkwardly laid out bathroom. Consider how you can shoot these tricky areas in the best light possible so they shine like the rest of the property.
Create a Shot List
Stay organized for the shoot by making a list of shots you plan to get for the property. Though your shot list may vary depending on the property type, in general, a real estate photo shoot should include:
Two wide-angle shots of bedrooms, the kitchen, and the living room
One photo of the bathrooms, unless it is spacious or stunning enough for more than one shot
One photo of features like the laundry room, the garage, and the pantry or walk-in closets
One to three photos of the backyard
One to two shots of the front of the home to highlight the curb appeal
If you have a drone for aerial images, you can also include them in your shot list.
Make the Rooms Bright and Well-Lit
Low lighting in a room only results in dark, hard to view images that can turn off potential buyers or renters. Open windows and blinds in the property to ensure natural light filters in. Adjust the light in each room by turning on or off certain lights. Overhead lights can make a room look harsh so try to shoot with natural light as well as your flash. Keep in mind the shutter speed and white balance on your camera should be set correctly to ensure your photos get enough light.
In real estate photography, images should have warmth and brightness to attract buyers and renters. Keeping the rooms well-lit will ensure they do not appear too cold or dark. Make sure the lighting for all rooms is consistent, and there are not varying light temperatures from shot to shot, as this can make it challenging for you to edit the photos properly.
Showcase the Best Feature of Each Room or Area
Look for the selling point of the room or area and focus on that detail when you shoot. This could be a large window in the room or a spacious walkway. Or you may notice a great feature like built-in bookshelves or a curved window frame. You could also shoot with the vertical lines of a room in mind to highlight this feature. Try to always showcase the best feature of a room or area so the property looks impressive to a buyer.
Shoot From a Variety of Angles
Avoid relying on only one angle or composition when you shoot real estate photography. Go for variety so you have lots of different shots to choose from when you package them up for a client. Rather than shoot just from corners of the room or at one angle, mix it up.
Try shooting in the doorway of a room or shooting towards a doorway. Position yourself in the center of the room or at a slight angle. Make sure you stay at a height of 5 feet when you shoot, as going too high can skew the image and going too low can result in a cramped image.
Regardless of the angle you shoot from, check that your camera is straight and stable. This will prevent any distortion in your images.
Be Adaptable and Flexible
One of the best real estate photography tips you can learn is to be a flexible shooter and adapt to your surroundings. Though you may do your best to schedule the shoot on a bright, sunny day, you may get to the property and be faced with clouds or a storm. To get the shots you need, you may need to come back later in the day or on another day. You may also show up to a property that has a small, awkward living room or a strange feature, but your job is to photograph it so it looks its best and makes your client happy.
When it comes to succeeding as a real estate photographer, try to stay open and flexible to any changes or surprises. Your clients will appreciate your ability to pivot and come up with a great shot, no matter the circumstances.
Always Edit Your Photos
One of the downsides of using a wide-angle lens for real estate photography is that it can create some distortion in your photos and make certain areas in an image appear warped or slightly off. But the upside is that you can correct this issue when you edit your photos using a program like Adobe Photoshop or Lightroom. Shoot your images in RAW and then set aside some time to edit them to perfection, or outsource the editing to a professional editor if you have the means and are short on time.
Easily adjust issues like distortion by using the lens correction feature in the editing software to ensure your images look clean and distortion-free. You can also remedy any varying light temperature issues in your images, such as one room that has hot lighting or yellow tones that don’t look great. Use the adjustment brush feature in the editing software to fix this issue. Make sure all of your real estate photos have consistent lighting so they look professional.
There are also free presets you can apply to your real estate photos to improve the contrast, vibrance, sharpen specific areas, and adjust the light in each image.

Pricing Your Real Estate Photography
Pricing your photography can be a bit of a head scratcher, especially if you’re new to the real estate industry and are unsure about standard rates for photographers. We’ve compiled several tips to help you price your real estate photography services accurately and fairly:
Factor in Your Services, Your Gear, and Your Time
When you begin to consider your pay rate, keep in mind your total rate will need to cover not only your photography services but also your photography gear and your time spent on the project, from answering emails to client meetings to the actual shoot day. It can also cover your photo editing time, and any travel expenses or fees related to the project. Most photographers prefer a flat rate based on deliverables for a client, such as 10 high-quality photos of a property, rather than an hourly rate.
Regardless of whether you decide to go for a flat rate or an hourly rate, be sure that this amount feels like it is enough to cover every facet of your work on the project. After all, you want to feel your expenses and time spent on the project are covered, as well as feel you can sustain yourself as a photographer and invest back into your business with each project you take on.
One way to determine your rate is to start with the living wage amount in your local area and add on a flat amount for your gear and your other expenses to come up with a fair rate for clients. Real estate photographers can make around $40,000 a year on average to start, with more experienced shooters making closer to $93,000.
Set Your Rates Based on the Property Type
Your rate sheet may include a breakdown of rates based on the different types of homes and spaces you will be shooting as a real estate photographer. For example, if you are shooting a small apartment that is 500 square feet, you may charge $200 for the project total. And if you are shooting a 1,500 square foot home, you may charge at least $300 for the project, adding on $50 per 100 square feet.
This approach is effective because it accounts for the time and gear required to shoot a bigger space, rather than a smaller space or area.
Base Your Rates on the Time of Day
Shooting at sunset requires more gear and prep time than shooting in late-day with natural light. Golden hour images often also require more editing time than a straightforward, daytime shoot. As a photographer, set your rates so your extra gear and time are covered depending on the time of day you are shooting. Provide your clients with several options, such as a golden hour shoot and a daytime shoot, so they can decide how much they are willing to spend.
Charge More for High-End Listings
A high-end listing like a mansion selling for millions of dollars means you will need to create real estate photography that will appeal to a high-end buyer. And this means you will likely need to invest more time, gear, and energy into these images. Set your rates to reflect the high-end nature of the project, as this will show clients that you are prepared to do an incredible job to create photography that will catch the eye of a buyer.
For example, if you are shooting a $1 million dollar home, you may bump your standard rate up from $200 to $500. Or you may use the formula of charging per square foot, at 9 cents a foot, and calculate your rate based on the high square footage of the home.
Increase Your Rates for Drone Photography and Video
If you do real estate drone photography, you can increase your rates and charge more than a regular photo. Typically, one minute of professional drone video can cost between $200-$400. As well, if you are able to offer video tours of the property, they can cost $1000 and up, as they can be a great selling tool for real estate agents and make more of an impact than static images.
Sign a Contract Before Shooting
One of the most important real estate photography tips, which can also be applied to any photography work, is to always get an agreement with a client in writing before you start a gig or project. Draw up a simple contract, with an estimate of your services, gear, and time, and ask the client to sign off on it ahead of the shoot. This will ensure there are no issues once the project is completed and you send the client your invoice, as an agreement is already in place.
The world of real estate tends to move pretty fast, so ensure you get paid quickly and on time by having a signed contract with every client you work with.
Start Building Your Real Estate Photography Portfolio
Now that you’ve read up on real estate photography tips, you might feel ready to start booking clients and taking on real estate shoots. One of the best ways you can connect with clients is to create an online portfolio that showcases your stunning real estate photography. This way, you can direct potential real estate clients to your online portfolio, and take on more real estate photography projects.
Looking for other photography resources?
How to Make a Watermark For Your Client Photos
Lightroom vs. Photoshop: Which One is Better?
How to Get More Photography Clients