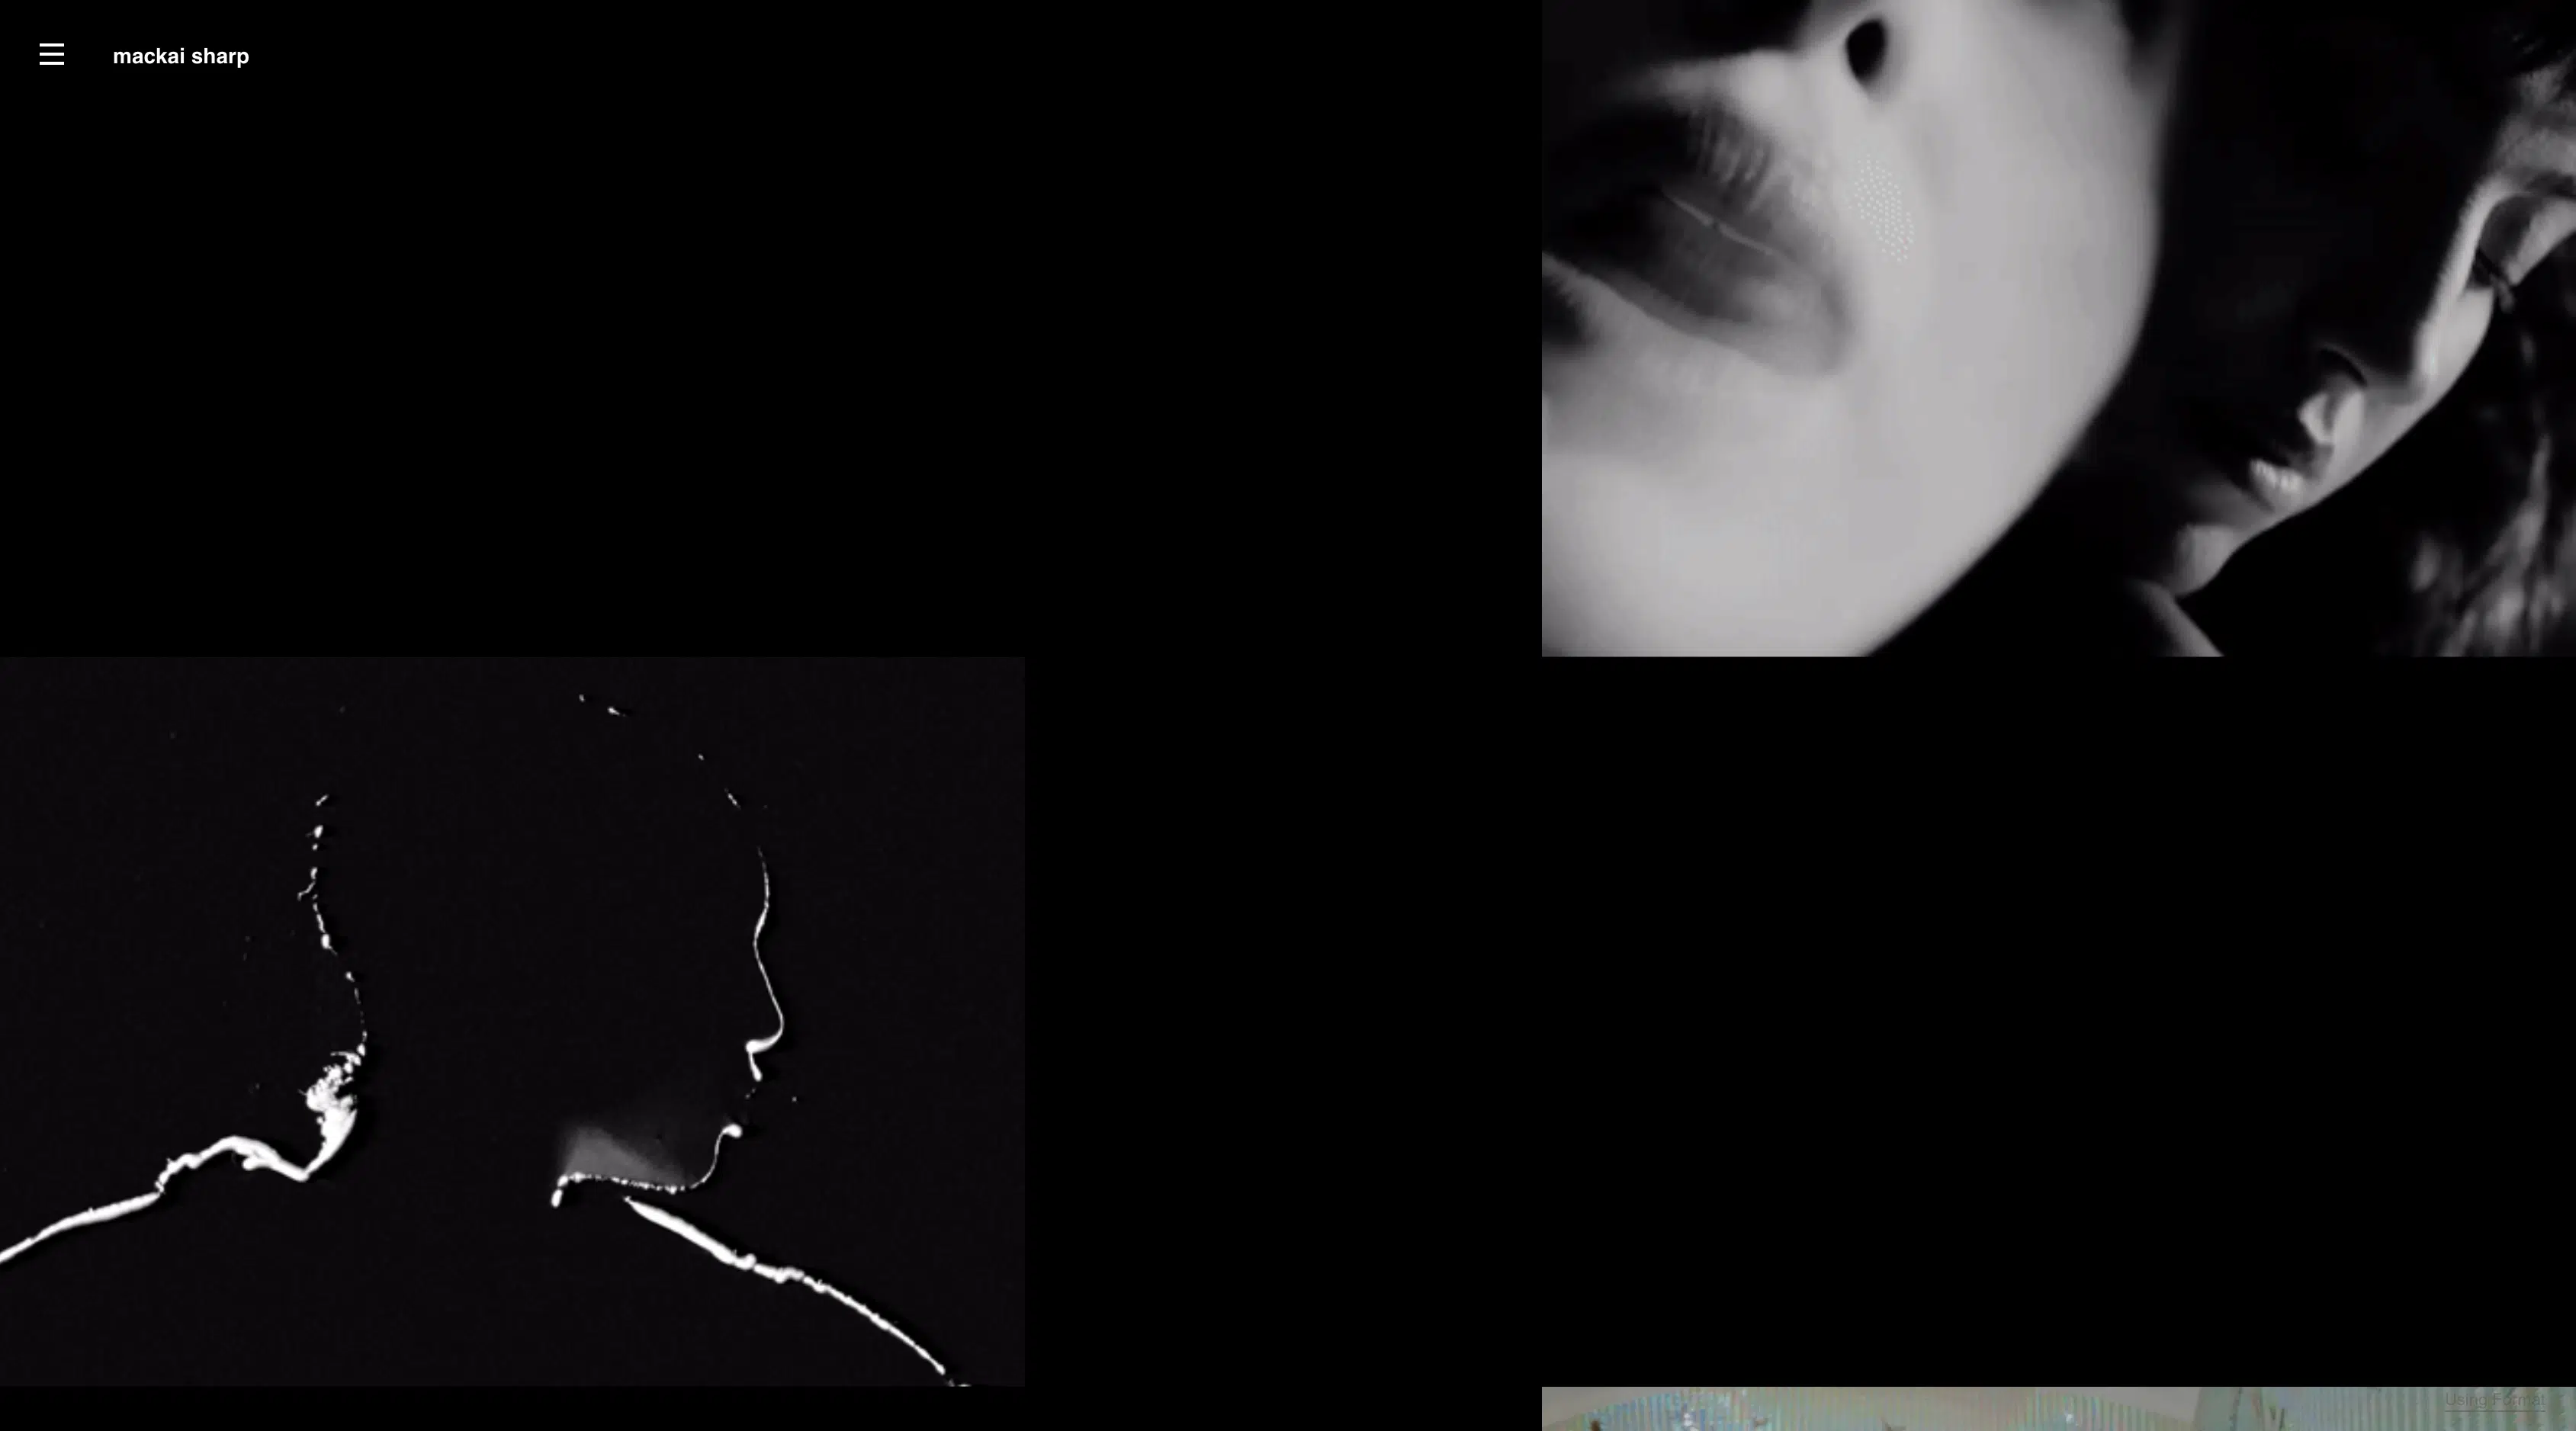
Glitch effects are a cool way to add some extra oomph to your shots, taking them from standard to surreal. These trippy, eye-catching images can really make your social media and online photography portfolio pop.
Glitch art also offers a great opportunity to experiment; it allows you to flex your creativity, turning a so-so image into a unique piece of art. Spontaneity and trial and error are key elements to a good glitch photo, so don’t be afraid to play around with an image and get out of your comfort zone. After all, a quality glitch image is supposed to be the opposite of perfect, often the result of a happy accident or experiment gone too far.
From pixelating to blending to splicing, you can create all kinds of different effects using a glitch photo editor on your phone, tablet, or desktop. (If you prefer old-school techniques, you can even try creating glitch photo effects with a VCR or a scanner.) Whether you’re looking to wow your social media followers or impress potential clients, glitch art is a relatively easy, fun way to create attention-grabbing images.
Let’s get started!
Choose a Photo for Glitch Art
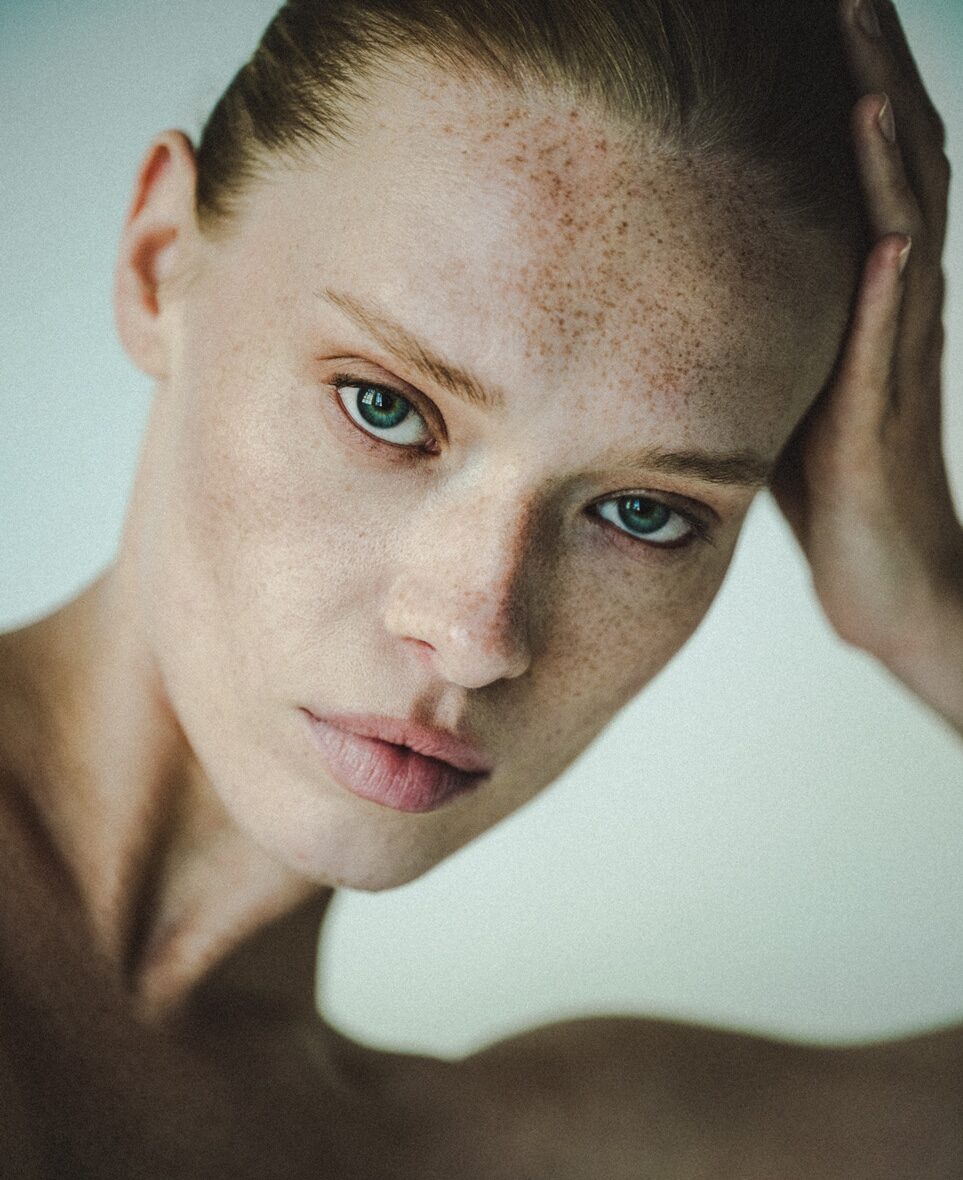
Before you glitch an image, look through your photos for ones that have a clean background and at least one to two subjects. This will give you a lot of content to play with, and it will be easier to make your subjects stand out if the background isn’t too chaotic. Pick an image for glitch art that has three to five colors max to avoid overwhelming the image with a mix of shades.
To create an effective glitch photo, shots with geometric shapes, such as lines, circles, squares, or triangles are best. Compositions with geometric shapes will help you create a cleaner, more precise glitch image.
The Best Glitch Apps
Making glitch art doesn’t require a complex computer program or even a desktop; with glitch effect apps, you can create trippy images easily using your smartphone. There are several glitch apps to choose from, depending on the type of effect you’re aiming for.
For a RGB shift effect in a glitch image, try the Onetap Glitch app. This glitch app lets you adjust settings like Random Seed, making it easier for you to distort different areas of the photo. You can also separate colors using the RGB Shift and play with the intensity and thickness of the shift to create cool glitch art.
Another great glitch effect app is Glitchr. This glitch art generator comes with cool filters like 3D, ASCII, and Glitch Art. Looking to get an old video-game-style glitch look? This app can mimic the visuals from classic consoles like Gameboy and NES.
If you want to glitch a photo to look spacy, try the glitch app Mirror Lab. With a ton of customizable presets like fractal art, planetoids, and kaleidoscope effects, you can play around with different glitch filters to create a truly unique image.

The Best Online Glitch Photo Editors
If you’re looking to create a glitch effect online, go for one of these handy free glitch editors. These programs are ideal if you plan to work with bigger file sizes, as they can handle a lot of data. One of the more popular glitch editors is Image Glitch Tool, which lets you combine several different effects into one image, resulting in a photo that looks pixelated, distorted, and solarized. You can also control the iterations and quality, and even randomize the glitch settings if you’re feeling lucky, or bored.
If you want to turn an image into a glitchy animation, give Photomosh a try. Load your photo into the online photo editor and select from 27 different effects, including moving effects like Jitter and Wobble. You can then save your work as a JPEG and have a cool glitch animation to show others.
Another surprisingly effective glitch art maker is an audio editor called Audacity. Because you will be destroying the file to glitch it, start by opening it in MS Paint and saving a copy of the image as a BMP (bitmap image file). Then, open Audacity and import the BMP. Check the Import Raw Data box and under encoding, select U-Raw. Set the Byte Order to Big-Endian and Channels to 1 Channel (Mono).
Once the file loads, highlight a section after the five-second mark. To glitch the image, open Effects and choose Echo, Phaser, or Wahwah. After you’ve added the glitch effect, export the audio. Make sure the File Type is Other Compressed Files. Under Header, click on Raw (Headerless) and, under Encoding, choose U-Law.
Audacity will ask you to add metadata to the image. Select Okay and then save the image. You will need to wait until the file is saved to view the image and see the glitch effects. But using this glitch tool could result in some surprising glitch art.
Create the Glitch Effect in Photoshop
Wondering if making glitch art in Photoshop is as easy as it seems? Photoshop is a great option if you want more control over how you glitch your photos, especially if you have an idea of how you want the image to turn out. Start with a blank document that is 1500 x 1000 and put the selected image inside the document. Resize the image to fit the dimensions of the background.
Then, begin to glitch the image with distortion by clicking on the Rectangular Marquee tool and use the arrow keys to adjust the thickness in certain areas of the photo.
You can also create a glitch background by duplicating the image multiple times. Open the first layer and select Blending Options. Under Advanced Blending, deselect the Green Channel. Then, open the second and third layers and deselect the Blue and Red Channels. Select the Move Tool and open the first layer. Displace it to the left or right using the arrow keys. Repeat this process for the remaining layers, playing around until the colors begin to overlap. This will create cool, 3D glitch art.
Make Glitch Photo Art with MS Notepad
MS Notepad is a great glitch tool once you know how to use it. Start by opening the selected image in MS Paint, or a similar photo editing platform, and convert it to a BMP. This will let you resize the image without overloading MS Notepad with a large file size.
Once you have the BMP ready, open MS Notepad. Don’t be alarmed if random symbols pop up as the app loads; this is actually exactly what you want to see! Scroll down and copy a patch of the random symbols. Then, paste it anywhere you’d like in the document. Save the document, and voila, you have now created glitch art.
The beauty of using MS Notepad is that you don’t know how the final glitch image is going to turn out. But this means you may need to try copying and pasting different random symbols until you get a glitch effect you like. That said, sometimes the randomness of the process can result in a truly unique glitch image.
Go Analog to Get the Glitch Effect
For an old-school approach, swap out your online glitch photo editor for VHS tapes and camcorders. Rather than imitate glitch effects with software, you can make real glitches with these devices—and a little patience! Scour garage sales, thrift stores, and your grandparents’ basement for an old VCR or camcorder. Then, use yourself as a model or ask a friend to be the subject and record images with the camcorder. Fast-forward and rewind the tape to create static and distortion, resulting in some interesting glitch art.
You can also try digitizing the video footage using video capture software like Adobe Premiere, then utilizing the tools in the digital program to glitch the recorded images. Or pause the video and snap a picture of the television screen to create a gritty glitch image.
Another analog tool that’s great for making glitch art? A scanner. You can scan a photograph or even an object, like dried flowers or your hand. Just make sure they can fit comfortably into the scanning tray! When you scan the object or image, move it around to elongate it and create scanlines in certain areas. Play around with the possibilities of moving, bending, and squashing objects on the scanner to create cool glitch art. This is a great way to create a glitch photo in a spontaneous, fun way.

Share Your Glitch Photo Art Creations With the World
Now that you know how to make glitch art, have some fun creating glitch effects on your images. Once you have some glitch art you’re proud of, show off your best glitch photos in an online portfolio website. Don’t have one yet? No worries. You can use a website builder to create one in minutes. Choose a builder that offers great features like fresh, modern templates to show off your killer glitch images. Instagram integration is another good feature to keep an eye out for; sharing your glitch art on social will refresh your portfolio with a stream of Insta pics at the same time.
Not sure which portfolio is your style? Go for an online portfolio that offers a free trial so you can see which one best suits your photography. Look for one with built-in blogging as well, so you can draw more people to your site with blog posts about all your cool glitch art experiments.
Need some more inspiration? Check out our guide to building your photography portfolio and take a peek at some other photography portfolios for some ideas on how you can work those glitch effects.
Don’t forget to update your own online portfolio regularly with your best glitch images—it’s an ever-evolving field, and you want to show off your mastery of this wild, wonderful format.
Looking to learn other ways to play around with an image?
How to Make the Perfect Cinemagraph in Photoshop
3D Photography: A Beginner’s Guide
How to Make A GIF in Photoshop