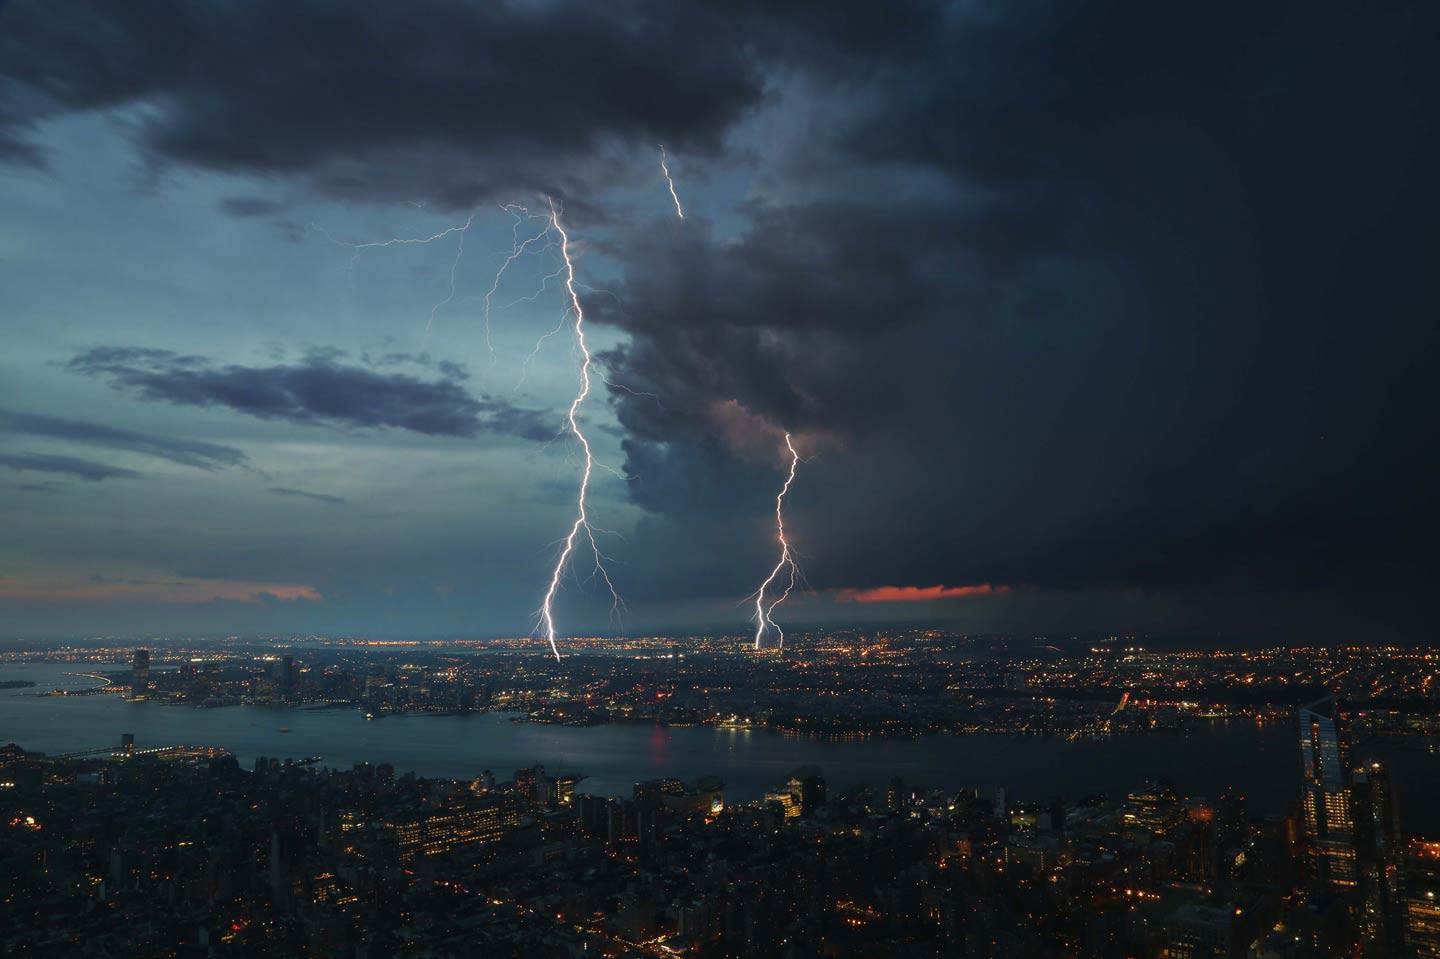
Nature offers tons of amazing opportunities for one-of-a-kind shots, but, if you’re not prepared to capture them, they’ll pass you by. Lightning photography is one of the most exciting kinds of photography to explore. Each time you head out to capture some lightning photos, you’ll end up with something completely different. Once you get the hang of how to shoot lightning, you’ll never get bored of it, since you’ll get wildly different results depending on location, weather, and intensity of the storm.
Learning how to take pictures of lightning is an awesome skill for any outdoor photographer. Lightning photos will make a bold, powerful addition to your online photography portfolio, which is a great way to stand out from other photographers in your field and show clients why they should be booking you! Let’s get started.
Stay Safe While Shooting Lightning
Before we get into the fun stuff, it’s a good idea to remember that learning how to photograph lightning means learning some safety tips, too. There is some danger involved in shooting lightning, depending on where you choose to shoot from. If you’re smart about what you’re doing, you’ll be able to capture some incredible lightning images while staying totally safe.
The top safety tip for lightning photos is to stay under cover. Whether you’re shooting from a window, inside a car, or under an awning, this will minimize the risk that you’ll get struck. You should also keep a safe distance from water, and from anything tall that might attract lightning, such as trees, tall buildings, or electrical posts.
Clear Your Schedule
Depending on where you live, lightning storms might be a super-common occurrence, or they might be a bit rarer. Part of learning how to take photos of lightning is accepting that you have to be patient, especially if you’re an area where lightning storms don’t come around that often. Maybe you’ll get lucky and get the ideal shot as soon as you start shooting, but it’s more likely that you’ll have to do a lot of waiting for that picture-perfect bolt of lightning.
Bring Out The Perfect Lightning Camera and Equipment
The best pictures of lightning are taken with DSLRs. You’ll want to choose a fast lightning camera to capture a clear image, so, while a point-and-shoot may be easier to carry around, it probably won’t do the trick. If you have a more high-end, sophisticated point-and-shoot, you might be able to get away with it, but your best bet is a DSLR.
Next, you’ll want to bring a tripod along with you. Figuring out how to shoot lightning without a tripod won’t be easy, because you’ll find your lightning images come out blurry. You’ll most likely be shooting in the evening or at night, since that’s when lightning will show up best in your photos; that means you’ll probably be dealing with low ambient light situations which will require long shutter speeds. Try shooting even a three-second exposure without a tripod and you’ll end up with a blur. Slowing down the shutter speed and shooting without a tripod is pretty much out of the question.
When it comes to lenses, you’ll get the best results if you choose something with a wide angle. The best lenses for landscape photography will serve you well when it comes to lightning photos, too, since you’ll want to capture as much lightning as possible in your image.
No matter how steady your hand is, pressing that shutter release button can disturb the camera enough that you’ll end up with a blurry photo. One solution is to use a remote or cable shutter release, so your camera remains totally still. An even cooler option? Use a lightning camera trigger!
Use a Lightning Photography Trigger
If you really want to get serious about lightning photos, a lightning trigger is a really awesome tool that will help you get the best images possible. These lightning sensors for cameras take a lot of the mystery out of how to capture lightning. They’ll actually release your shutter in response to lightning, so you can focus on other things like finding the perfect landscape as your location and nailing the composition, making sure that you get some shots that are worthy of that landscape photography portfolio. The trigger will ensure that the timing of your shutter release is just right.
Whether you’re looking for a lightning trigger for your Canon or a lightning trigger for your Nikon (or an option for a different camera brand), you won’t have too much trouble since a lot of the models on the market will be compatible with different brands.
The Strike Finder from Ubertronix is an option that will work with all kinds of camera set-ups. Just mount it onto your hot shoe and you’re good to go! The sensor will detect lightning and release the shutter way faster than a human could, so this is really the best tool you can have for capturing amazing lightning photos.
Choose the Right Lightning Photography Settings
When it comes to lightning photography settings, you’ll definitely want to use your camera’s manual settings. That’s because whether you’re shooting your lightning photos at night or not, you’re capturing an unusual light condition. If your camera is an auto, it will most likely have trouble properly exposing the lightning image.
It’s also a good idea to focus manually. Before taking your shot, focus on something in the far distance. That way, those lightning bolts have the best chance of being in focus.
Another tip that will have you mastering how to photograph lightning is making sure that you set your camera to shoot RAW vs. JPEG. You’ll thank yourself when you’re editing your photos to get that white balance just right. When it comes to editing lightning photos, a slightly cooler white balance will almost always look best. It will really make that lightning pop!
Plan Your Perfect Lightning Photo Location

Location might not be the first thing on your mind when you’re learning how to take pictures of lightning—after all, you’re just shooting the sky, right? Not necessarily! Sure, the main event in your lightning photos might be the sky, but you should still think about the landscape that will appear in your image. By choosing an interesting location and getting creative with your composition, you’ll be able to capture a seriously photo contest-worthy image.
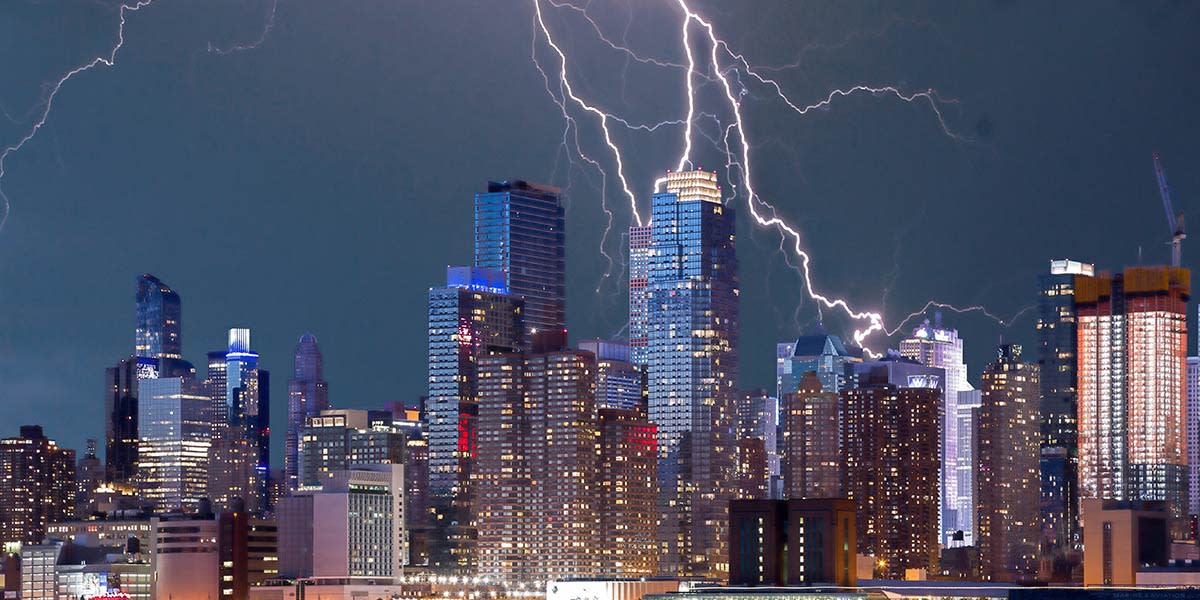
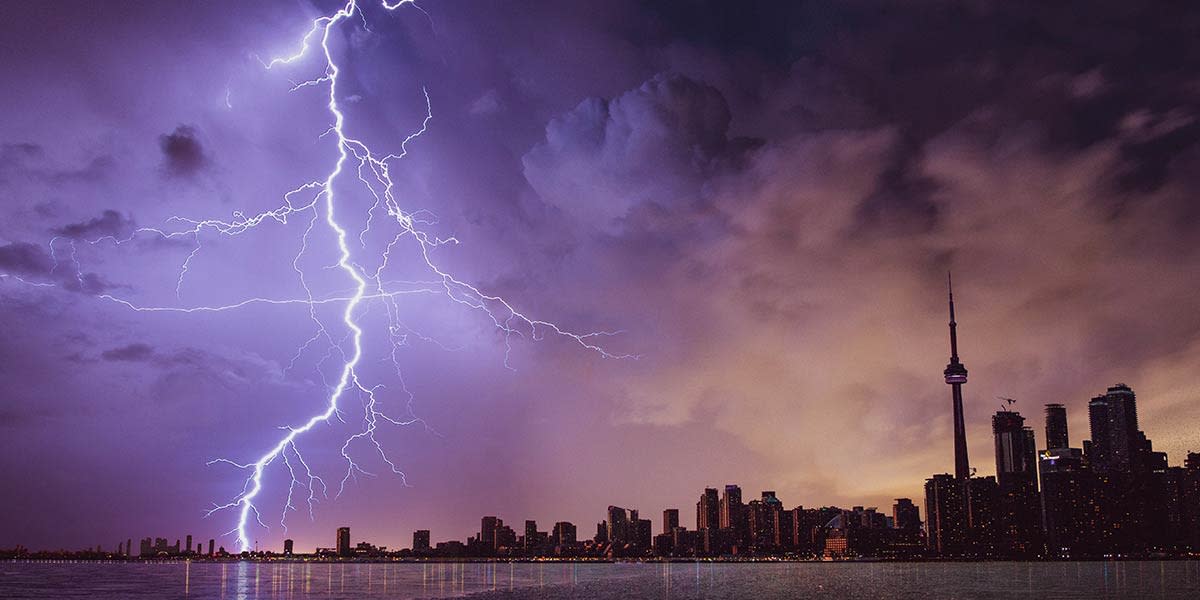
One cool technique might be to look for what you could place in the foreground of your lightning photo, as a silhouetted object. If you’re shooting in an urban area, a location that gives you a cool vantage of the city skyline could be used in some cool silhouette photos. Or maybe you can use those buildings to create a frame for your photograph.
You could also try using leading lines in your photo composition. Look around your chosen location and see if something like a road or a railroad track could be used to guide the eye towards the area of your composition that will be filled with lightning—it could be a great way to make your photo stand out from others. The right composition could take that lightning photo from ordinary to worthy of selling as a landscape print online or to a stock photography website.
Don’t Forget to Upload Your Lightning Images to Your Online Portfolio!
Now that you know how to take photos of lightning that are worthy of a National Geographic spread, make sure you get them up on your online portfolio website. No matter what kind of photography type you’re into, a gorgeous and up-to-date portfolio is an essential marketing tool that will help you get your work out there and land new clients.
If you don’t have one set up yet, no worries: with the right website builder you’ll be able to get one up and running in no time. Choose one with beautiful templates, so that you don’t have to do much tweaking to get it looking how you want. Just upload those electrifying lightning photos, write some killer descriptions, and publish them! If you’re posting to your Instagram frequently, look for a website builder that has built-in Instagram integration. That way, you can refresh your online portfolio, just by posting to your Insta!
If you tend to shoot client work, you’ll also want to look for a client-proofing feature. This makes it so much easier to deliver a project that your client is happy with, because you’ll be able to send them a proofing gallery where they can review watermarked images and give you feedback all from within your website.
Knowing how to shoot lightning is an awesome, portfolio-boosting skill that you can now get out and practice. Brave the storm, and show us what you’ve got!
Looking for more landscape photography guides to help you take your skills to the next level?
10 Awesome Landscape Photography Tips
The 23 Best Photography Apps for Landscapes
Level Up With These Landscape Photography Accessories
