Trying your hand at silhouette photography is an excellent way to sharpen your skills as a photographer—and create some truly stunning images. Taking a good silhouette photo requires some technical knowledge and understanding of light, but the results are totally worth the effort. There is something extra-dramatic about silhouette pictures, making them a great addition to your online photography portfolio.
Never taken a silhouette photo before? This guide will walk you through all the steps of how to take a silhouette picture. Read on to learn how to master those silhouette photography basics!

Silhouette Photography Lighting
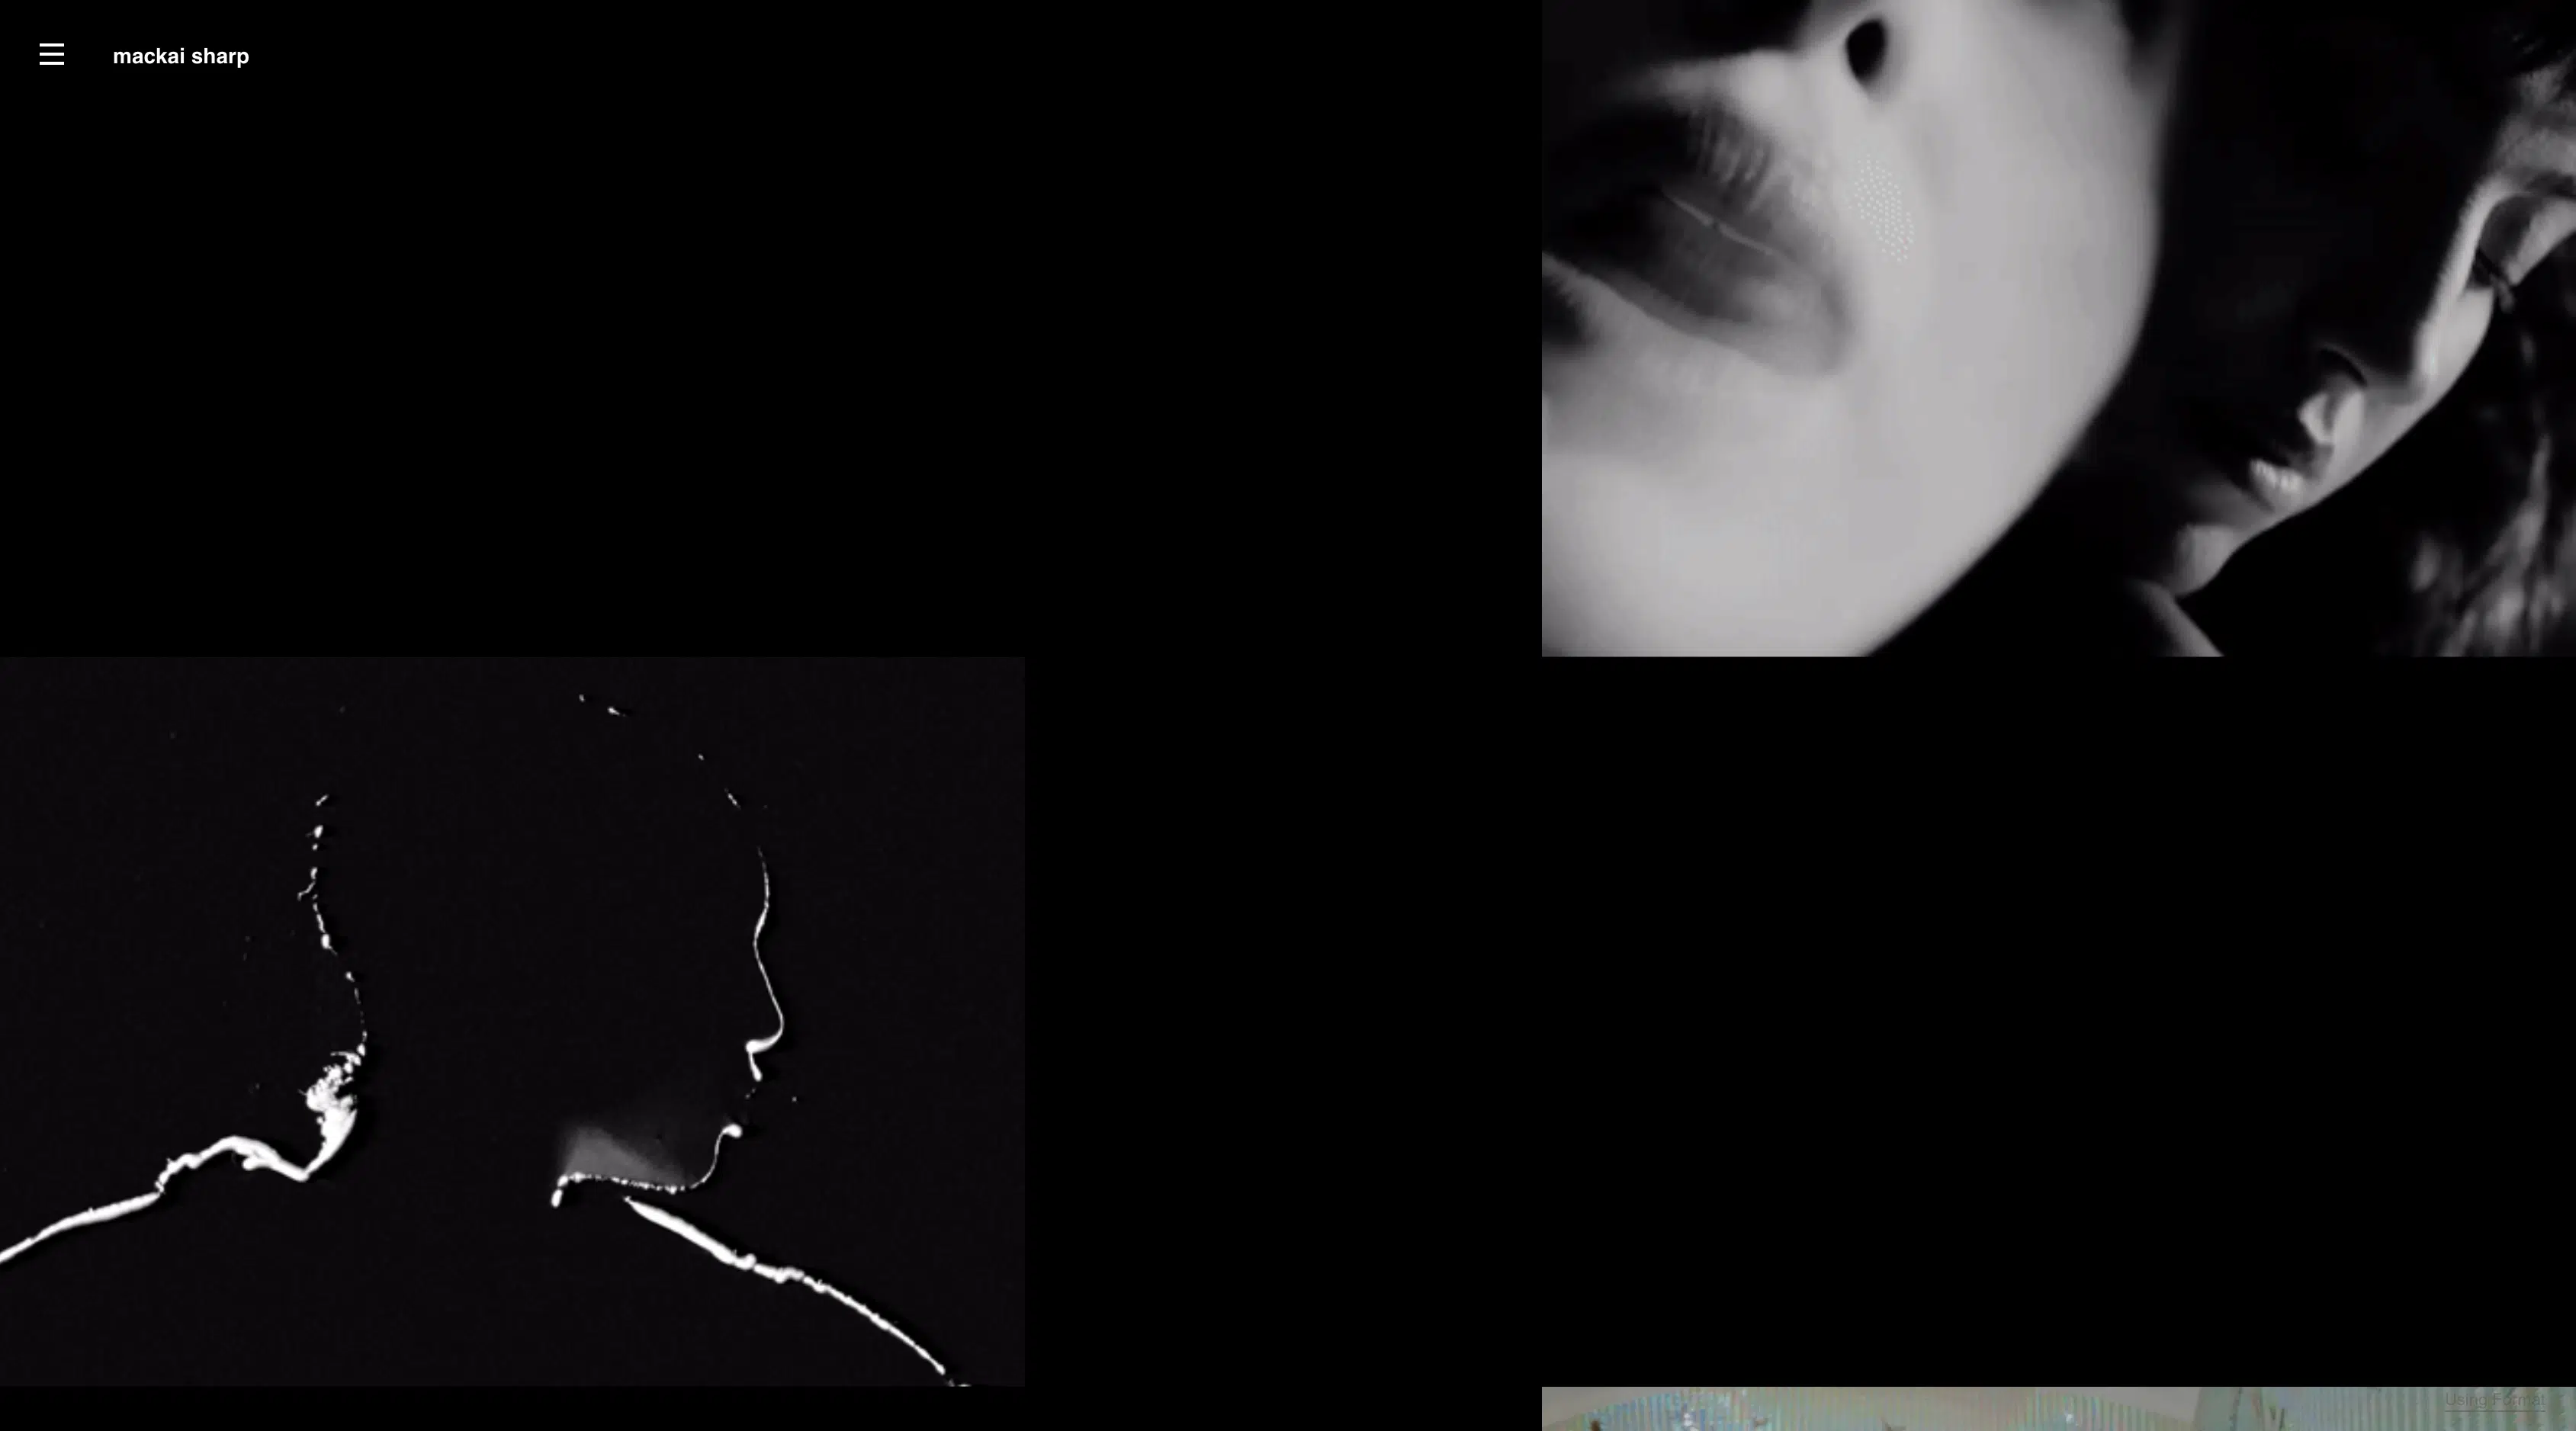
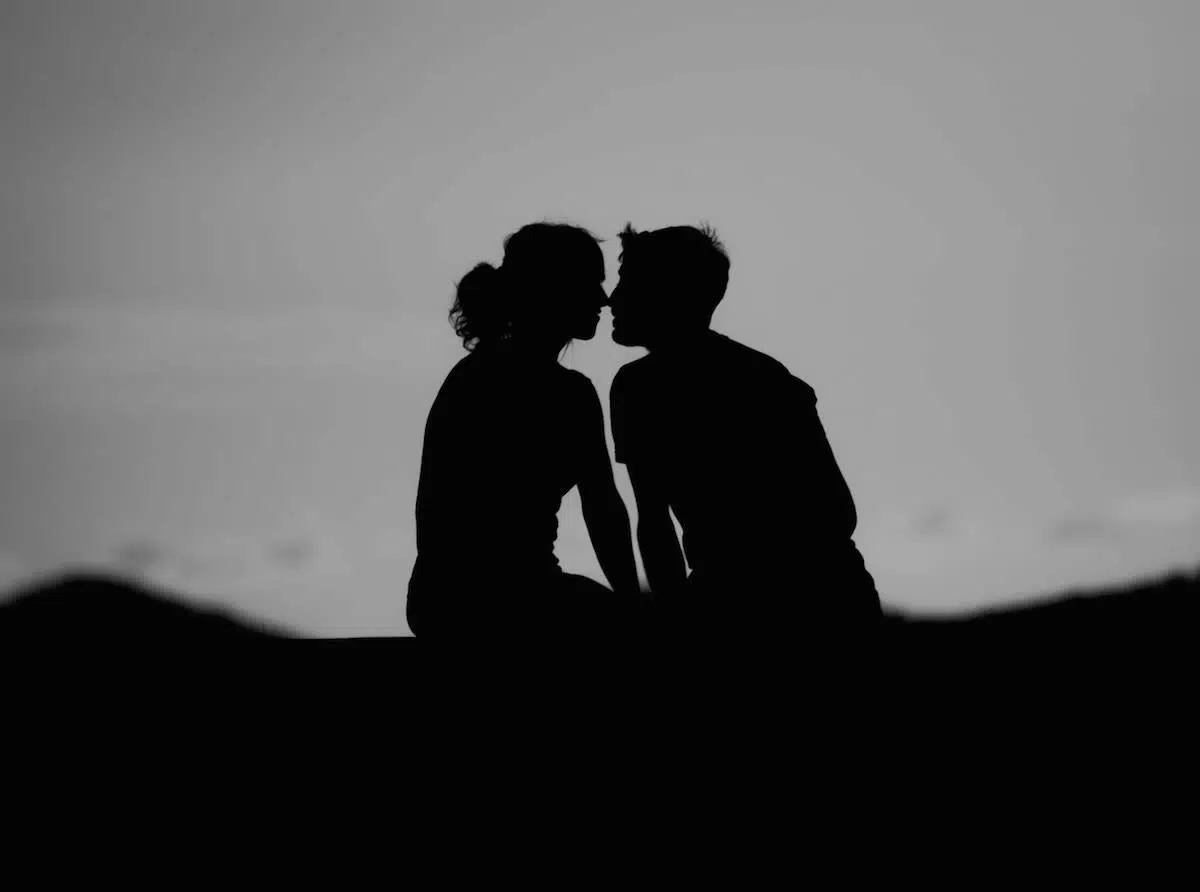
Silhouette photography is all about getting your lighting right. A silhouette effect is created when a light source is placed behind your subject, with little to no light in front of your subject. If your subject is totally backlit, with the right camera settings, you’ll be able to capture a gorgeous, crisp silhouette shot.
This means you should make sure to turn off any strobes or flashes on your camera, and, ideally, get away from any other light source that might interfere with your silhouette shot. This is true whether you are in studio or shooting outdoors. This can be tricky at first, because it’s the opposite of what you learn to do with lighting when you’re starting out as a photographer.
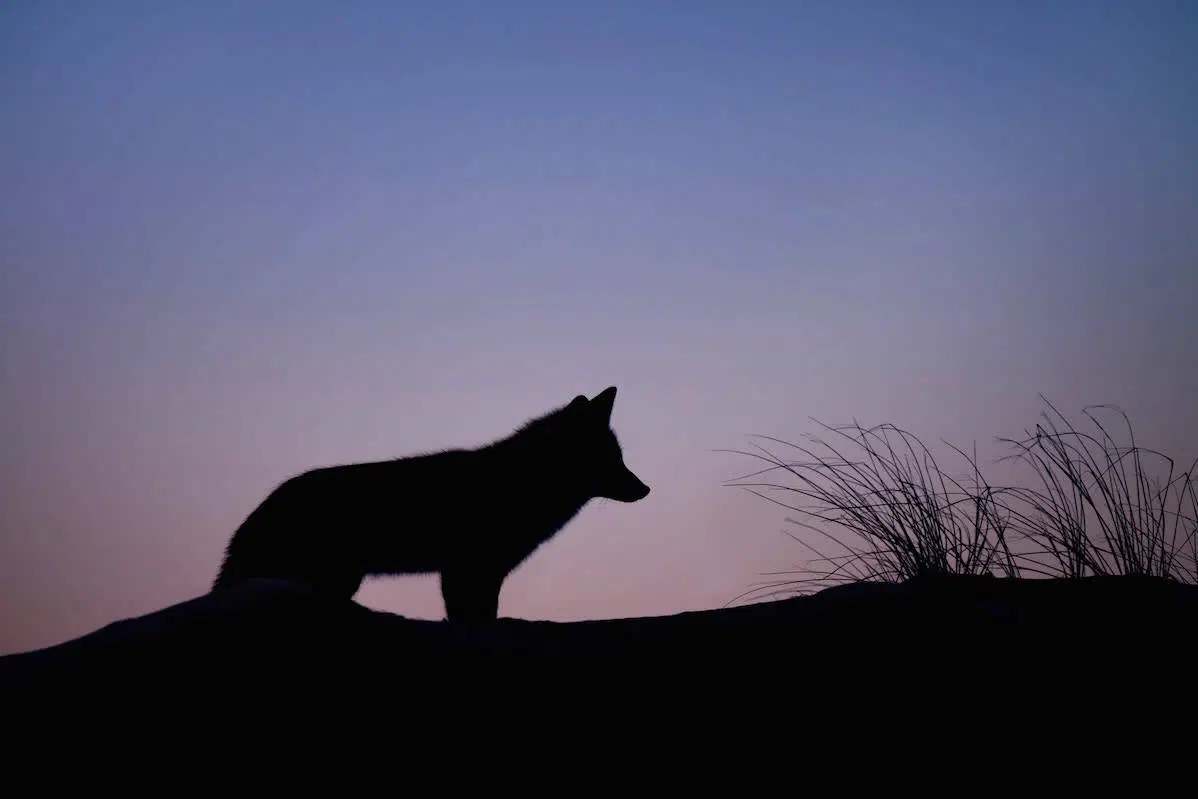
The best time of day for silhouette shooting is either early in the morning or late in the day, when the sun is on the horizon. That way, you’re more likely to capture a warm-colored sky, and there won’t be too much light brightening up your subject.

Silhouette Photography Subjects
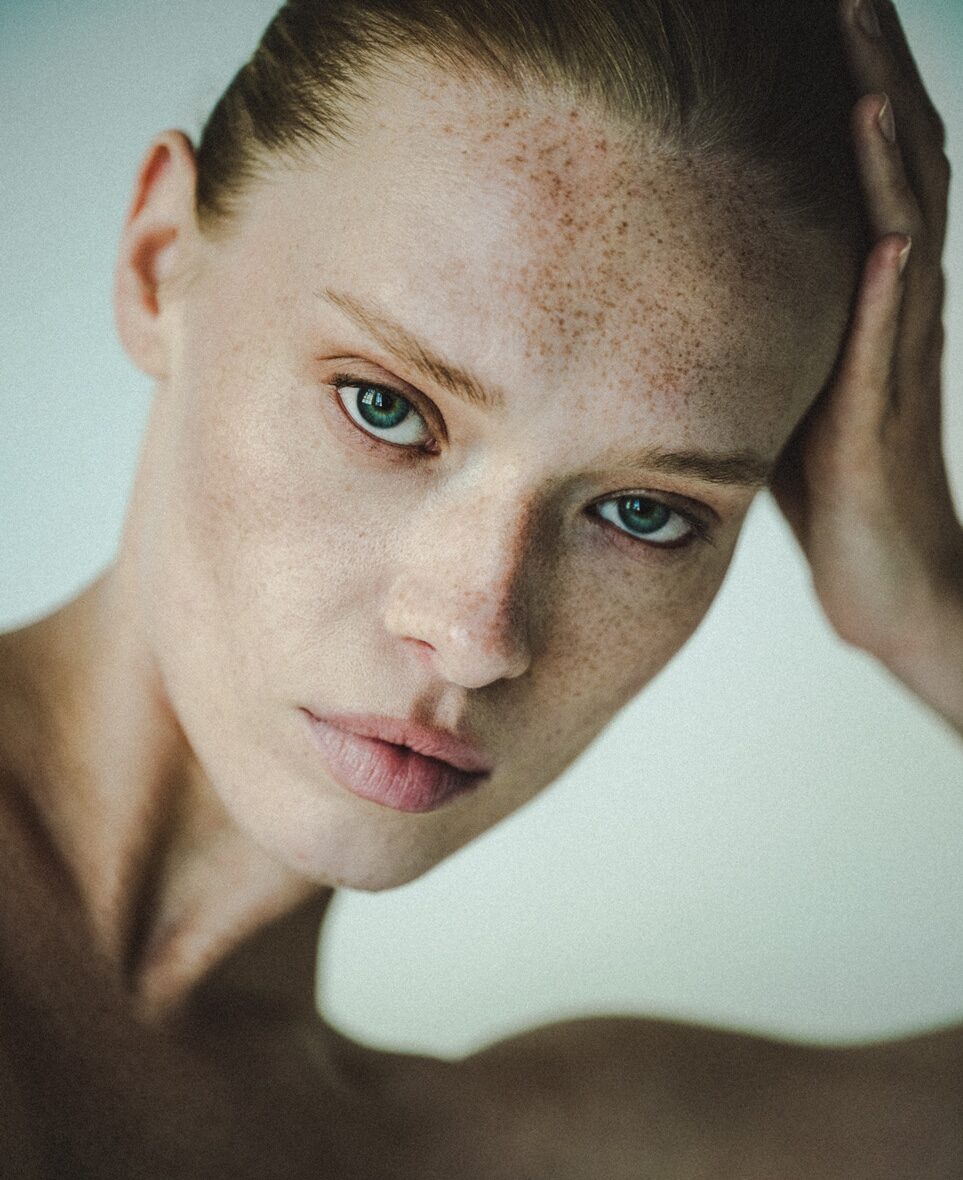
There are a few things you’ll want to keep in mind when you decide what to shoot as your subject. Silhouette portraits can be stunning and convey a lot of drama, but you can achieve some really beautiful shots of other subjects as well.
The main thing to remember is that the more distinct your subject is, the better. For example, a person huddled over and shot head-on won’t look very interesting in a silhouette image. That same person upright and in profile, with their limbs extended (walking, for example, or jumping), will create a gorgeous, dynamic silhouette portrait because their form will be so much more distinct and well defined.

The same rule applies for other silhouette photography subjects:
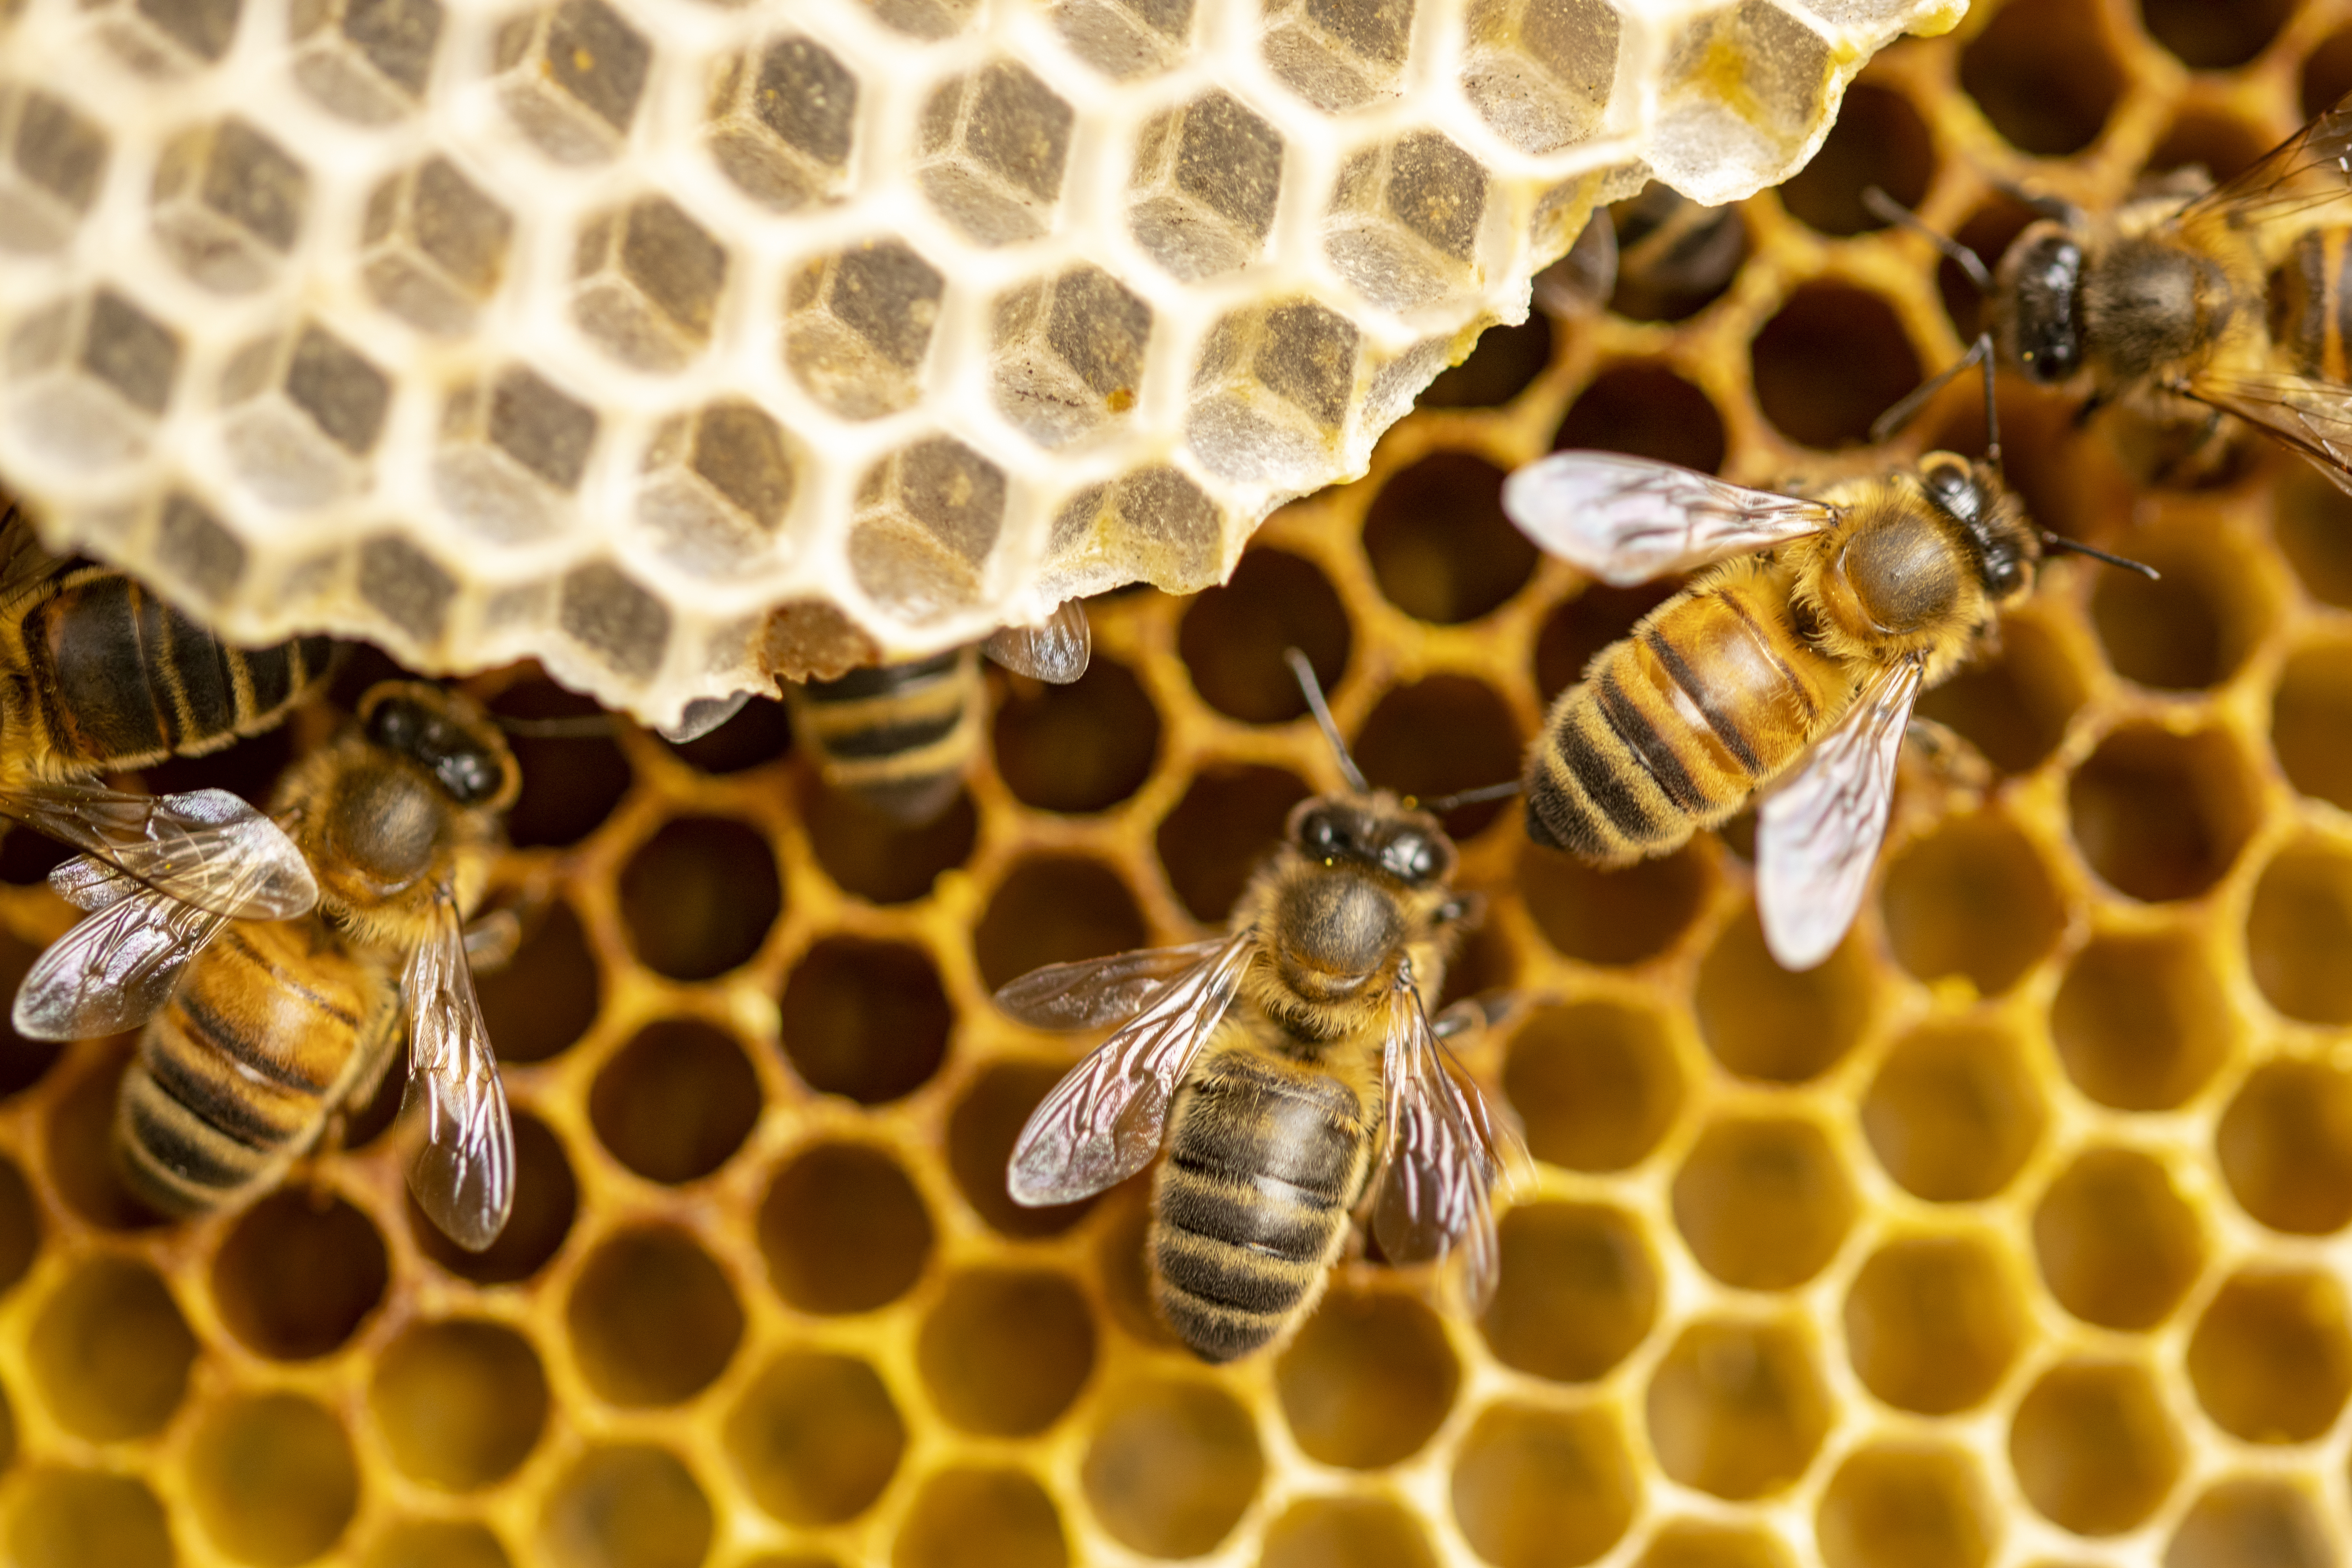
- A dense bush will look less interesting than a craggy one, because there will be more detail in your silhouetted subject.
- For family photographers looking to try their hand at silhouettes, a family standing at some distance from each other and holding hands will create a better silhouette than if they were all together in an embrace.
- If you’re a landscape photographer, a skyline with lots of different building heights and some space between buildings will look better than a uniform skyline without much variation.

Get creative, and try to come up with unique ways to capture your subject!
When choosing your background, keep in mind that a plain, bright background will look best and make your silhouette as sharp as possible. Try to find a location without too many things obstructing the background.
A handy tip for silhouette shooting is to get lower than you normally would. This way, you can capture your subject against a totally clear, bright background, without things like trees or buildings getting in the way.

Silhouette Photography Camera Settings
You’re already a pro at identifying the perfect lighting conditions for your silhouette images, and choosing the most visually interesting subjects. Next up: learning how to properly use your camera settings to capture your silhouette shot, and a few tips and tricks for how to edit your image in post to really make that silhouette pop.
Getting your camera settings right can be a little tricky, because silhouette photography is pretty different from any other kind of photography you might be used to in that the part of the image you are exposing for (the background) is different from the part of the image you are focusing on (the silhouetted subject). But there are ways to make it work in both auto and manual modes!
Auto Mode
If you are shooting silhouette photos in auto mode, try pointing your camera at the sky and pushing the trigger down half way. (Do not point it directly at the sun, as this can potentially damage your camera). Then, point your camera back at your subject and shoot. Most cameras will determine what exposure levels should be used when the trigger is half down in auto mode, so the result should be a nice silhouette shot.
Manual Mode
If you are shooting silhouette pictures in manual mode, you can manually set your exposure to make the background properly exposed, which should leave your subject very underexposed or black. Then you can manually focus on your silhouetted subject to make sure it is sharp against the background.

Depth of Field
You’ll also want to take depth of field into consideration. Since the best silhouette images have a sharp subject as well as a sharp background, you should maximize your depth of field by shooting with a small aperture (i.e. a large F-stop number). This way, both foreground and background will be nice and sharp.
Exposure Bracketing
Exposure bracketing can be another effective way to make sure you’re getting the perfect exposure in your silhouette pictures. Some cameras will have an automatic exposure bracketing (AEB) feature that allows you to take a burst of three photos, at three slightly different exposures, to make sure that you have options if your settings weren’t perfect the first time around. You can also use the exposure compensation setting in your camera to try taking some photos one or two stops up and down to make sure you get one silhouette photo that is exposed just the way you want it to be.

Silhouette Photography Editing
With these tips, your silhouette photography will look great right out of the camera. Still, it’s a good idea to remember that a lot of the stunning silhouette photos you see online have probably been edited a little bit in Photoshop or another photo editing program to really make the silhouette jump off the screen.
You might want to increase the contrast of your silhouette image a little bit, as well as up the saturation (particularly if your shot was taken outside against a warm-coloured sky with the sun low on the horizon). You probably have some really gorgeous colours in the background of your image that will benefit from a little extra saturation. This will make the dark silhouette stand out even more.
You can also try increasing your blacks in Photoshop, especially if you want that silhouette to have very little to no detail in it. Playing with the blacks, shadows and highlights will help you achieve the dramatic effect you’re looking for in a silhouette picture.

Now, it’s Time to Show Off Your Silhouette Photography!
There you have it! Now you’re ready to wow your clients and followers with amazing silhouette photography. Those images belong in your online photography portfolio. Don’t have on yet? No problem–with the right website builder, it’s easier than ever to get up and running with your own portfolio website in minutes. If you’re not sure where to start, check out our comprehensive guide to building a photography website.
There are a few things you’ll want to look for when choosing the right website builder for your photography business:
- Pick one with beautiful templates in, so that you can easily choose one that matches the look you’re going for.
- It’s also a good idea to go for an online portfolio website with an online store built right in. Silhouette photos are pretty popular these days and make great prints, so you’ll want to make it easy for your customers to purchase your silhouette photography, right from your portfolio.
- If you’re an avid Instagram user (and—let’s face it—as a photographer, you should be), look out for website builders that have Instagram integration. That way, any pretty silhouette images you throw onto your Instagram will also appear on your online portfolio.

Now get out there and get shooting!
Looking for more ways to boost your photography skills?
Everything You Need To Know About Smoke Bomb Photography
3D Photography: a Beginners Guide
How to Make the Perfect Cinemagraph in Photoshop