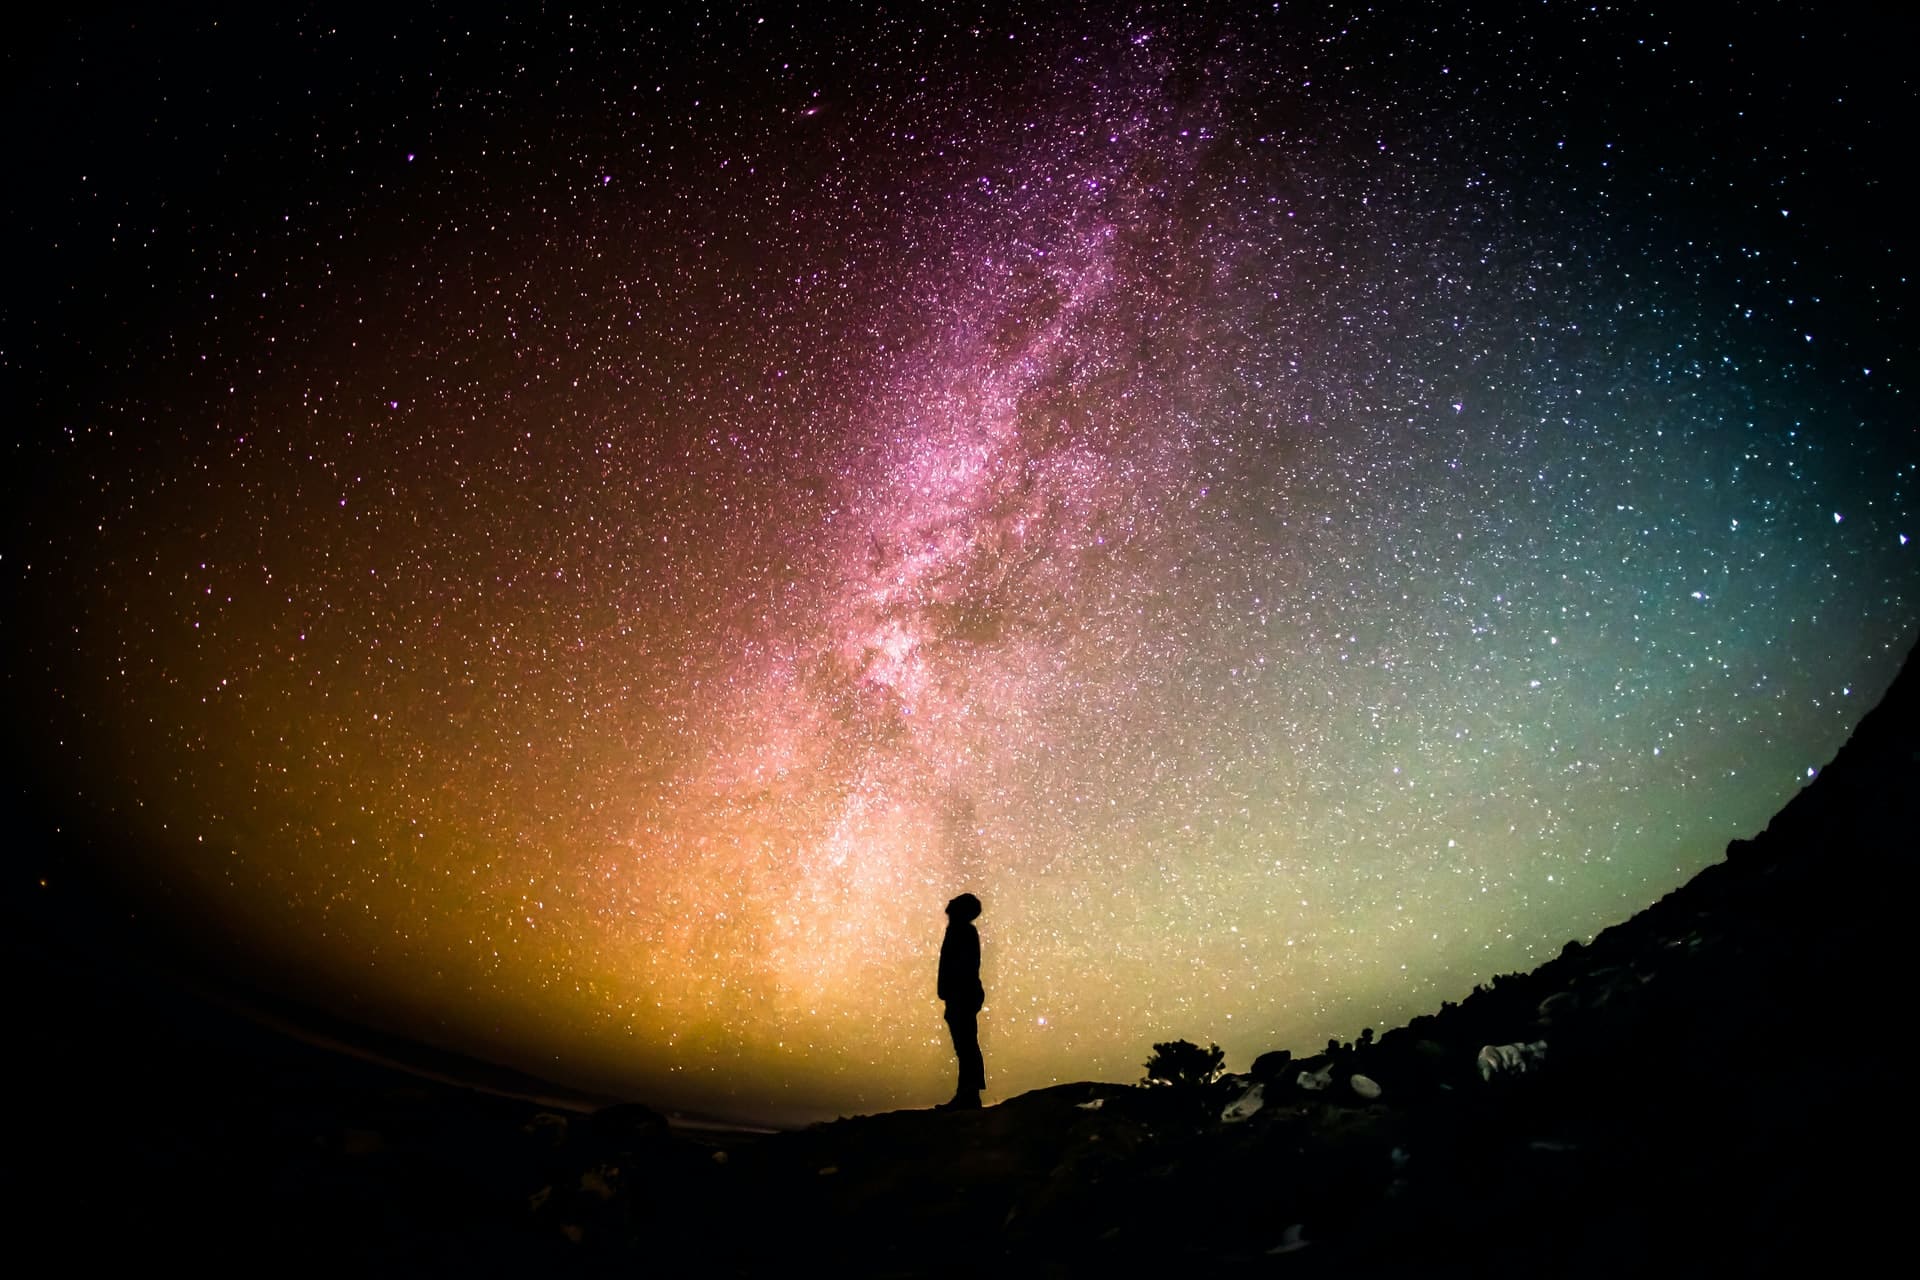
A fascination with the night sky is something that connects us all, no matter where we are in the world. There’s something about the sight of a star-filled sky that makes you feel a sense of wonder at the scale of our universe and our place in it. That’s why milky way photography, when done right, can produce some seriously impactful and memorable images. If you are a landscape photographer, nature photographer, or any other type of outdoor photographer, milky way pictures are a fantastic addition to your online portfolio website that can set you apart and make clients notice you.
That’s because to successfully photograph the milky way galaxy, or at least the patch of it that is visible from Earth, you’ll need a bit of technical know-how. You certainly don’t have to go to photography school to master it, but it does take some careful planning, the right equipment, and an understanding of where and when to travel to capture that perfect photograph.
Equipment You’ll Need for Photographing the Milky Way
Have you ever found yourself looking at a breathtaking photo of the milky way and thinking it must have taken some really specialized equipment that you don’t have to capture that photo? While the odd milky way picture does use highly specialized equipment, you’ll be glad to know that tons of the milky way images you see online were taken with standard equipment that many photographers already have in their camera bag. You don’t necessarily have to go out and buy specific equipment made just for milky way photos. You can absolutely learn how to photograph the milky way with a few pieces of standard equipment, some creativity, and some careful planning.
So, what do you need before heading out for a night of shooting the stars?
Cameras for Milky Way Photography
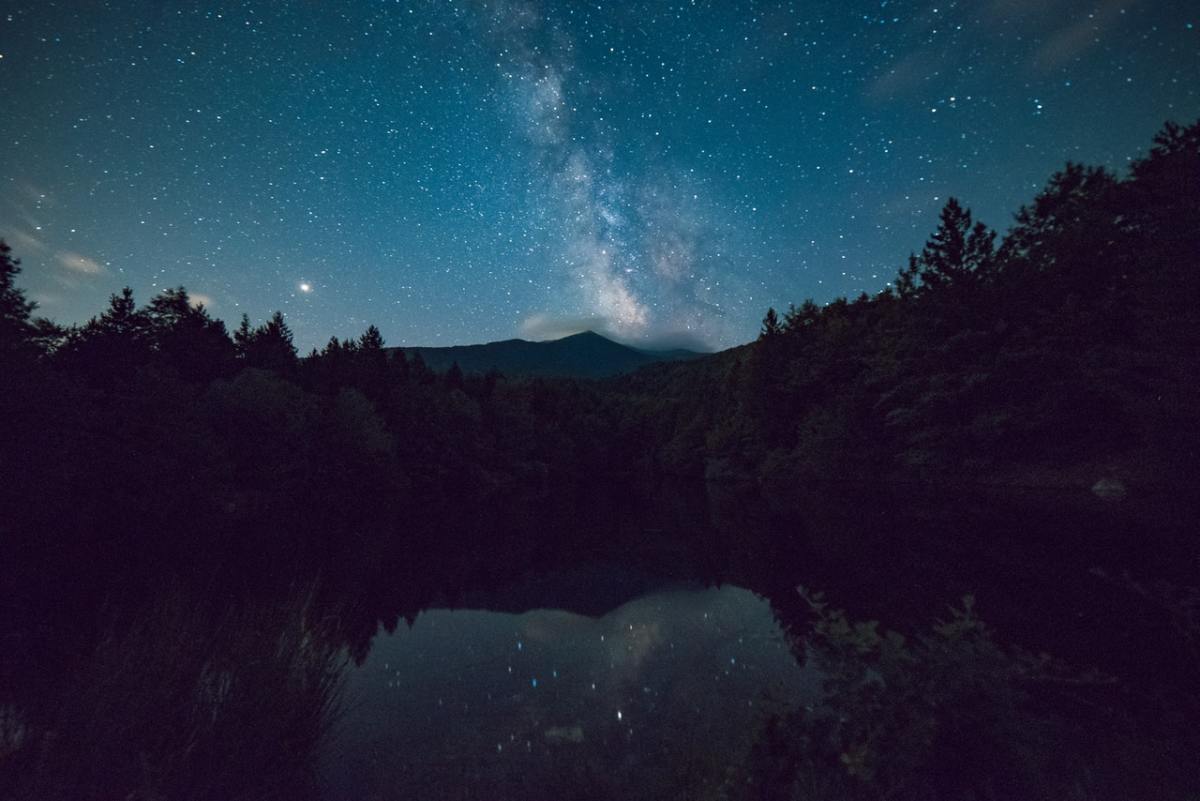
A decent DSLR or mirrorless camera with manual exposure control of your ISO, shutter speed, and aperture is required. To photograph the milky way, you’ll need a camera that can perform well in low light conditions, so your standard point-and-shoot most likely won’t cut it for this job. While a DSLR will offer better light sensitivity than a mirrorless option, nowadays there are some truly high performing and affordable mirrorless bodies that you can use if you’re new to learning how to photograph the milky way. If that’s what you have on hand, go ahead and use it!
1. Nikon D810A. The very best cameras for photographing the milky way are dedicated astrophotography cameras, such as the Nikon D810A ($3799). While it isn’t a cheap option, it is purpose-built to shoot the milky way and other night sky scenes. If you fall in love with night sky photography and decide to focus on it, this is a camera body worth considering.
2. Canon 5d Mark IV. You can definitely capture the milky way in all its glory on a more multipurpose DSLR such as the Canon 5d Mark IV ($2499). This 30.4 megapixel full-frame workhorse is known for its excellent performance in low light conditions, with a super-wide ISO range of 100-32000.
3. Sony A7 III. On the more slightly more affordable end of the spectrum, Sony has been dramatically closing the performance gap between mirrorless and DSLR cameras with its A7 range. The Sony A7 III ($1999), for example, boasts a full-frame back-illuminated image sensor that is designed to work in a wide range of lighting conditions, making it a good choice for aspiring milky way photographers.
4. Sony A6000. While a great full-frame camera will no doubt make a difference in your final image quality, you can still capture the milky way on something with a simpler body, like the APS C sensor mirrorless Sony a6000 ($548). As long as you aren’t planning to do something like print your image in a magazine, you might find that this powerful, affordable model is up to the task of photographing the milky way when paired with the right lens.
Lenses for Milky Way Photography
Choosing the right lens for photographing the milky way is just as important as choosing a camera body with a sensor that is up to the task. As a general rule, you want to make sure you’re selecting a lens that is both fast and wide-angle. Ideally, you should look for a lens in the f/1.4 – f/2.8 max aperture range, since this will allow you to let in as much light as possible. There are some high performing and affordable options on the market, so you don’t have to break the bank for this part of your milky way photography toolkit either.
1. Sigma 14mm F 1.8 Art DG HSM Lens. At the high end of the spectrum, the Sigma 14mm F 1.8 ($1599) is an excellent choice. Available with both Canon and Nikon mounts, this wide-angle lens is built for high-resolution imagery and is designed to perform well in precisely the limited light scenario of milky way photography. Thanks to its bright F 1.8 max aperture, you’ll be able to capture lots of light for crisp, clear milky way shots.
2. Canon EF 14mm F 2.8. If you’re a Canon user and you’re looking for a top-of-the-line lens for the perfect milky way image, you can’t go wrong with the Canon EF 13mm F 2.8 ($2099). The bright F 2.8 aperture is designed to handle the demands of astrophotography, and the wide-angle will allow you to capture as much of the night sky as possible. The short focal length allows you to use longer exposure times before seeing star trails in your image.
3. Rokinon 14mm f/2.8. If the prices in this list so far are making you rethink your milky way photography goals, don’t worry! There are some excellent options on the market with reasonable price tags no matter what brand of camera body you shoot on. The Rokinon 14mm f/2.8 ($329 – $399), which is available for Canon, Nikon and Sony A-series, is a beloved lens for creating milky way images.
4. Samyang 10mm f/2.8 ED AS NCS CS. If you’re shooting on a crop sensor camera body, the Samyang 10mm f/2.8 ED AS NCS CS ($449) is a high performing lens for shooting milky way images. It features an excellent, well-built manual focus ring, which comes in handy when taking stars pictures. Autofocus really isn’t important when it comes to choosing a lens for milky way photography, so being able to manually focus reliably is a major plus.
While all of these lenses have a 14mm focal length or below, you can absolutely get away with using a 24mm lens. You can get a great image even if you go higher, but keep in mind that you’ll be capturing less of the night sky in your frame.
Other Milky Way Photography Equipment
While your camera and lens setup is super important, there are a few other pieces of camera gear and equipment that will make learning how to photograph the milky way much easier.
1. A tripod. The first non-negotiable, must-have piece of equipment is a good tripod. As you’ll learn in the following sections, shooting the milky way involves a long exposure time of around 30 seconds. This means that even the slightest bit of wind, even if it’s imperceptible to you, can shake your camera enough that what was supposed to be a picture of stars can turn into a bunch of diffuse blobs.
While there are some decent budget tripods out there that will work just fine in a home photography studio, you might find that they’re not quite up to the task of milky way photography. Budget tripods tend to be less sturdy, and a sturdy tripod will make all the difference to your milky way photograph. Another feature to consider is a head that won’t slide around or move at all because, again, eliminating camera movement is absolutely key.
The Neewer carbon fiber 66-Inch tripod with a 360-degree ball head ($97.99) is lightweight and strong. This makes it a good choice for milky way photography because you might find yourself trekking a bit to find those perfect night skies. It can even be turned into a monopod and used as a walking stick.
You don’t necessarily need to invest in a full size tripod. You can also opt for a mini version from a reputable brand. Something like the Manfrotto PIXI EVO mini tripod ($54.88) is one such option. For the purposes of milky way photography, you don’t necessarily need the full height of a full size tripod. The mini tripod can be placed on a rock or the top of a car, for example, and you’ll never be able to tell from looking at your image.
2. Shutter release cable or remote. You’re probably starting to see a theme here: milky way photography is all about mastering the role of light in photography. Your goal is to let as much light into your camera as possible, while keeping it as still as possible. Another piece of equipment that you’ll be glad you brought along to your milky way photo session is a shutter release cable or shutter release remote. These will allow you to get as crisp a photo of the milky way as possible, since even the slightest shake from releasing the shutter can mess up your shot.
You certainly don’t need to shop for some special high-end model, just make sure your cable or remote is reliable, and in the case of a remote bring extra batteries.
If you don’t have a shutter release cable or remote, you can always set a shutter release timer on your camera. If you go this route, it’s better to set a 10-second timer than a 3 second time, though you might get away with 3 seconds. A longer timer means less chance that the camera is still moving at all from the shutter release.
3. An LED headlamp. As we’ll go over in more detail in the section below, to photograph the milky way you’ll be on the lookout for dark skies. To avoid light pollution, you’ll probably find yourself in shooting in pitch darkness. That means a headlamp is a must. A reliable LED headlamp will keep you safe as you travel to your photo location, and make it easy to set up your camera for the shot. Just make sure you turn it off before turning the camera on!
A headlamp like the Nitecore HC65 USB Rechargeable LED Headlamp ($74.95). It has 5 brightness levels and even has a red light option. The red light preserves your night vision much better than white light, which our eyes usually need a few minutes to fully adjust from at night.
Of course, a good flashlight will do the trick as well! A headlamp frees up your hands but is not an absolute must-have.
4. Warm clothes. The last thing you want is to pack up all your gear and make the journey to the perfect place far away from light pollution, only to be freezing the whole time you’re shooting. It’s easier to be creative when you’re comfortable, so consider the fact that many of the best places for milky way photography could also be cold at night.
Finding the Perfect Time and Place
Now that you know the camera, lens, and extra equipment that you need to photograph the milky way, you can head out tonight and start shooting, right? Unfortunately, it’s not so simple. You can’t see the milky way all year long, and getting the best exposure of it will take some planning.
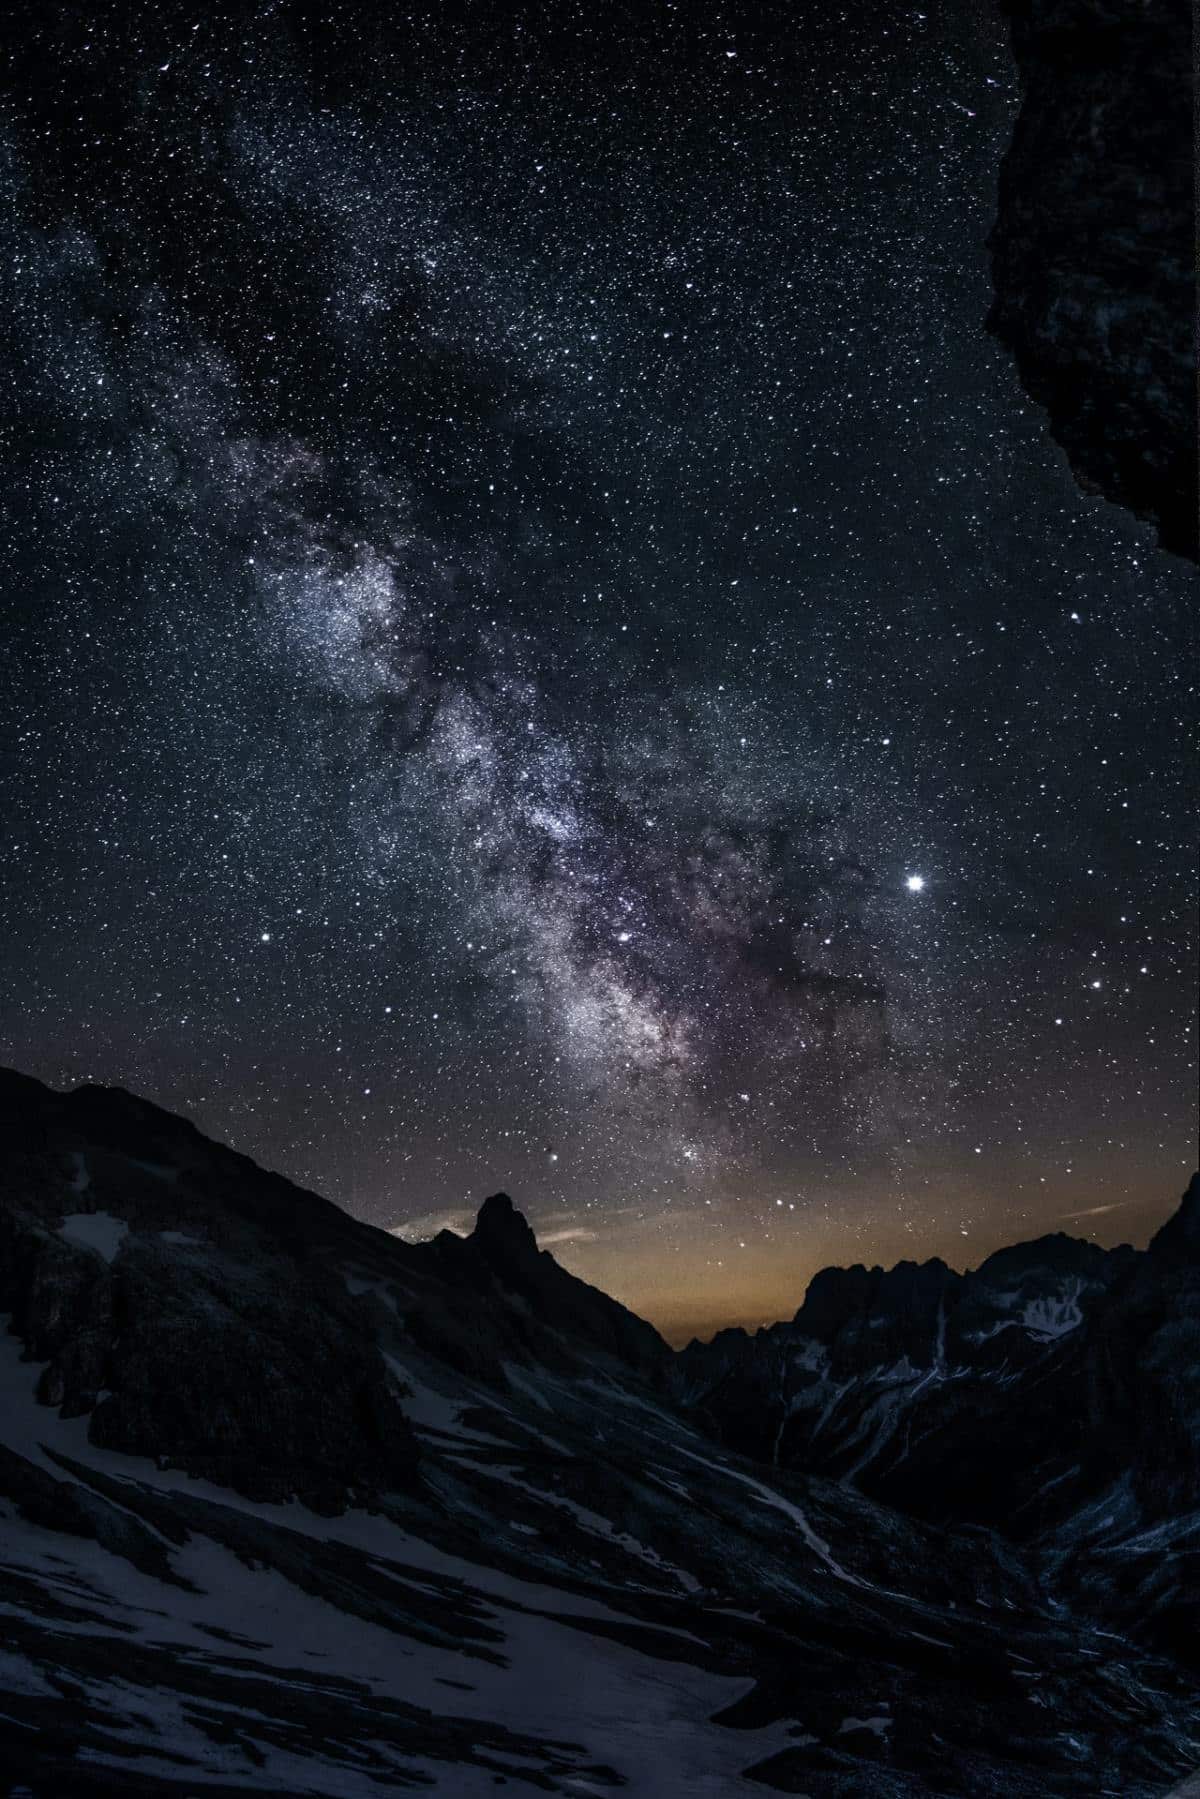
There isn’t a one-size-fits-all rule, because the right time of year to photograph the milky way varies depending on where you are in the world. If you’re in the northern hemisphere, you’ll have the best visibility of the milky way between February and December. It will be visible in the southern portion of the sky, and it will rise from the east, moving west as the night goes on.
In the southern hemisphere, the best visibility will be between April and October. The southern hemisphere also offers a slightly better view of the milky way, since it will appear more overhead.
Within these months, you won’t get the same shot every single night. The Galactic Centre of the milky way galaxy, which is the most visually interesting part visible from Earth that photographers try to capture, is more visible at certain times.
Keep in mind that foreground details can make for especially striking milky way photos. For example, details like rock formations, abandoned barns, or lush tree lines can look stunning against the backdrop of the night sky filled with stars. Make your photo of the milky way unique by researching potential locations in your area that will give your image a distinct, regional element.
The other limiting factor on the timing of your milky way photo shoot is the moon phase. Moonlight might not seem very bright to us when we look up at the sky, but since you’ll be shooting with a long exposure time you’d be surprised how much light the moon can actually cast across your image. You can still capture the milky way even with a full moon, but it won’t be as detailed as the same image taken on a new moon.
The new moon is the best time in the moon cycle to shoot the milky way if you want maximum detail and clarity, capturing as many stars as possible. Once you look up the date of the new moon, you can plug that date into PhotoPills to see when the Galactic Centre will be visible that night. You can even compare the trajectory of the milky way on the new moon across several months, and see the composition of your shot would change based on the varying locations of the milky way in the sky.
Avoid Areas With Light Pollution
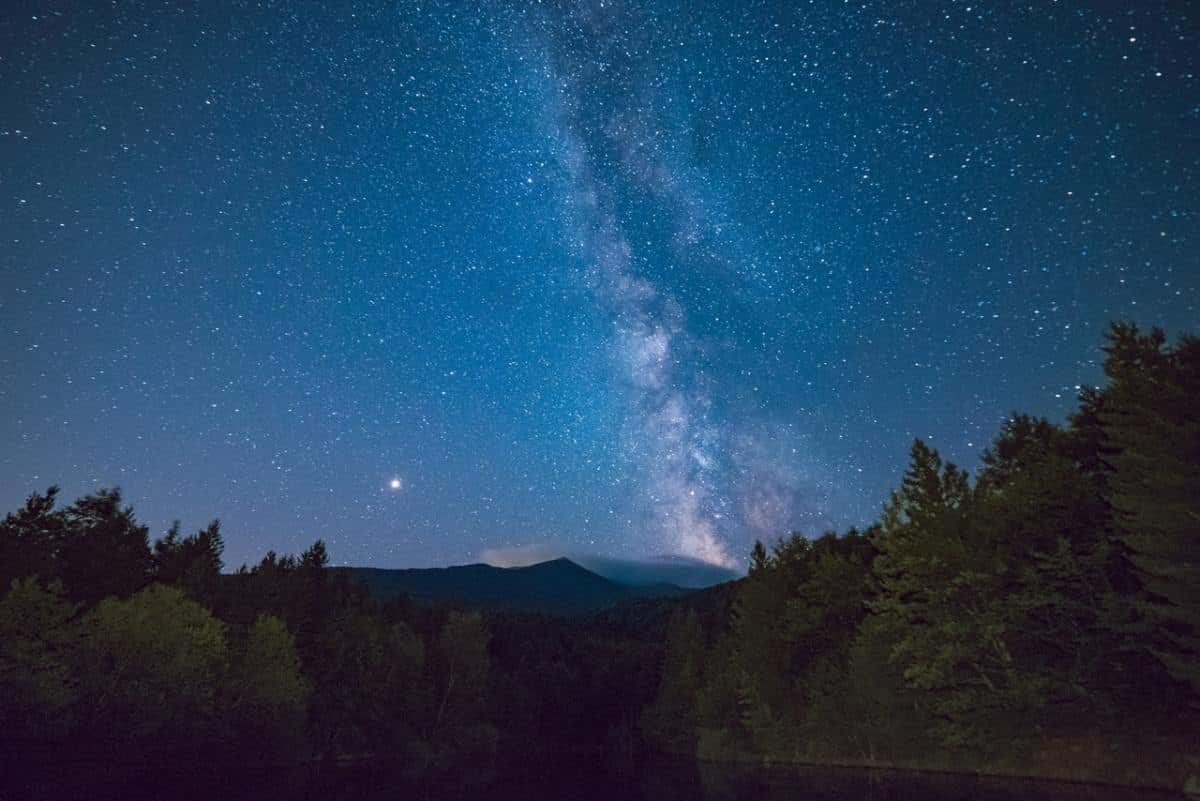
In addition to shooting during the right time of year and on the new moon, if you want to see the milky way in all its glory you also have to choose your location wisely. Whether you live in a big city or even a smaller rural area, there is almost certainly too much light pollution around your home to be able to photograph the milky way successfully. The dark skies above cities are, of course, filled with stars, but those stars are made invisible by all the light pollution coming from homes, buildings, streetlights, cars, and all of the innumerable sources of artificial light that we are surrounded by.
A good way to find areas with minimal light pollution is to check out if there are any conservation areas, protected lands, or a national park within driving distance. These places are usually free of the usual light pollution and even of the air pollution, we are accustomed to in cities, which can also impact the clarity of your image. You can purchase a light pollution lens filter to help with this, but it won’t achieve the same clear exposure of the milky way that you would get in a remote area.
Getting Your Camera Settings Right
A major aspect of learning how to photograph the milky way is simply understanding how your camera and lens to capture light, and manipulating the camera settings to let in enough light while still retaining detail and clarity. Once you understand the basics, it’s easy to use them as a starting point for your exposure and then adjust accordingly for your particular circumstances and light conditions.
Shutter Speed
In theory, the slower your shutter speed, the more light from the milky way will reach your sensor, right? While that may be true, there’s a limitation on how long your shutter can stay open. Even though the Earth’s rotation causes the stars to move across the sky from our perspective at a very slow pace, the camera picks up far more than our naked eye. That means that after about 30 seconds or so, you will start to see star trails in your image. These can be beautiful and make for really interesting images, but star trail photography is a whole different area of astrophotography and it’s not what you’re going for when taking a photo of the milky way.
Some photographers start with a 15-second exposure, see how the image turns out, then lower the shutter speed incrementally until they start to see those characteristic trails. If you want to be a little more methodical about it, you can try using the 500 rule.
The 500 rule is a formula that allows you to estimate the maximum shutter speed for your camera and lens. For a full-frame camera, you can simply divide 500 by the focal length of your lens to arrive at your maximum shutter speed. So if you’re shooting with a 24mm lens, that number is (500/24)= 20.83, which you can round to 21. The 500 rule isn’t foolproof, but it can provide you with a starting point for your first exposure and you can adjust from there.
If you’re shooting on a cropped sensor camera, you have to include the crop factor in your formula by dividing the above result by the crop factor. For example, if your camera has a crop factor of 1.5, your maximum shutter speed will be around 7 seconds. As you can tell from this formula, the smaller your focal length, the longer you’ll be able to keep the shutter open before seeing star trails.
There is a high-tech way to get around this problem, but it’s quite expensive and unnecessary for anyone but the most serious astrophotographers. You can purchase a tracking camera mount that can be programmed to track the camera at the perfect speed to match the movement of the stars, avoiding star trails regardless of your focal length. If you feel like a fun splurge, these are worth checking out!
Exposure
Another way to ensure you get the clearest exposure possible is by adjusting your camera’s ISO setting. This is where cropped sensor cameras have a bit of a disadvantage since they’ll produce images that get more grainy as the ISO value increases. If you’re using a camera with a full sensor, you should be able to easily get away with a high ISO in the area of 4000. If this results in too much noise, you can bump down the ISO and bump up the exposure time. As always in photography, there is an art to figuring out the perfect settings for a given situation.
On a crop sensor, you may want to start at a lower ISO like 3000. Graininess and noise at various ISO levels vary a lot from one camera to the next, which is why there isn’t a rule you can uniformly apply for ISO settings the way you can for shutter speed. The best way to get to know your equipment is by getting out there and shooting, and determining how comfortable you are with the noise as the ISO increases.
The final destination for your images will impact your decision too. For example, if you’re just planning to post online, you can get away with far more noise than a blown-up print.
Aperture
This setting requires less fiddling around than your ISO setting. Basically, your aperture should be wide open. If you have an f 2.8 lens, open it up to 2.8. If your lens only opens up to f 4, try shooting at f 4 and see what the results are. Most lenses have an optimal aperture that is a few stops away from the max, but for the purposes of milky way photography, wide open is almost always going to give you the best exposure of the night sky
White Balance
While the camera settings above are all critical to capturing the milky way, white balance is a little less important because it’s easily manipulable when you’re editing if you shoot RAW.
Ideally, you’ll have manual control of the white balance so that you can finely adjust it. A value somewhere between 3000° and 4000°K is usually best for capturing the milky way. If you don’t have manual control of your white balance, you can still play around with the preset values and choose one that gives your image the look you’re going for. The tungsten setting is a good one to try since it’s equivalent to 3200°K. Again, if you shoot RAW, you’ll be able to make adjustments in post-production.
Focus
You might be wondering where exactly you should focus if you’re capturing an image of the milky way. One thing you absolutely want to do when you’re getting set up to take your exposure is to turn off autofocus. It can mess up your image if it starts focusing in the middle of your exposure, so that’s something you should do before you even start shooting.
Manual focus is best when shooting the milky way. Since the goal is for everything in the image to be as sharp as possible, one technique you can try is using your focus ring to focus on the brightest star in the sky or in Jupiter if it is visible.
Trying Different Camera Modes
For the best milky way image, manual mode is always best. Even if you have an amazing camera, the various auto modes just won’t cut it when it comes to finding the perfect iso, aperture, and focal length for your exposure.
One mode that you can play around with if your camera and lens allow for it is bulb mode. This allows you to shoot exposures that are even longer than 30 seconds by keeping the shutter open as long as you want. You might end up with some movement of the stars, but you can also capture some spectacular photos with this mode.
Choosing Between JPEG or RAW
We’ve already mentioned that shooting RAW will come in handy when it comes to editing your latest milky way exposure. Shooting RAW just gives you much more control over your final image, making it the preferred file format. However, that doesn’t mean the milky way can’t be photographed as a JPEG! It absolutely can, just remember that it makes it more important to nail settings such as white balance in the camera since you’ll have less flexibility when editing.
A JPEG does compress and lose quite a bit of information, so if you’re going for maximum detail and clarity, or if you plan to blow up a photo of the milky way, shooting RAW is the natural choice.
One thing to consider is that RAW files are quite a bit larger, so you’ll want to bring along a large enough SD card and a backup in case it fills up while you’re shooting.
Capturing Foreground Details
One of the best ways to make your milky way image memorable is to think about what you want in the foreground of the exposure. While the sky itself will be the star of your image, the scale becomes impressive when it’s presented relative to something in the foreground.
One trick for capturing foreground details is called light painting. Remember that headlamp or flashlight you brought? You can use it to improve your image by moving it around to “paint” the object in the foreground. For example, if there is a tree in the foreground, continually move the flashlight all over the area of the tree to illuminate it and make it pop more in your exposure.
The key to doing this successfully is making sure that you keep your light moving so that you don’t end up with any weird bright spots. When done right, it can make an image look professionally and expensively lit.
Extra Tips To Capture The Milky Way
Even if you have all the perfect camera settings and nailed your milky way exposure, there are still a few tips that come at the editing stage that will take your shot to the next level.
For example, you might be wondering how to get both the sky and the object in your foreground in perfect focus. The technique for achieving this, which is widely used in milky way images that you see with spectacular foregrounded objects, is called focus stacking. You can take one image focused on the sky, another focused on the foreground, and then blend them together into a composite image in Photoshop.
When it comes to post-processing, you’ll almost certainly want to bump up to the contrast to bring out the details in the milky way. Playing around with the white balance will also help you bring your exposure to life. Think of all the amazing milky way images you’ve seen with cool blue splashes or warm red clouds. They probably didn’t look quite like that out of the camera, but by adjusting a few levels in Lightroom or your favorite editing software you’ll be amazed at the amount of detail and color you can coax out of your milky way exposure.
Now that you’re ready to capture some eye-catching milky way snapshots, why not put them somewhere your fans, followers and potential clients can admire them? An online portfolio is the perfect place to do this. If you don’t have one yet, you can get one up and running in no time by using a website builder. Choose a builder that has lots of beautiful templates to choose from, since this means you’ll likely find one that suits your photography business branding. If you’re looking to sell some of those milky way prints as part of your photography business plan, a website builder with e-commerce functionality will save you the trouble of having to fiddle with web store integrations. Now get out there and capture that perfect night sky exposure!
Looking for more night photography tips? Check these out:
