The Beginner’s Guide to Black and White Photography
What Is Black and White Photography?
Black and white photography refers to photographs created using different tones of gray, ranging from white to dark. B&W photographs are a beautiful, artistic form of photography that has a long history.
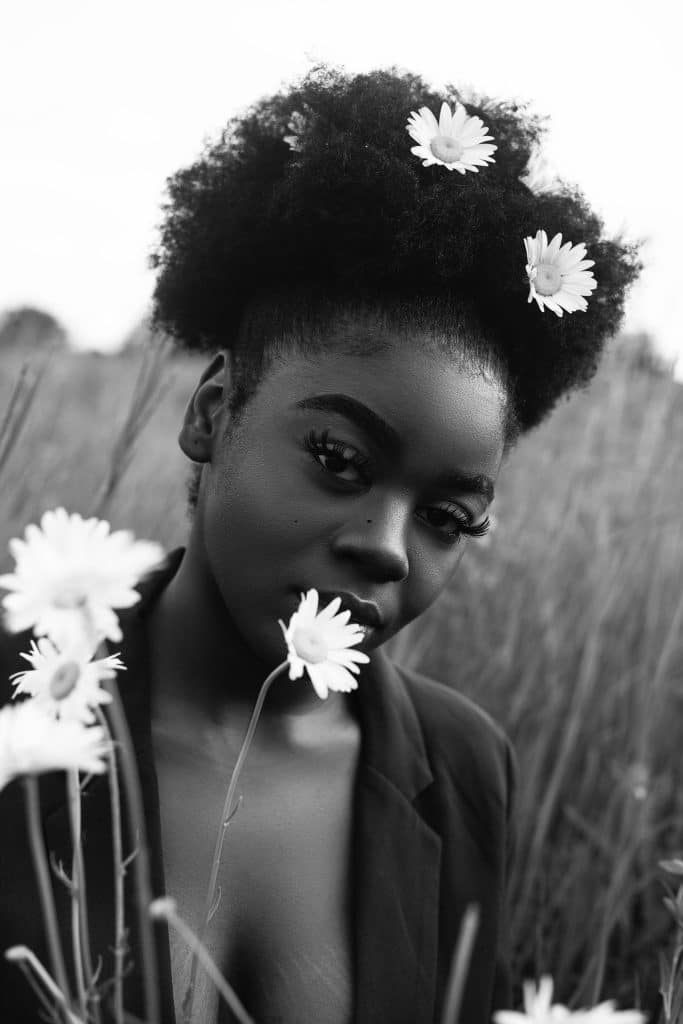
There was a time when all photography was black and white. But that started to change when the first color photograph was taken about 160 years ago.
To the layman, it might be confusing why photographers would choose to go back to black and white, and seemingly limit themselves by removing color from the equation.
And it’s true that when you don’t have color to work with, it can make it more of a challenge to achieve the look and feel you want in your photos.
But on the other hand, black and white photography can be especially powerful and make a great addition to your photography portfolio. And there are many other reasons it’s worth trying your hand at.
This guide will teach you the fundamentals of black and white photography. That includes its pros and cons, common mistakes to avoid, equipment recommendations, and some techniques you can use to get started.
Why Shoot Black and White Photos?
Remove Distractions
By shooting in black and white, you can remove the distraction of color. That means there’s more focus put on other aspects of your photography. That can include things like the subject, shapes, textures, lighting, contrast, and composition.
This makes black and white photography ideal when you’re experimenting with different types of photography. It’s also useful when you want as much attention as possible on a particular element in your photo.
Expand Your Skills
Because shooting black and white photography can dramatically change the feel and focal point of your photos, it can push you to approach photography in a new way. It can train you to look at your subjects differently and force you to pay special attention to things like lighting and contrast. So shooting in black and white is a great photography exercise to help expand your skills.
Evoke Emotions
Black and white photos tend to evoke certain emotions. For one, they can feel timeless. If you’re used to seeing black and white photos from bygone eras, it can make you associate black and white photography with those periods.
That doesn’t necessarily mean people are going to get confused about when your photos are from, but just that it can get people thinking about concepts like time, age, and history.
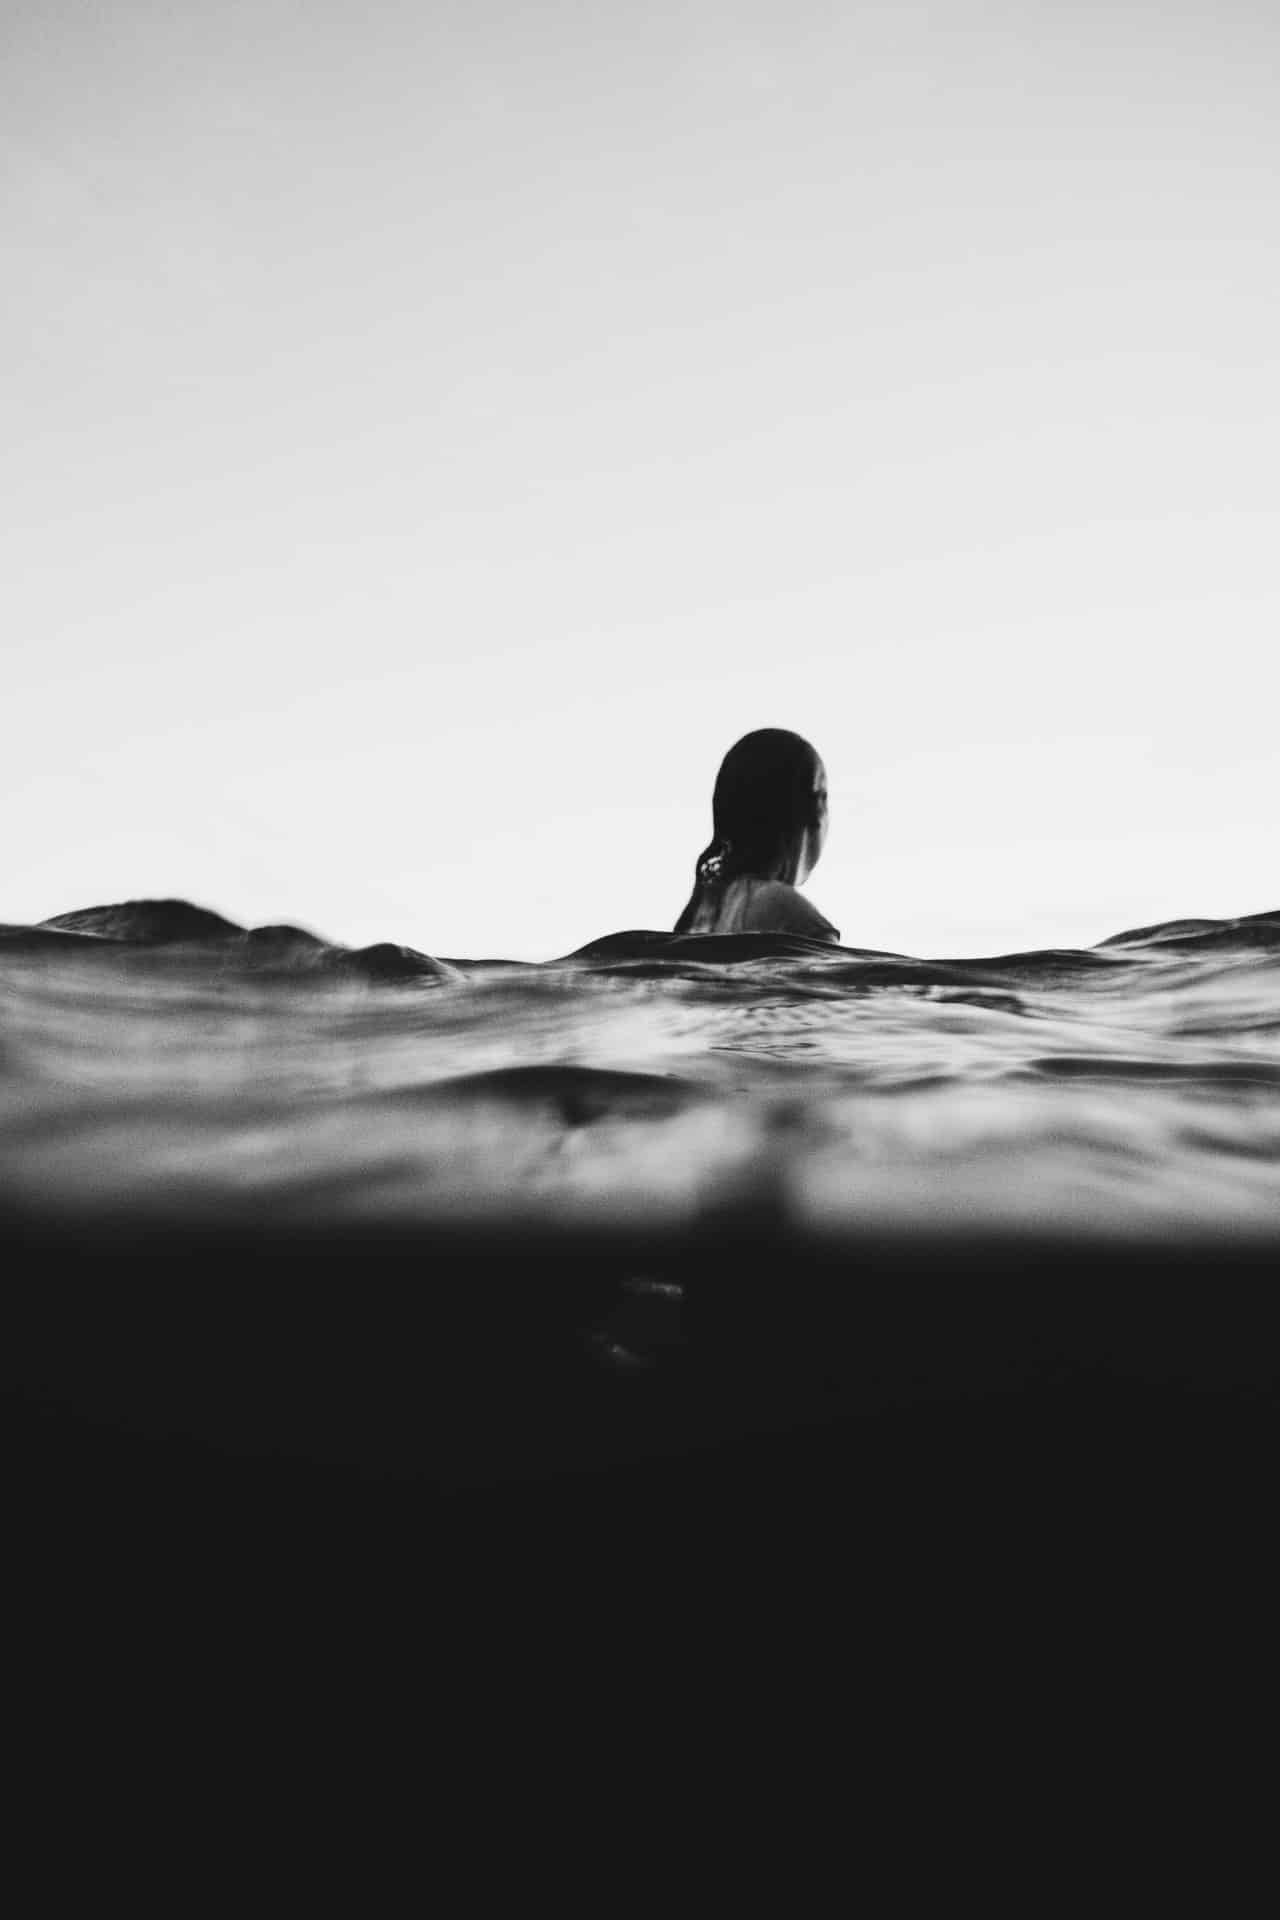
Another way shooting in black in white can change the feel of your photography is to make it feel more dramatic. There’s just something about a colorless photo that can make your composition more striking, cool, raw, or moody. For example, take a pleasant landscape photo and convert it to black and white to see how it changes the emotional impact of the image.
Tips for Shooting in Black and White
As mentioned above, black and white photography can put more emphasis on certain elements of your photos. That means it’s a good idea to spend more time on these elements.
Here are some things that you should pay special attention to when shooting black and white photos.
Decide First
You shouldn’t look at B&W photography as a way to add interest to an otherwise boring image. Instead, you should be thinking in terms of B&W while you shoot.
This doesn’t need to be written in stone. Your original plan may not work out, and you could always change your mind along the way.
But it’s a good idea to start your shoot by deciding if you intend to make the image B&W or full color. That’s because it will affect the way you should approach many aspects of your photo.
Contrast
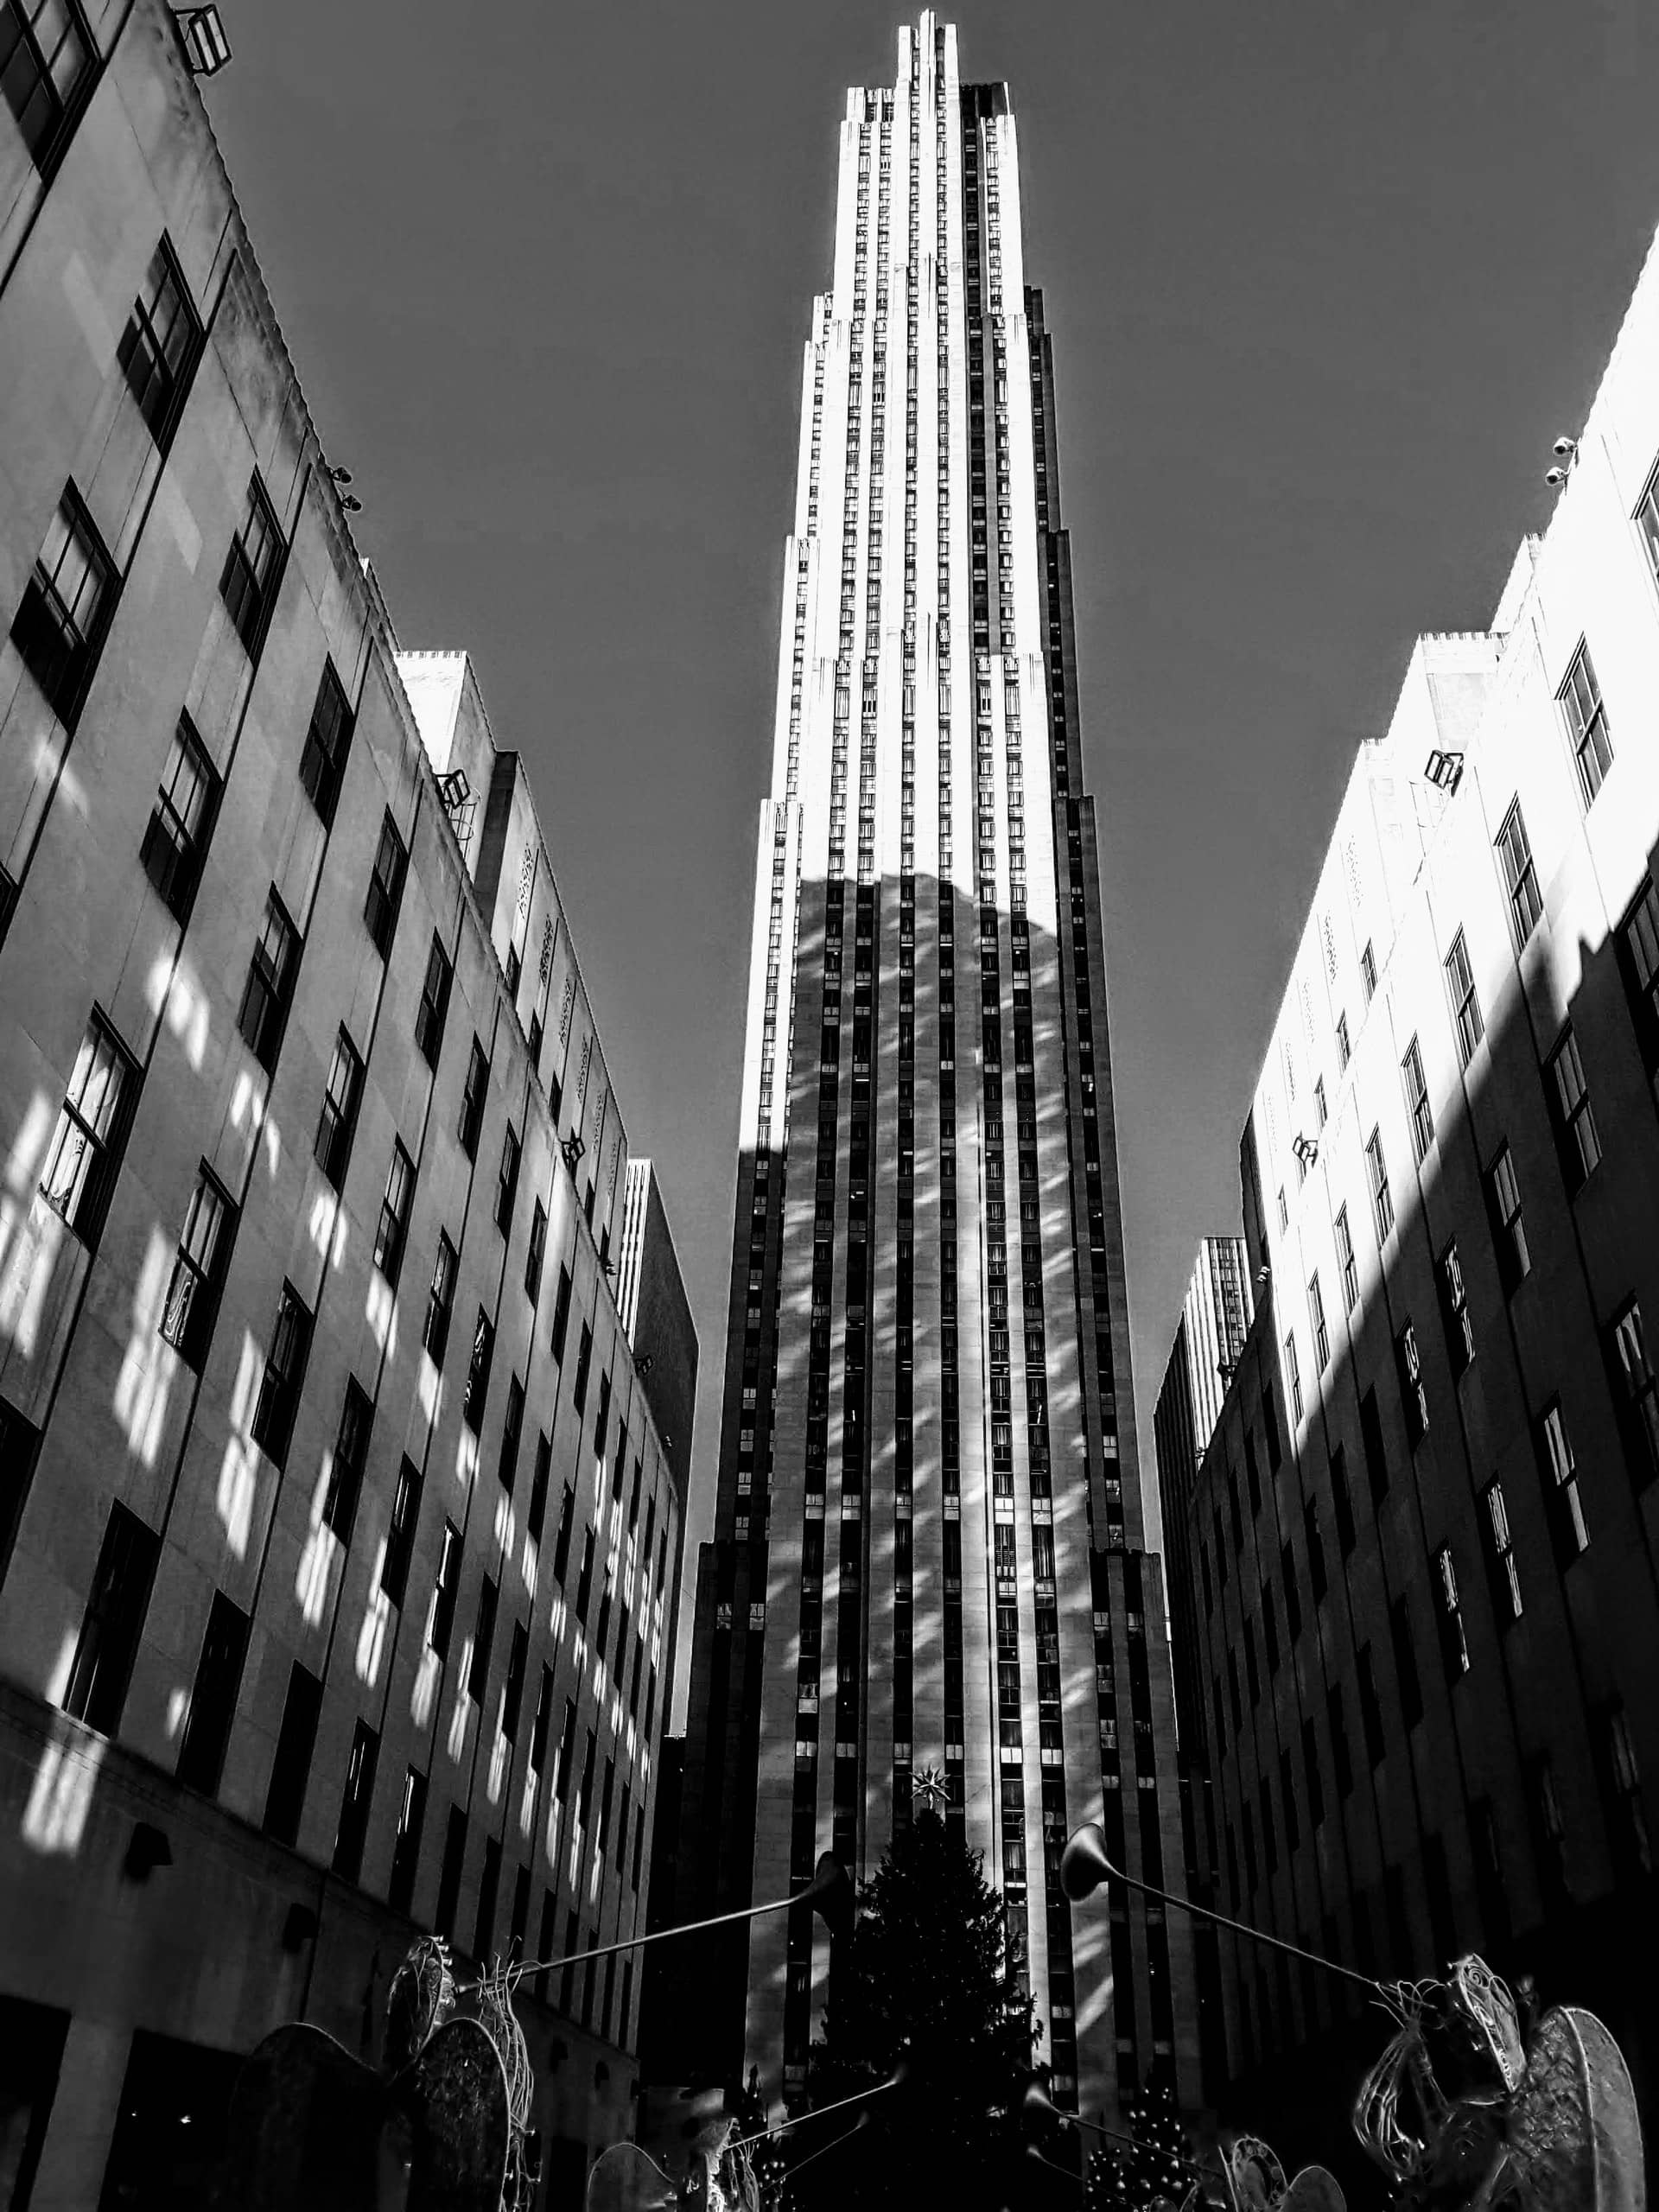
While black and white photography can put more focus on many aspects of your photos, it excels at emphasizing contrast. When you’re only dealing with black and white, your photos have just light and shadow. There aren’t different colors of light to worry about, and it can make it simpler and more effective to achieve a striking look through your use of contrast.
It’s important to note that “contrast” doesn’t only refer to the difference between the lightest and darkest parts of your photos. It also refers to proximity.
For example, if your photo includes two objects with different levels of brightness side by side, the difference is exaggerated. This is one way to give your black and white photos a more intense look. And in post-processing, you can up the contrast and lower the brightness to make the effect even more striking.
On the other hand, if you want your photos to have a more subtle feel, you can aim for a lower contrast image, where any differences in brightness have gradual transitions.
Textures
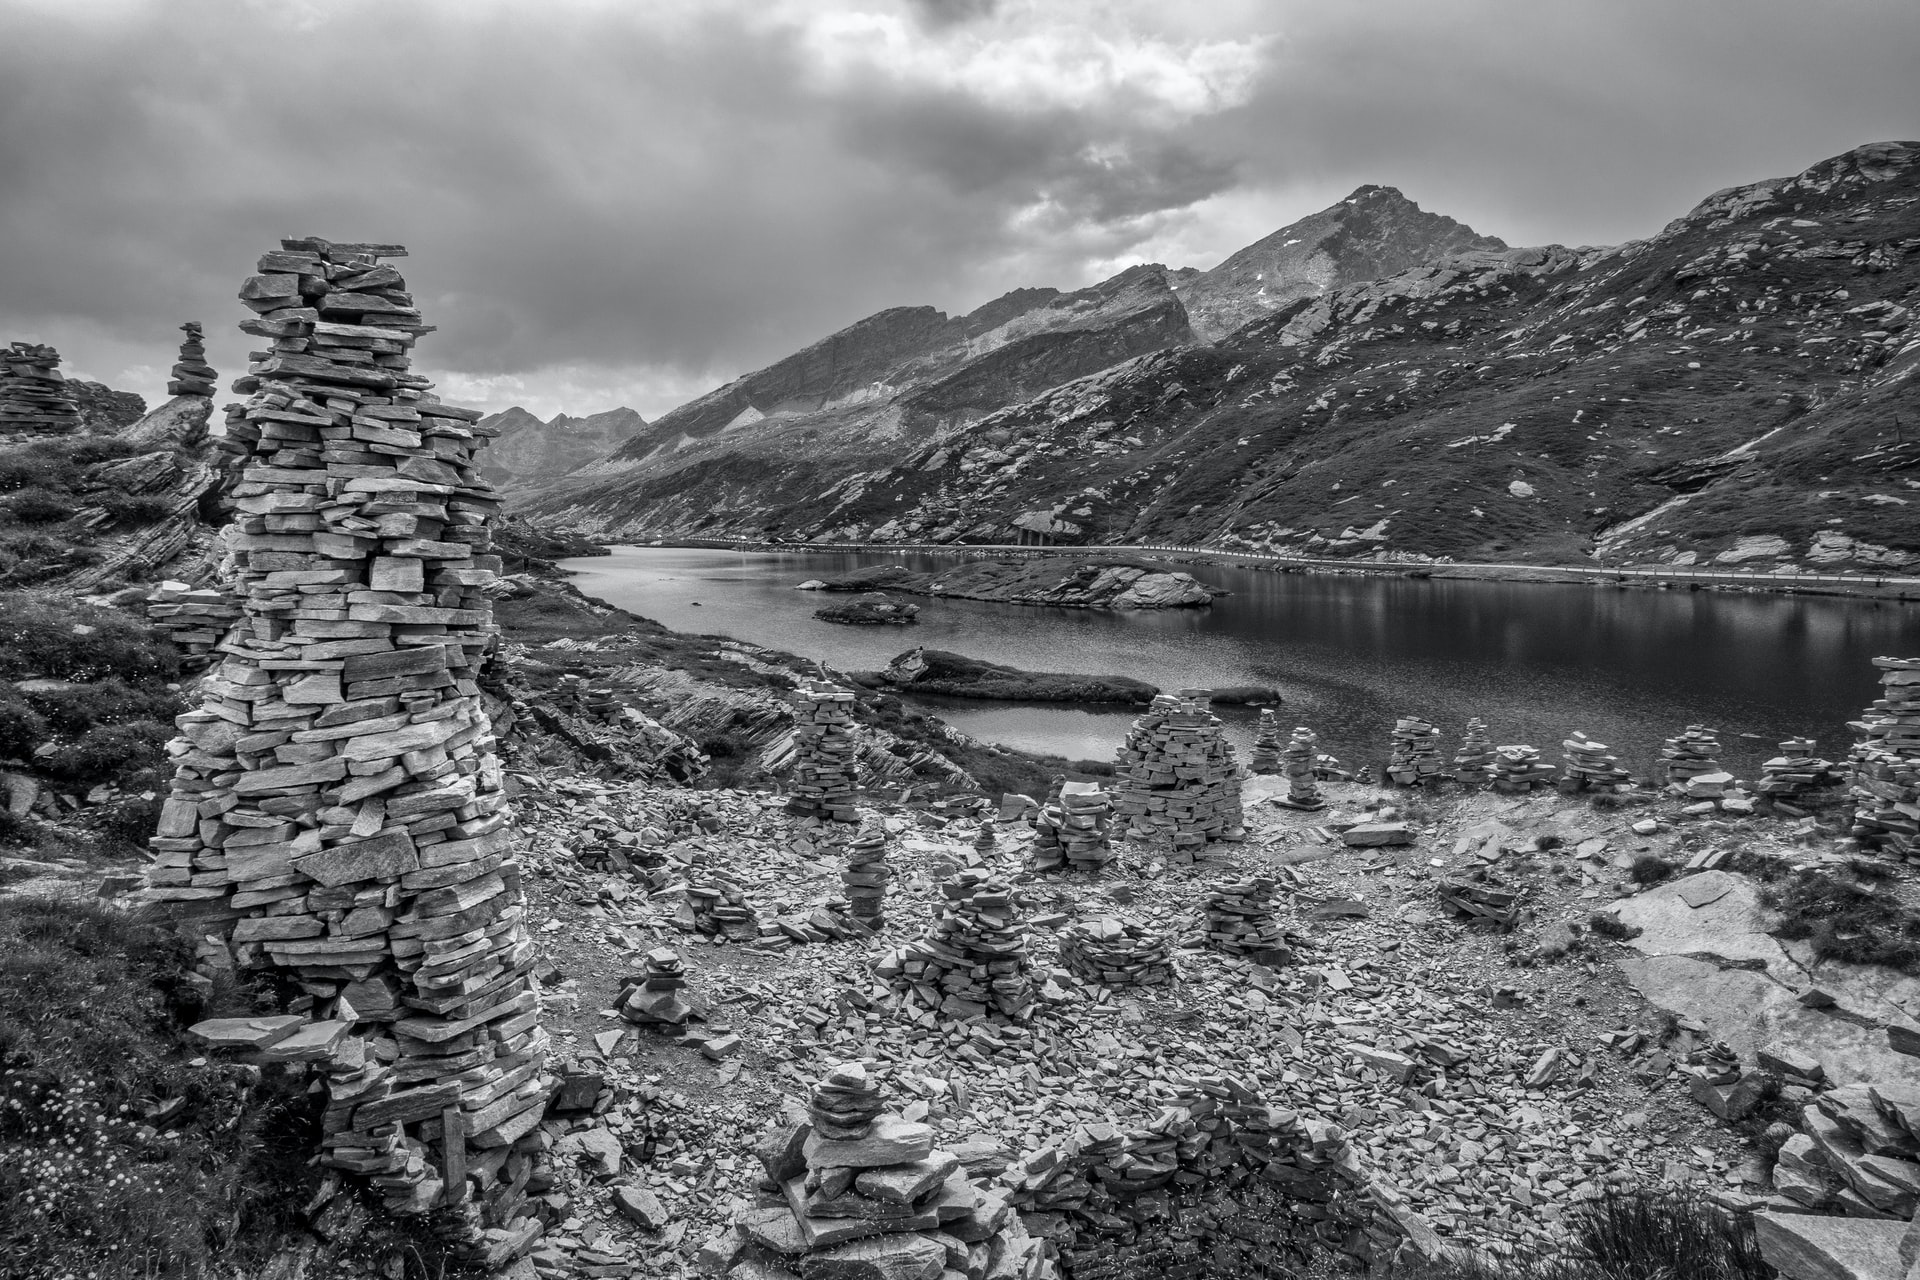
Textures can play an important role in black and white photography. When your images don’t have any color, textures can become more striking and eye-catching.
You can also use textures to add interest or create an emotion in your black and white photos. Here are some quick tips to keep in mind:
Get close enough to your subject to capture the details of the texture.
The most interesting textures often include repetition of shapes or lines that form a pattern.
Try looking for natural textures (like rocky surfaces, wood, or ice) as well as man-made ones (like cement, metallic surfaces, or fabrics)
Old and well-worn objects can offer interesting textures (like rusty metal, or the cracked surface of an old book)
If you’re shooting in color and planning on converting to black and white later, remember that the contrast and variation in the texture may be less visible in black and white.
Shapes
Shapes are another aspect of your composition that will receive more attention when shooting in black and white. When viewing an image without any color, shapes are one of the first ways viewers will make sense of what they’re looking at.
But shapes are also another part of your composition that you can use to change the mood of your black and white photos. Here are some of the basics:
Circles and other rounded shapes with no corners can create a sense of movement.
Squares and rectangles can create a feeling of stability.
Lines can lead a viewer’s eye through your composition, and diagonal lines are particularly effective.
Triangles tend to direct the eye to the point of the triangle.
Repetition of shapes can add interest, and patterns can lend a sense of calm to your images. Alternatively, broken patterns can create a sense of unease.
Tone
In black and white photography, “tone” can refer to the shades of grey in your image as well as the overall brightness and darkness. By making tone adjustments using editing software (such as the Curves tool in Photoshop), you can drastically change the look and mood of your black and white photos.
Composition
As with all types of photography, the composition is key to making a great black and white photo. But an important tip is to remember how the absence of color will affect your composition.
Once you convert a photo to black and white, you may find that your subject doesn’t stand out as much, or your eye is drawn to a different focal point. So as you experiment with black & white photography, notice how you need to change your composition to achieve the desired effect.
Mood
Black and white photography can evoke certain emotions. So it’s a good idea to consider that while shooting.
You may need to put special effort into manipulating the mood of your B&W photos. Otherwise, you can end up with an image that feels bland and emotionless, or dark and ominous when you were going for something more cheerful.
The techniques above for contrast, textures, shape, and tone should help you create the mood you are aiming for with your black and white photos.
Shooting in Black and White or Converting Later
If you don’t have much experience shooting in black and white, you might think all that’s involved is setting your camera to “B&W” or “Monochromatic” mode and shooting away.
But it is a much better idea to set your camera to capture the color data as well. This is useful as it gives you a few more options such as how you convert to black and white (and there’s always the chance you’ll find you prefer the color version).
One way to do that is just shoot in your normal settings to capture a color image and convert it later in editing software. However, that can make it difficult to visualize what the final B&W image will look like.
To get the best of both worlds, set your camera to “B&W” mode but make sure it is also set to RAW+JPEG capture. This will let you preview your shot in black and white while still capturing a RAW file that has all the color data.
A Tip on Shooting for Conversion
If you’re shooting in color and planning on converting later, don’t forget how converting to black and white will change the image. One important lesson is that colors with similar luminosity (and those that are next to each other on the color wheel) will convert to similar grey tones.
That means if your photo has only similar colors, it can come out looking flat. To avoid that, strive to find shots with a lot of contrast and tonality.
How to Convert to B&W
There are many different options for editing software that will let you convert your color photos to black and white. Let’s take a look at the process for two of the most popular options, Lightroom and Photoshop.
How to Convert to B&W in Photoshop
There are many different ways to convert a color photo to black and white using Photoshop. The different methods can give you various levels of control over the conversion process. So it’s worth trying out some of the different ways to see what works best for you.
One way is to go to the black and white adjustment layer and then simply lower the saturation all the way. Another option is to add a Channel Mixer adjustment layer, and it offers some more control. It allows you to manipulate the red, blue, and green channels individually, and this can be used to adjust the tone and contrast of the final B&W image.
Alternatively, you can use the “Camera RAW Filter”, which can make it more intuitive to make slight adjustments as you convert.
How to Convert to B&W in Lightroom
Converting to black and white in Lightroom is very simple. You can just press “v” on your keyboard or go to the top of the Basic panel and click the “Black & White” option. Both of these methods will allow you to make more adjustments to the conversion under the “HSL/Color/B&W” panel.
Under the B&W tab on that panel, you’ll also see a color sample tool you can use to easily adjust the final look of your image. If you use that tool to select an area of your photo, it will recognize the color that was captured in that portion of the image, and you can then adjust the levels for that color. It can be useful for things like lowering the blue levels to make a bright sky look darker in B&W.
B&W Photo Editing Tips
Start with the Color Version
Before converting to black and white, take a look at the color version and see if there are any basic corrections you might want to make beforehand. That could include slight adjustments to exposure, lens corrections, cropping, and straightening.
When you’re still working with the image in color, it can sometimes help you spot issues.
Contrast
Since contrast plays such an important role in creating great black and white photography, it’s something you should pay close attention to in editing. A useful tip is to try to keep it subtle. It can be easy to go overboard when you see how much you can change the impact of your B&W photos when adjusting the contrast. So try to make sure your adjustments enhance the photo instead of dominating it.
Make White Whites and Black Blacks
To get the most dramatic-looking black and white photos, you can try making the image include both a true black and a true white.
First, use your color adjustment sliders to make sure the darkest part of your photo is pure black and the brightest point is pure white. (The histogram that’s shown in most editing software can help guide you. When you’re finished, the tone map should just barely touch each edge of the chart.)
Ready to build your online portfolio website?
Start showcasing your black and white photography work with Format’s Online Portfolio.
Shooting B&W Photos with Digital vs. Film
Using a digital camera to shoot your black and white photography offers many obvious advantages. The ease of editing and the ability to instantly review your shots will be especially helpful when you’re still learning the ropes of B&W photography.
However, shooting on film can offer its own advantages. And if you’ve ever considered trying it out, it’s an ideal time if you’re experimenting with black and white photography. Here are some of the reasons why.
High Dynamic Range
Film can provide image quality that may surprise you, and that’s especially true when dealing with B&W photos. That’s because analog cameras capture high dynamic range, offering a greater variation between light and dark. And that range can be helpful when it comes to achieving the most dramatic effects with your B&W photography.
Authentic Film Grain
Although you can imitate film grain in editing software, there’s just something about the real film look that can add warmth and authenticity that’s well suited to B&W images.
Low Entry Costs
The cost of the film can add up over time, but when you’re first looking to try your hand at film photography, you’ll find it’s pretty affordable to get started. Film cameras tend to cost less than digital cameras.
For example, one of the most popular film cameras for beginners is the Nikon FE2. You can typically find one for around $150. One reason this camera is so popular is that it strikes a nice balance between being simple to use and offering a wide range of settings.
Also, Nikon film cameras allow you to use digital lenses, so you’ll have more options to choose from and you may already have lenses you can use to lower your costs further.
And if you want to save money on the cost of developing a film, it’s easy and affordable to develop your film at home.
The Challenge
Developing your skills in film photography is undoubtedly more difficult than digital. Giving up the benefits of digital photography—such as being able to instantly review your shots—will make things more challenging. But when you get it right, it can also be that much more satisfying.
And by forcing you to plan out your shots more carefully, it can get you thinking differently about your photography.
Types of B&W Photography to Try
As you learn the basics of shooting black and white photos, there are a few different types of photography that are worth trying out.
Here are some areas of photography that can make for great B&W photography, with some tips on how to take them on.
Portrait
Eyes are Even More Important
The eyes are often the focal point of portraits, but this is especially true for B&W portraits. That’s because the lack of color puts more focus on shapes. The shape of eyes is something that’s immediately recognizable and the viewer’s attention will be naturally drawn to them. So pay close attention to the eyes during your B&W portrait shoots, and make sure they are well lit and in proper focus.
Use Light to Create Contrast
While it’s always possible to tweak the contrast in editing to make your B&W portraits look more dramatic, using light will get you better results. When you’re setting up your portrait shots, think about whether you have the subject properly lit to create a high contrast between the darkest and lightest parts of the shot.
Street Photography
Don’t Shy Away From Dim Streets
Street photography can involve a lot of dimly-lit street scenes, and they can make for powerful black and white photos. Shooting with a high ISO can help you capture enough light and avoid blur. Normally, the added noise from setting the ISO too high would be more of a concern, but it can fit well with black and white street photography and lend an artistic feel.
Try Some Night Photography
Shooting at night can be a great fit for black and white. Whether it’s the moon and the stars or the streetlights and buildings of a cityscape, as you can find many striking opportunities to create B&W photos with an interesting contrast.
One fun technique to try is creating light streaks by capturing the lights of moving vehicles. These images tend to turn out well in B&W, and can make for some interesting contrast, lines, and sense of movement.
So get out your tripod and try taking a long exposure at night of cars driving past. For more tips, check out this guide to night photography.
Landscape
When shooting black and white photography using natural light, you should let the situation dictate the look and feel of the photo. So don’t set out and try to shoot a high contrast shot unless you find a good opportunity with the right lighting.
Try shooting on an overcast day. It will soften the whites and blacks and result in a B&W image with more depth and gradient between the light and shadows.
Still Life
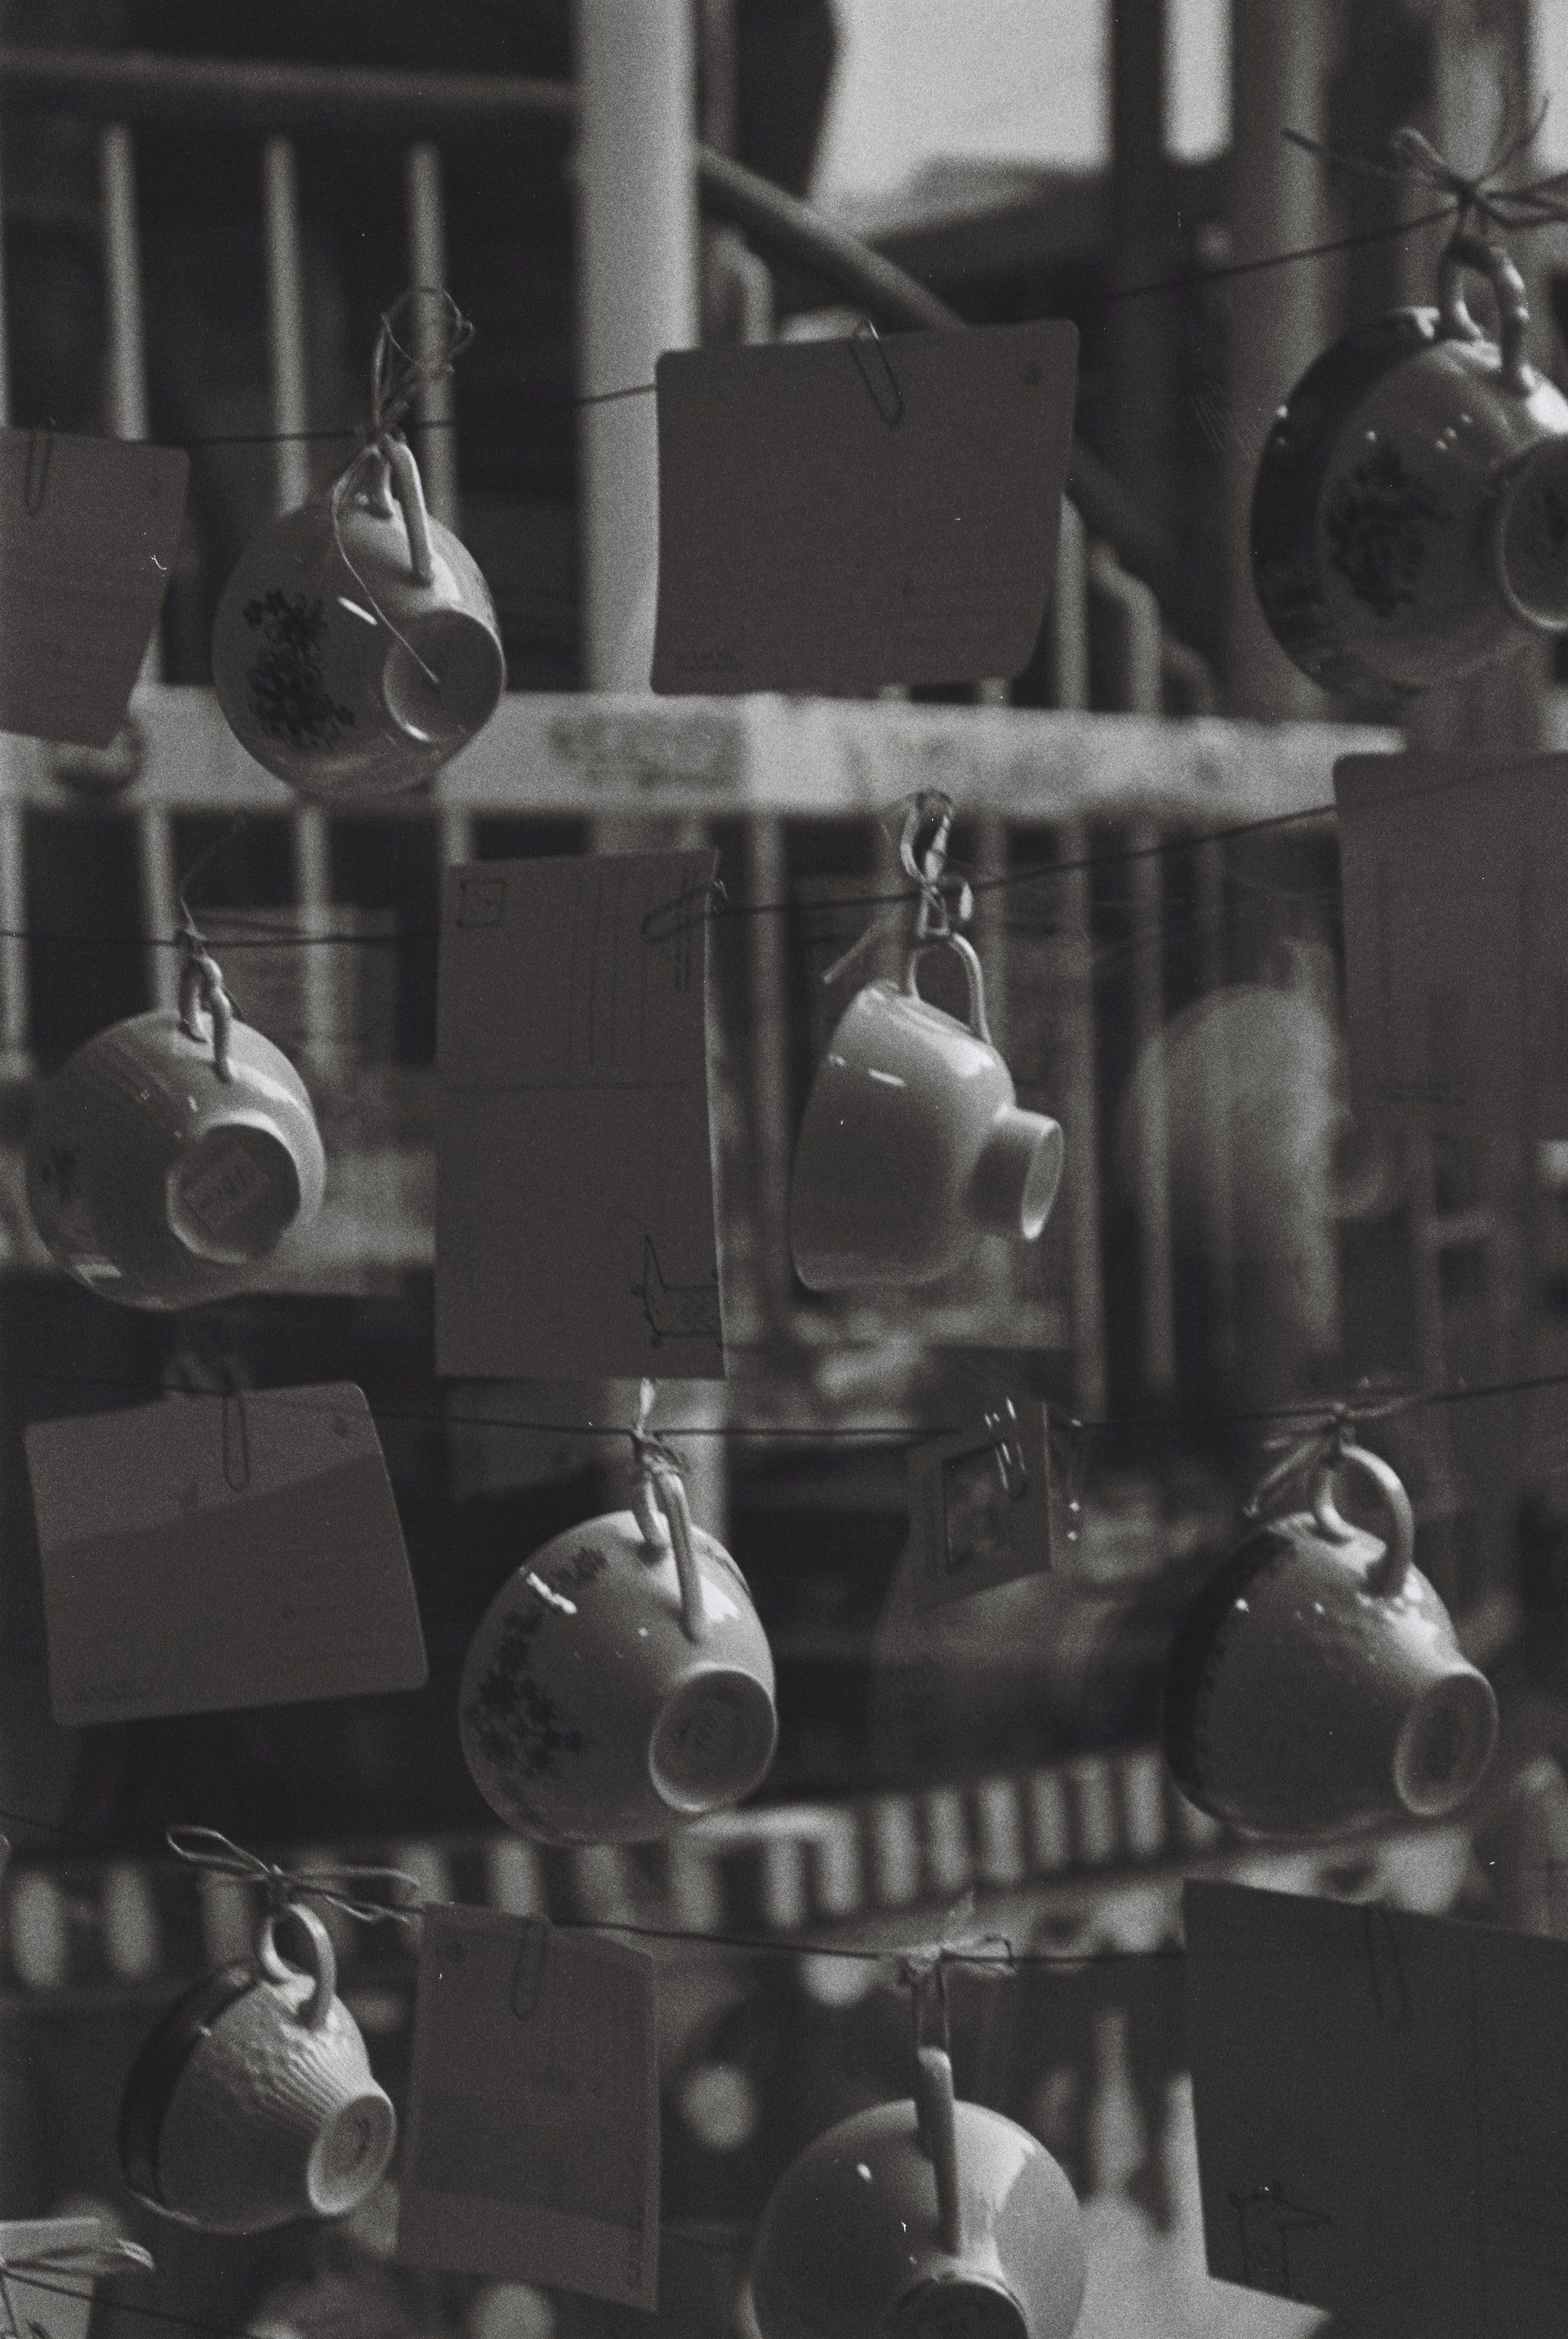
Still life is a great option to try when learning black and white photography. It makes it easy to experiment since you don’t have to search out a good photo opportunity or a model. Instead, it’s all about creating interesting compositions using common objects.
It’s the perfect way to learn more about how to approach lighting and contrast when it comes to black and white.
For some more info on how to get started, take a look at these still life photography ideas and tips.
Monochrome vs Black and White
The terms “monochrome” and “black and white” are often used interchangeably, but that’s not totally accurate. To avoid some confusion, here’s the difference.
Monochrome can refer to any photo that has just one color. So in addition to black and white photos, it can include images that have a color tint (as long as it’s just one color). It is simple to create this type of monochrome image by adjusting the levels of one color as you convert to black and white.
This guide focuses on tips for black and white photography, but you can also use any of these techniques when working with any monochrome image.
More Ideas
If you are interested in other fun black and white photography ideas to try, here are a couple of quick suggestions:
The Best Gear for Black and White Photography
Lighting Equipment
Since black and white photography adds emphasis to the lighting and contrast, having the right lighting equipment can help. Here are some items to consider picking up:
Photography reflectors offer an affordable way to start experimenting with how to manipulate light.
External flashes can give you more options for lighting angles.
Studio lights offer continuous lighting so you can see how your subject is lit as you set up the shot, instead of having to just review how it turned out.
Monochrome Viewing Filter
When you’re planning out your black and white shoots, this little tool can come in handy. A monochrome viewing filter can block out color to give you a better idea of what your shot will look like in black and white. Just hold it up to your eye to get a quick preview.
You can buy a handheld monochrome viewing filter like this one for about $50. Alternatively, a pair of sunglasses with dark grey lenses can also help you judge whether a shot will turn out in black and white.
Monochrome Cameras
If you know you’re going to be shooting in black and white, monochrome digital cameras can offer some advantages. These cameras don’t have color filter arrays, which means they can only capture photos in black and white.
As a result, they can take sharper pictures. That’s because without a color array filter on top of the sensor, the sensor is more sensitive. It can provide higher resolution, clarity, and depth—even when using high ISO settings.
Leica M Monochrom (Typ 246)
The Leica M Monochrom is a top-of-the-line camera for black and white photography purists.
The camera is not cheap, and will likely be overkill for most photographers. But it deserves a place on any list of the best gear for black and white photography. While many monochrome cameras you’ll find for sale are conversions by third-party companies, this camera was built by Leica with monochrome photography in mind.
The Leica M Monochrom had a price tag of $8,000 when it was first released in 2012, and is currently available from B&H for $5,995.00.
Sony A6000 Monochrome
If you like the idea of a modern monochrome camera but the Leica is out of your price range, the Sony A6000 Monochrome offers a more affordable option with solid performance. It is a conversion of the Sony Alpha A6000, which is available for about $600.
But the conversion process isn’t cheap, as the monochrome version costs $2,000. This camera is available from MaxMax, a company that offers a range of monochrome, infrared, or high resolution converted cameras.
Editing software
Having some good editing software is important for all types of photography. But when you want to create black and white photos, it’s important because it will come in handy for converting color photos to black and white.
There are many options to choose from. Besides Photoshop and Lightroom, there are a lot of free editors that you can download to your computer, as well as online editors that don’t require you to download anything.
For a rundown of some of the best options, check out this list of free photo editors. And for more equipment recommendations, take a look at this guide to must-have portrait photography accessories.
Get Shooting
Now you know the basics of how to get started in black and white photography. You should understand how you’ll need to adapt your approach to get the most out of your B&W photos.
If you’re looking for some inspiration to help get you going, start by going through the portfolios of these innovative photographers who work in B&W.
Once you start capturing some great B&W photography, don’t forget to show it off on your online portfolio website.